Let’s make it easy
Industrial design starts by spotting a common, relatable problem. Research how people cope, where solutions fail, and what needs are unmet. Then ideate: sketch, prototype, test, and iterate until the solution is intuitive, useful, and manufacturable. Aim for real-life impact! Keep the user central, and balance form, function, and production.
Hill Bed
When prompted with either finding gardening or work-from-home desk organization solutions during my Junior Year studio project, I naturally leaned towards nature. While as college kids, we all see a very distant milestone of owning a home, the reality is that most will be renters for the foreseeable future.
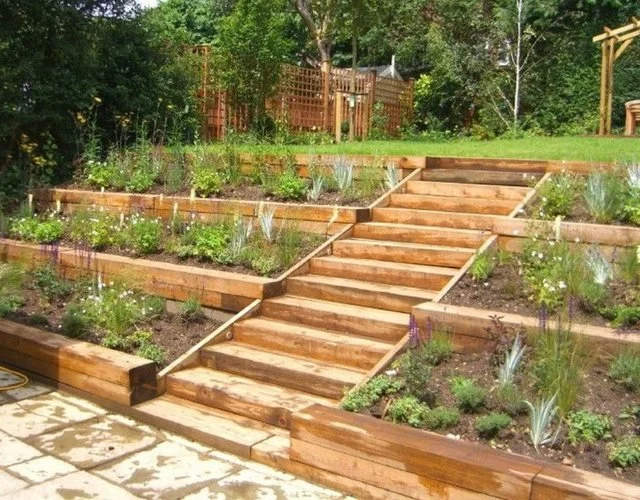
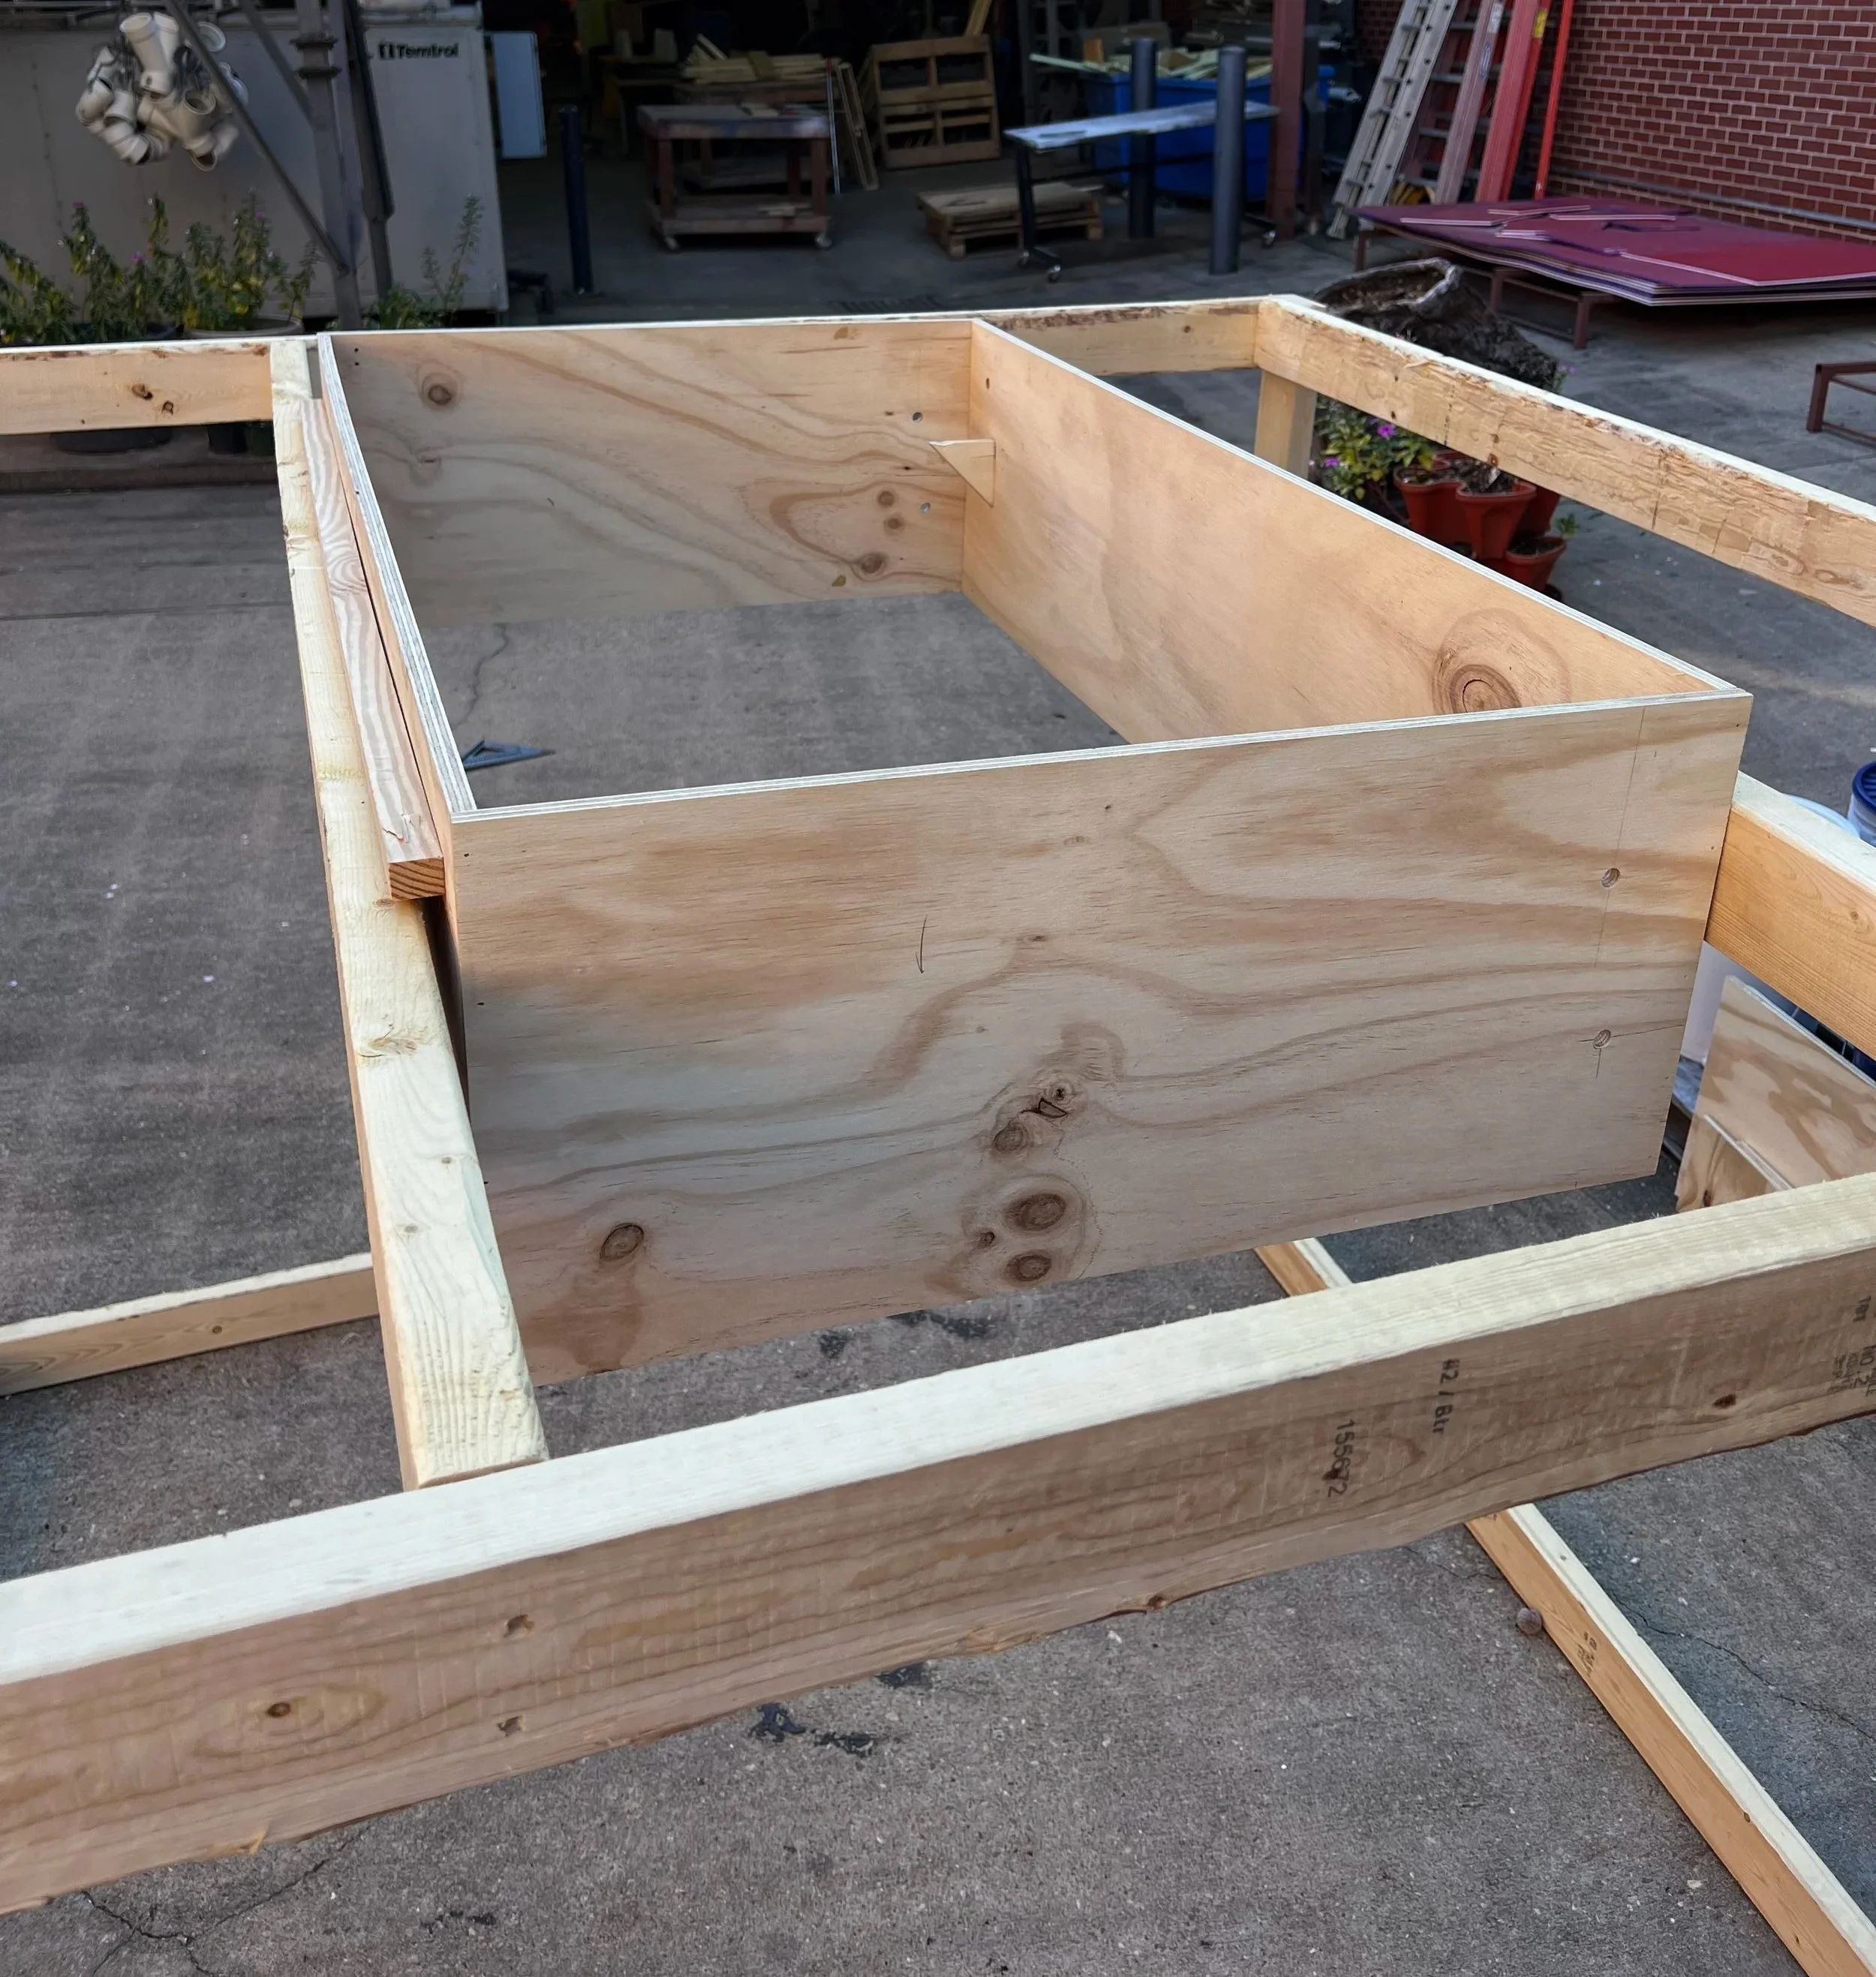
The problem I aimed to solve was a renter-friendly way to create a garden on sloped land. The main solutions I found online, other than solo standing garden beds, were tiered gardens. Not only is this not renter-friendly, but it also requires a tremendous amount of labor. My Slope Beds avoided all of these restrictions.

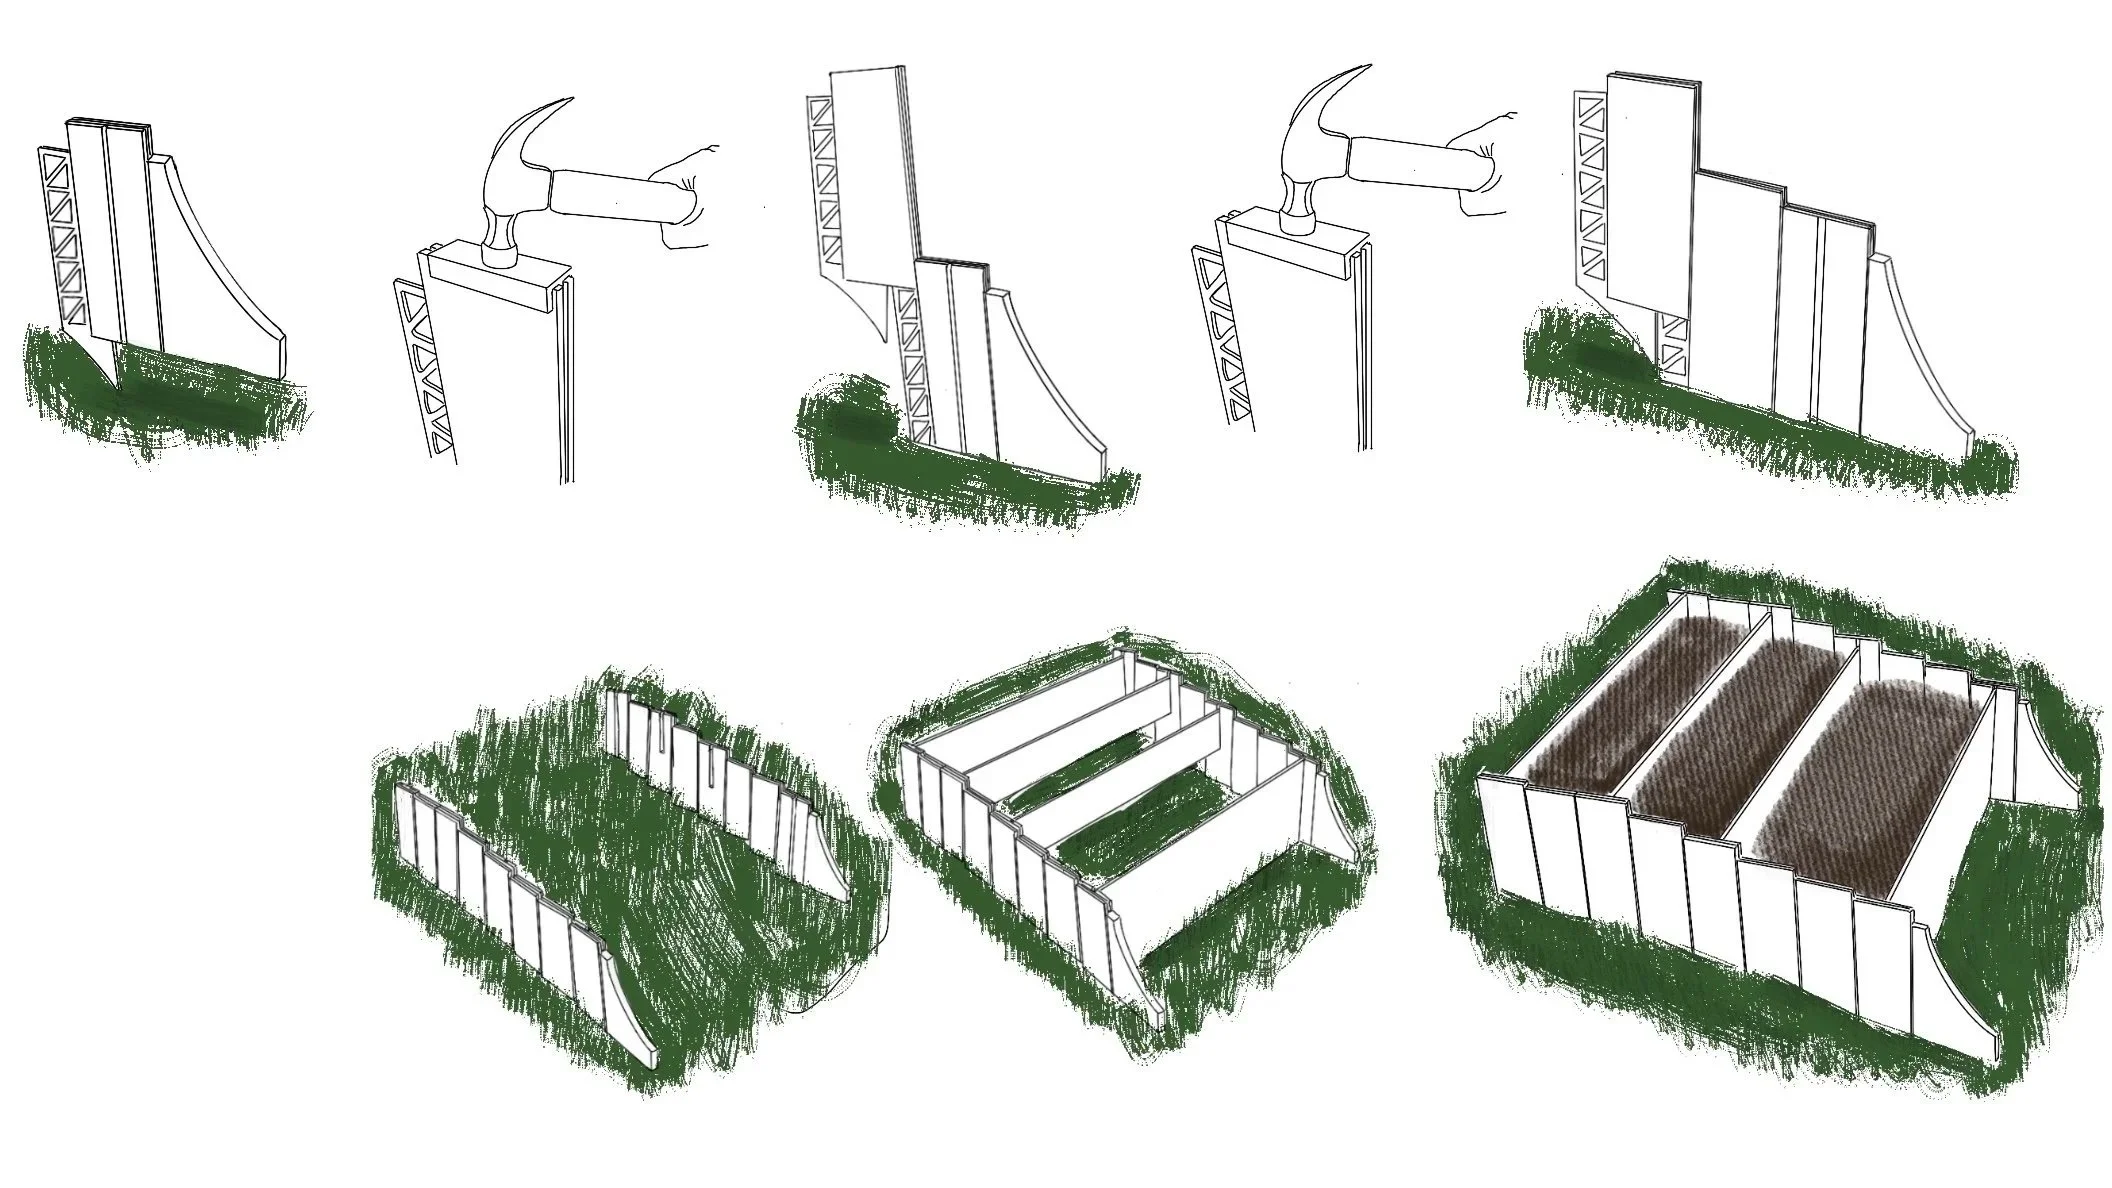
Concept Creation
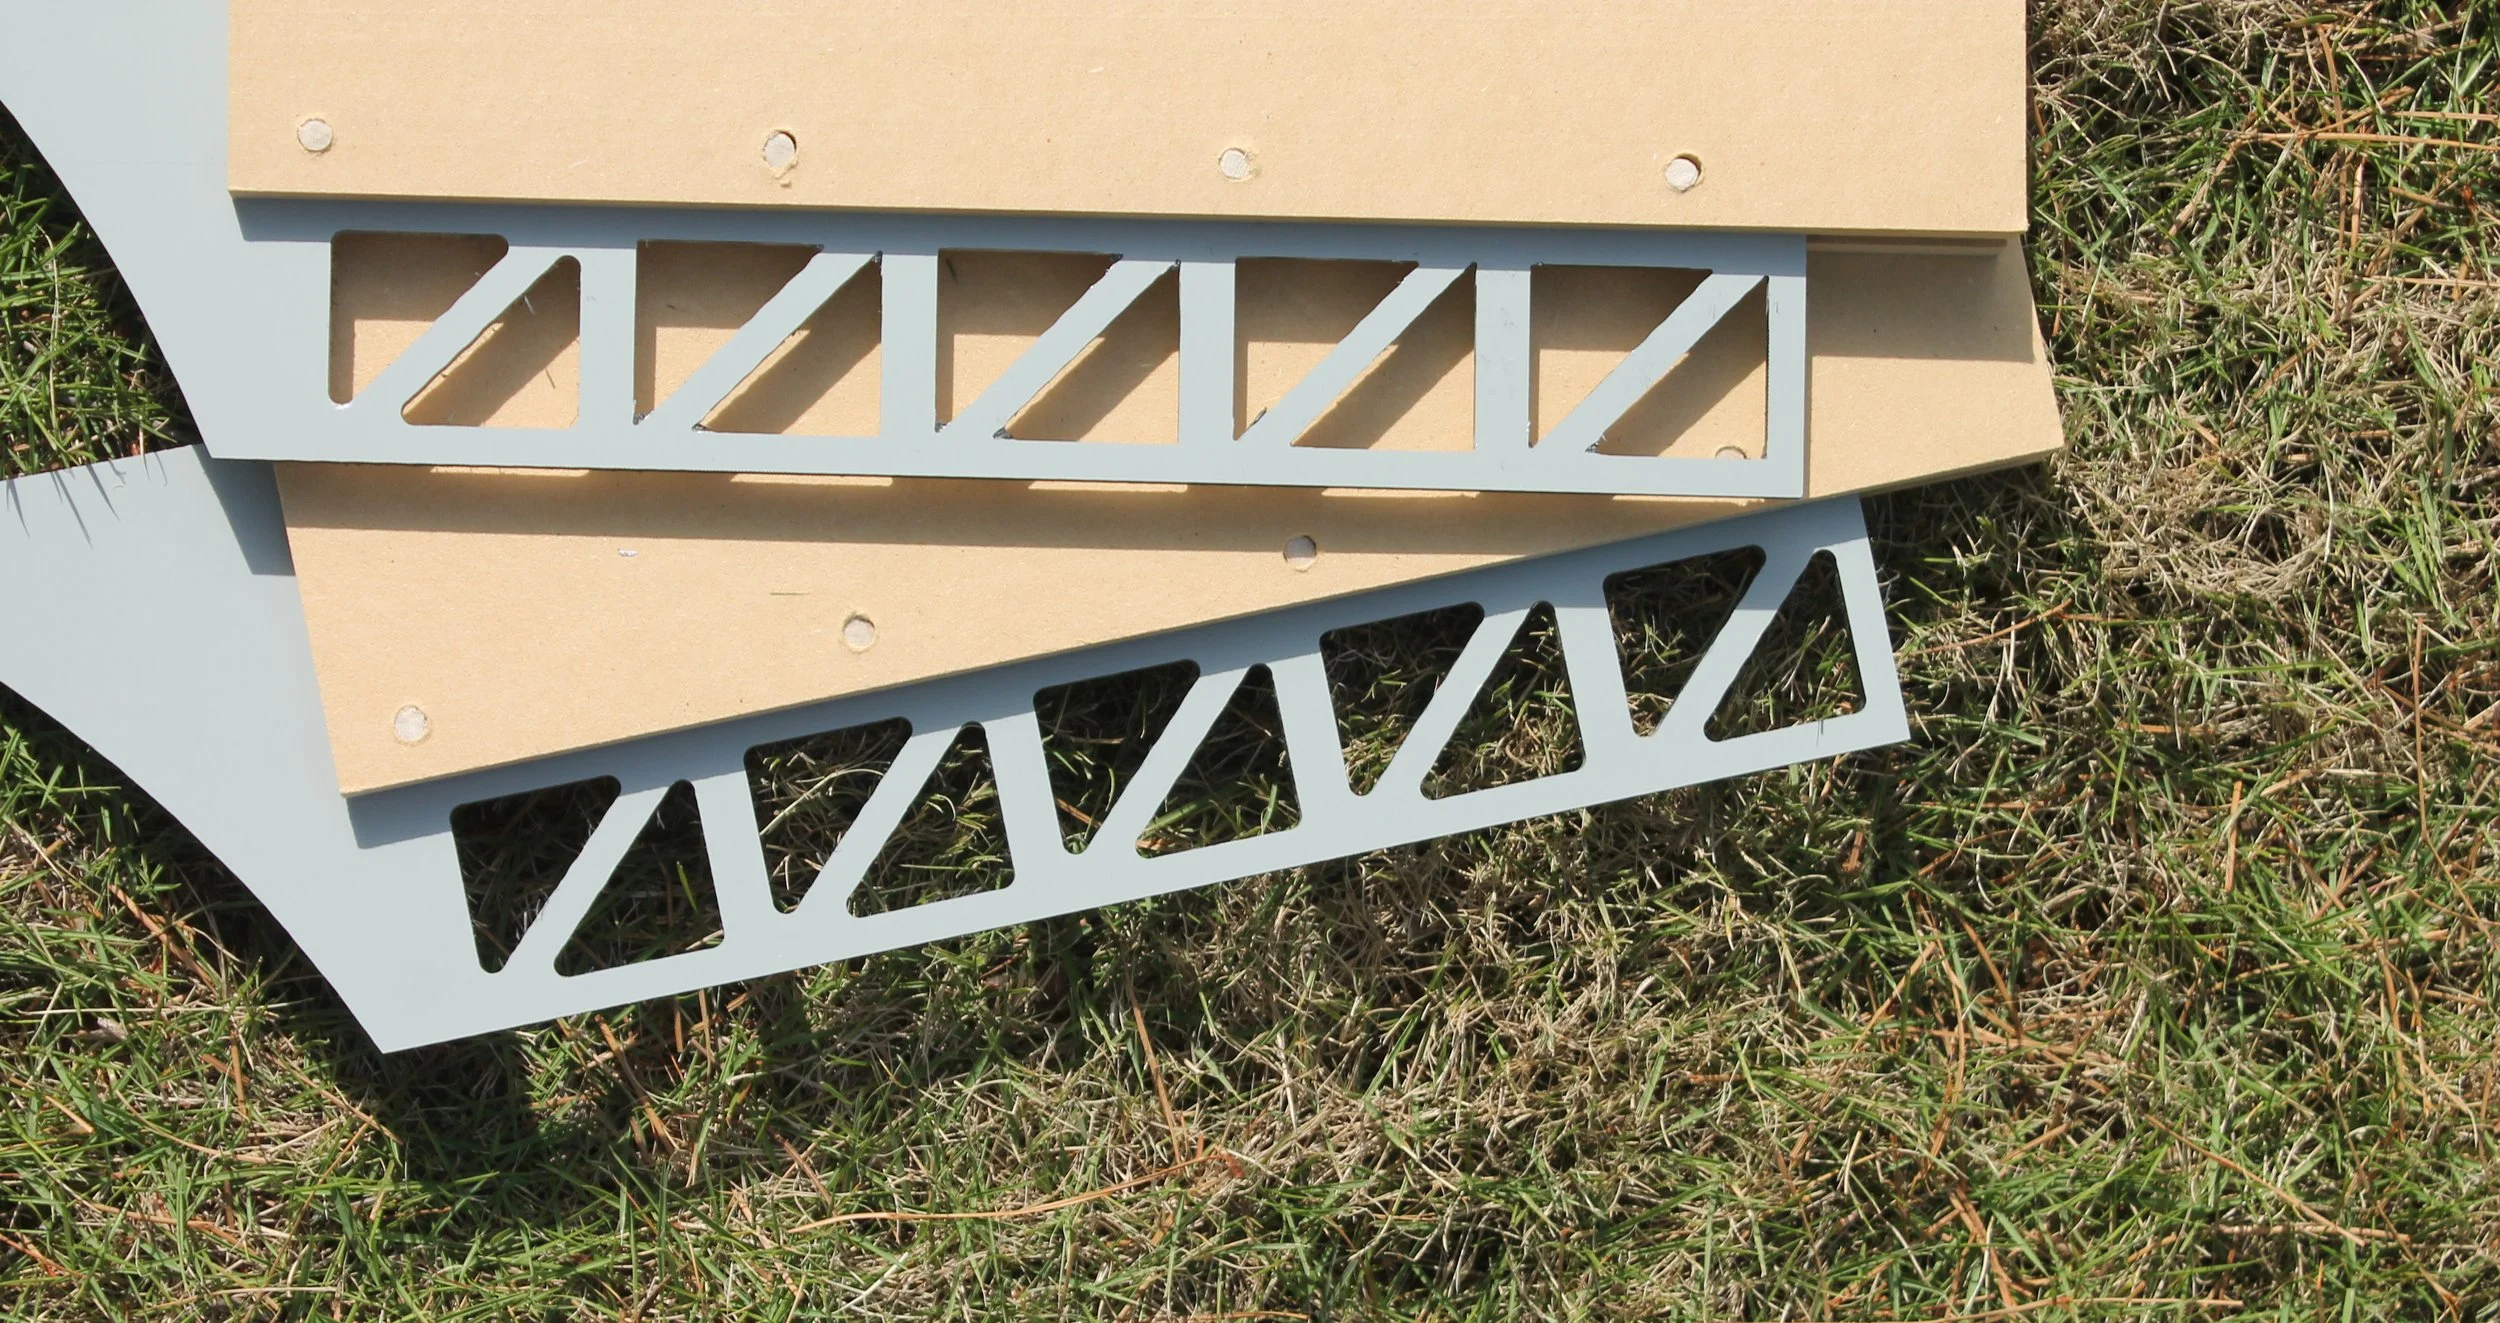
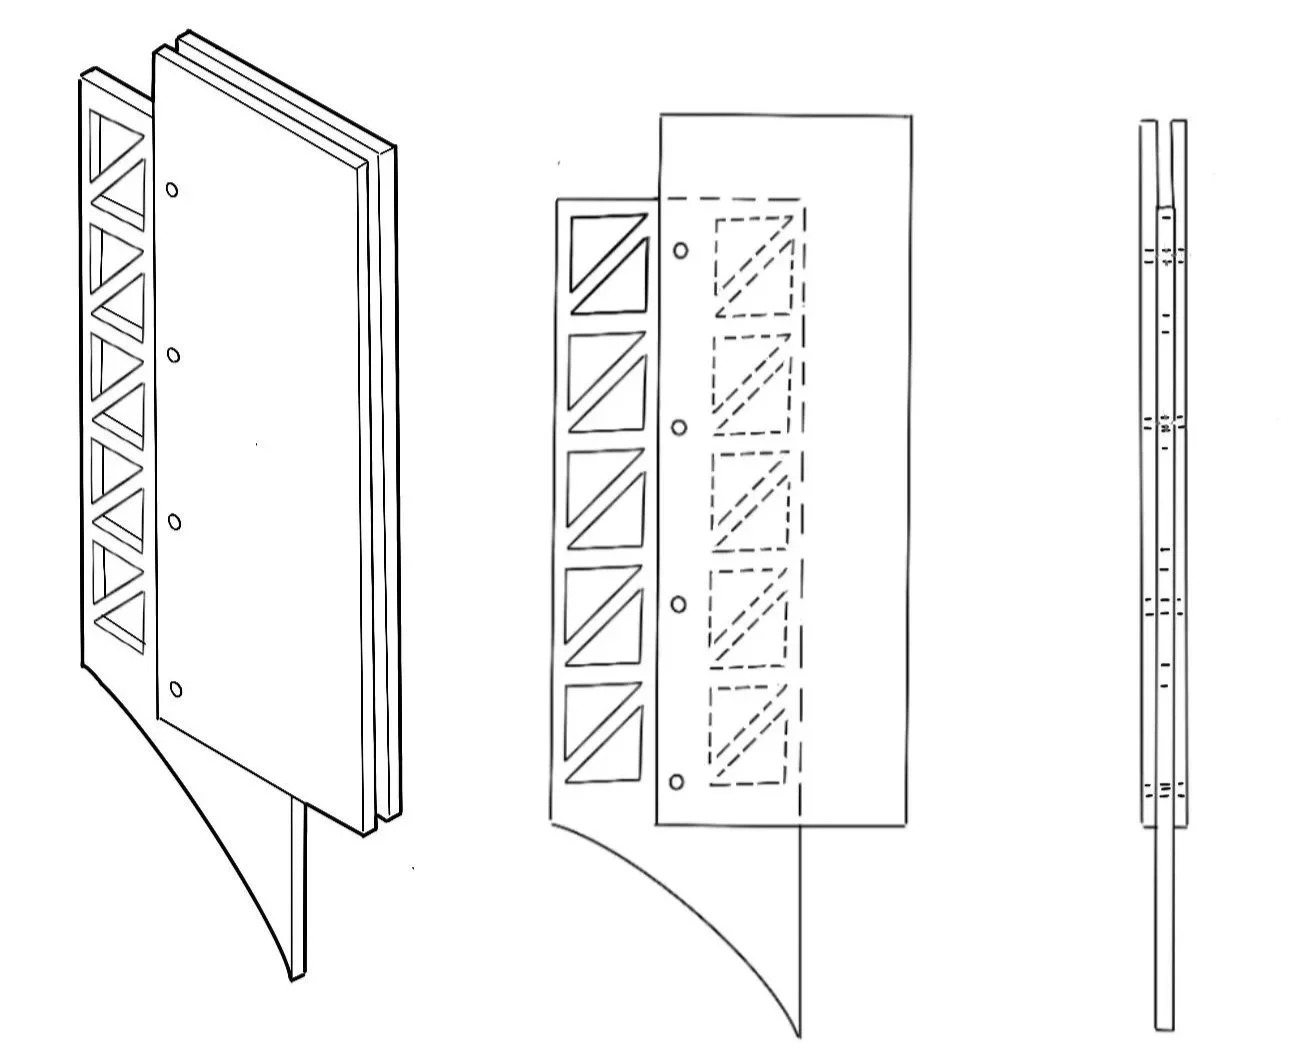
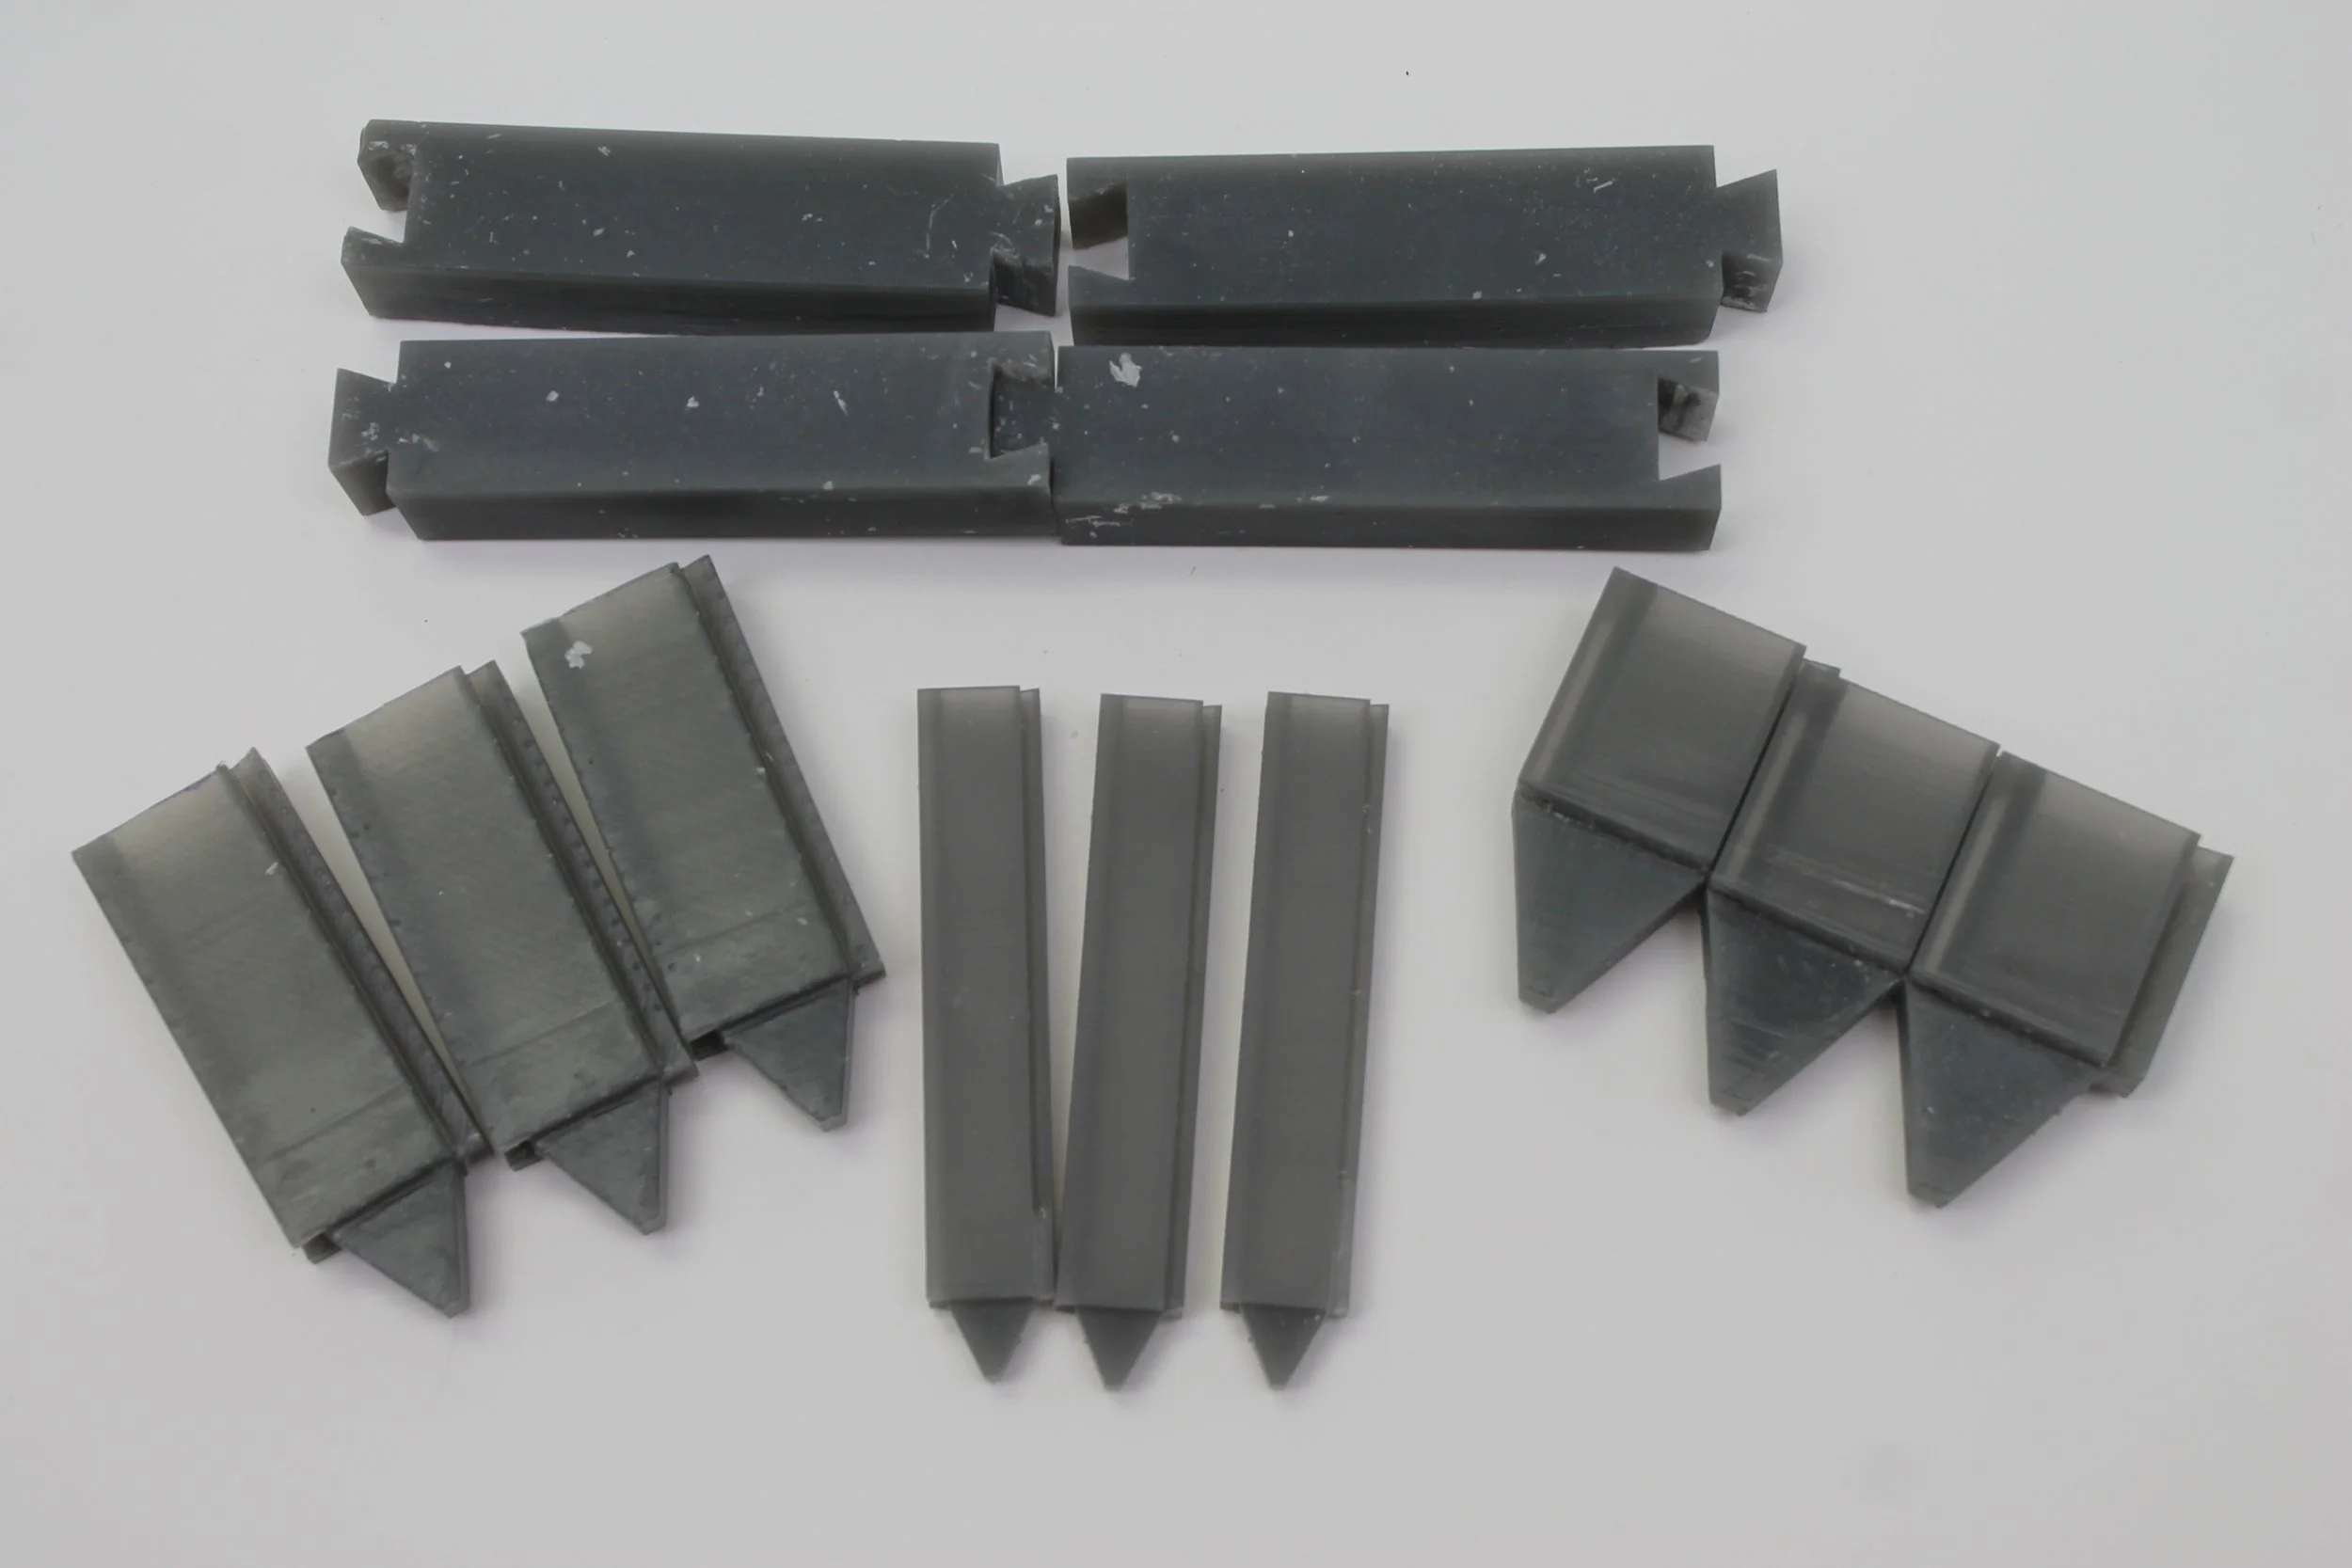
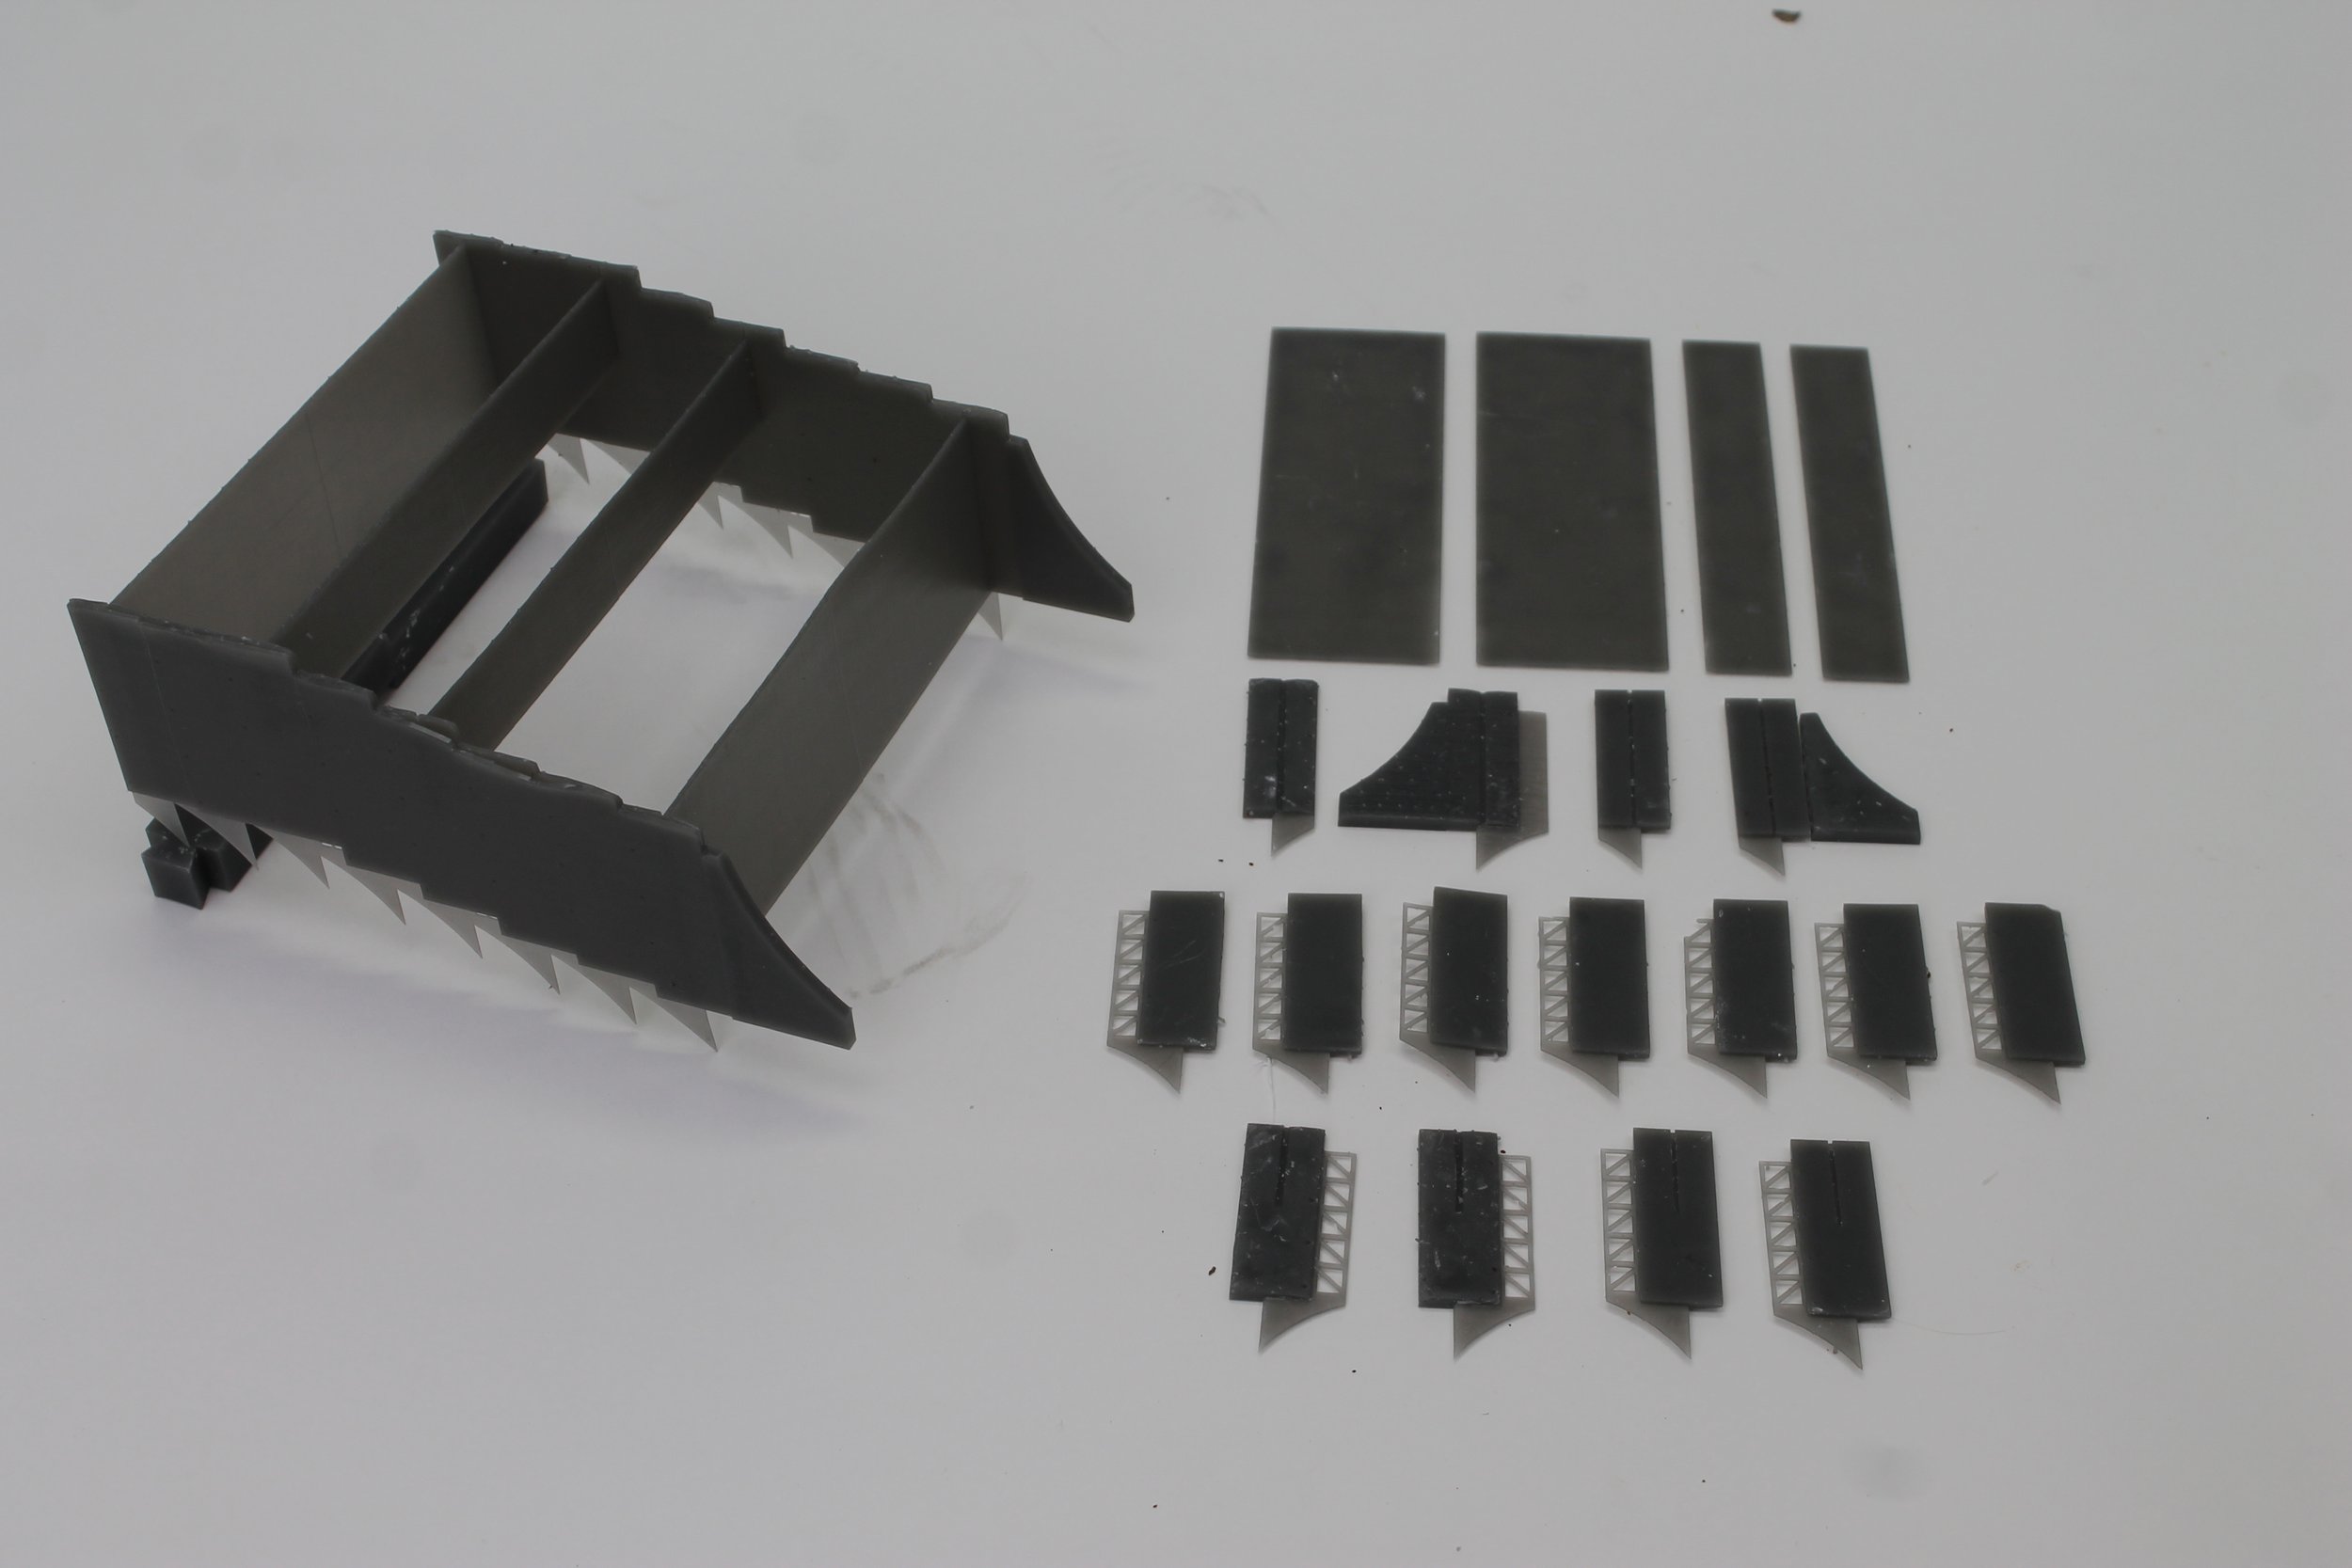
Once I decided what issue I wanted to solve, I got to work. Making this a modular, do-it-yourself design made it appealing to any renter or homeowner. Realizations such as soil dividers, stabilizers at the bottom of the apparatus, and an attachment for installation were all made through the trial and error process.
Final Model and Presentation
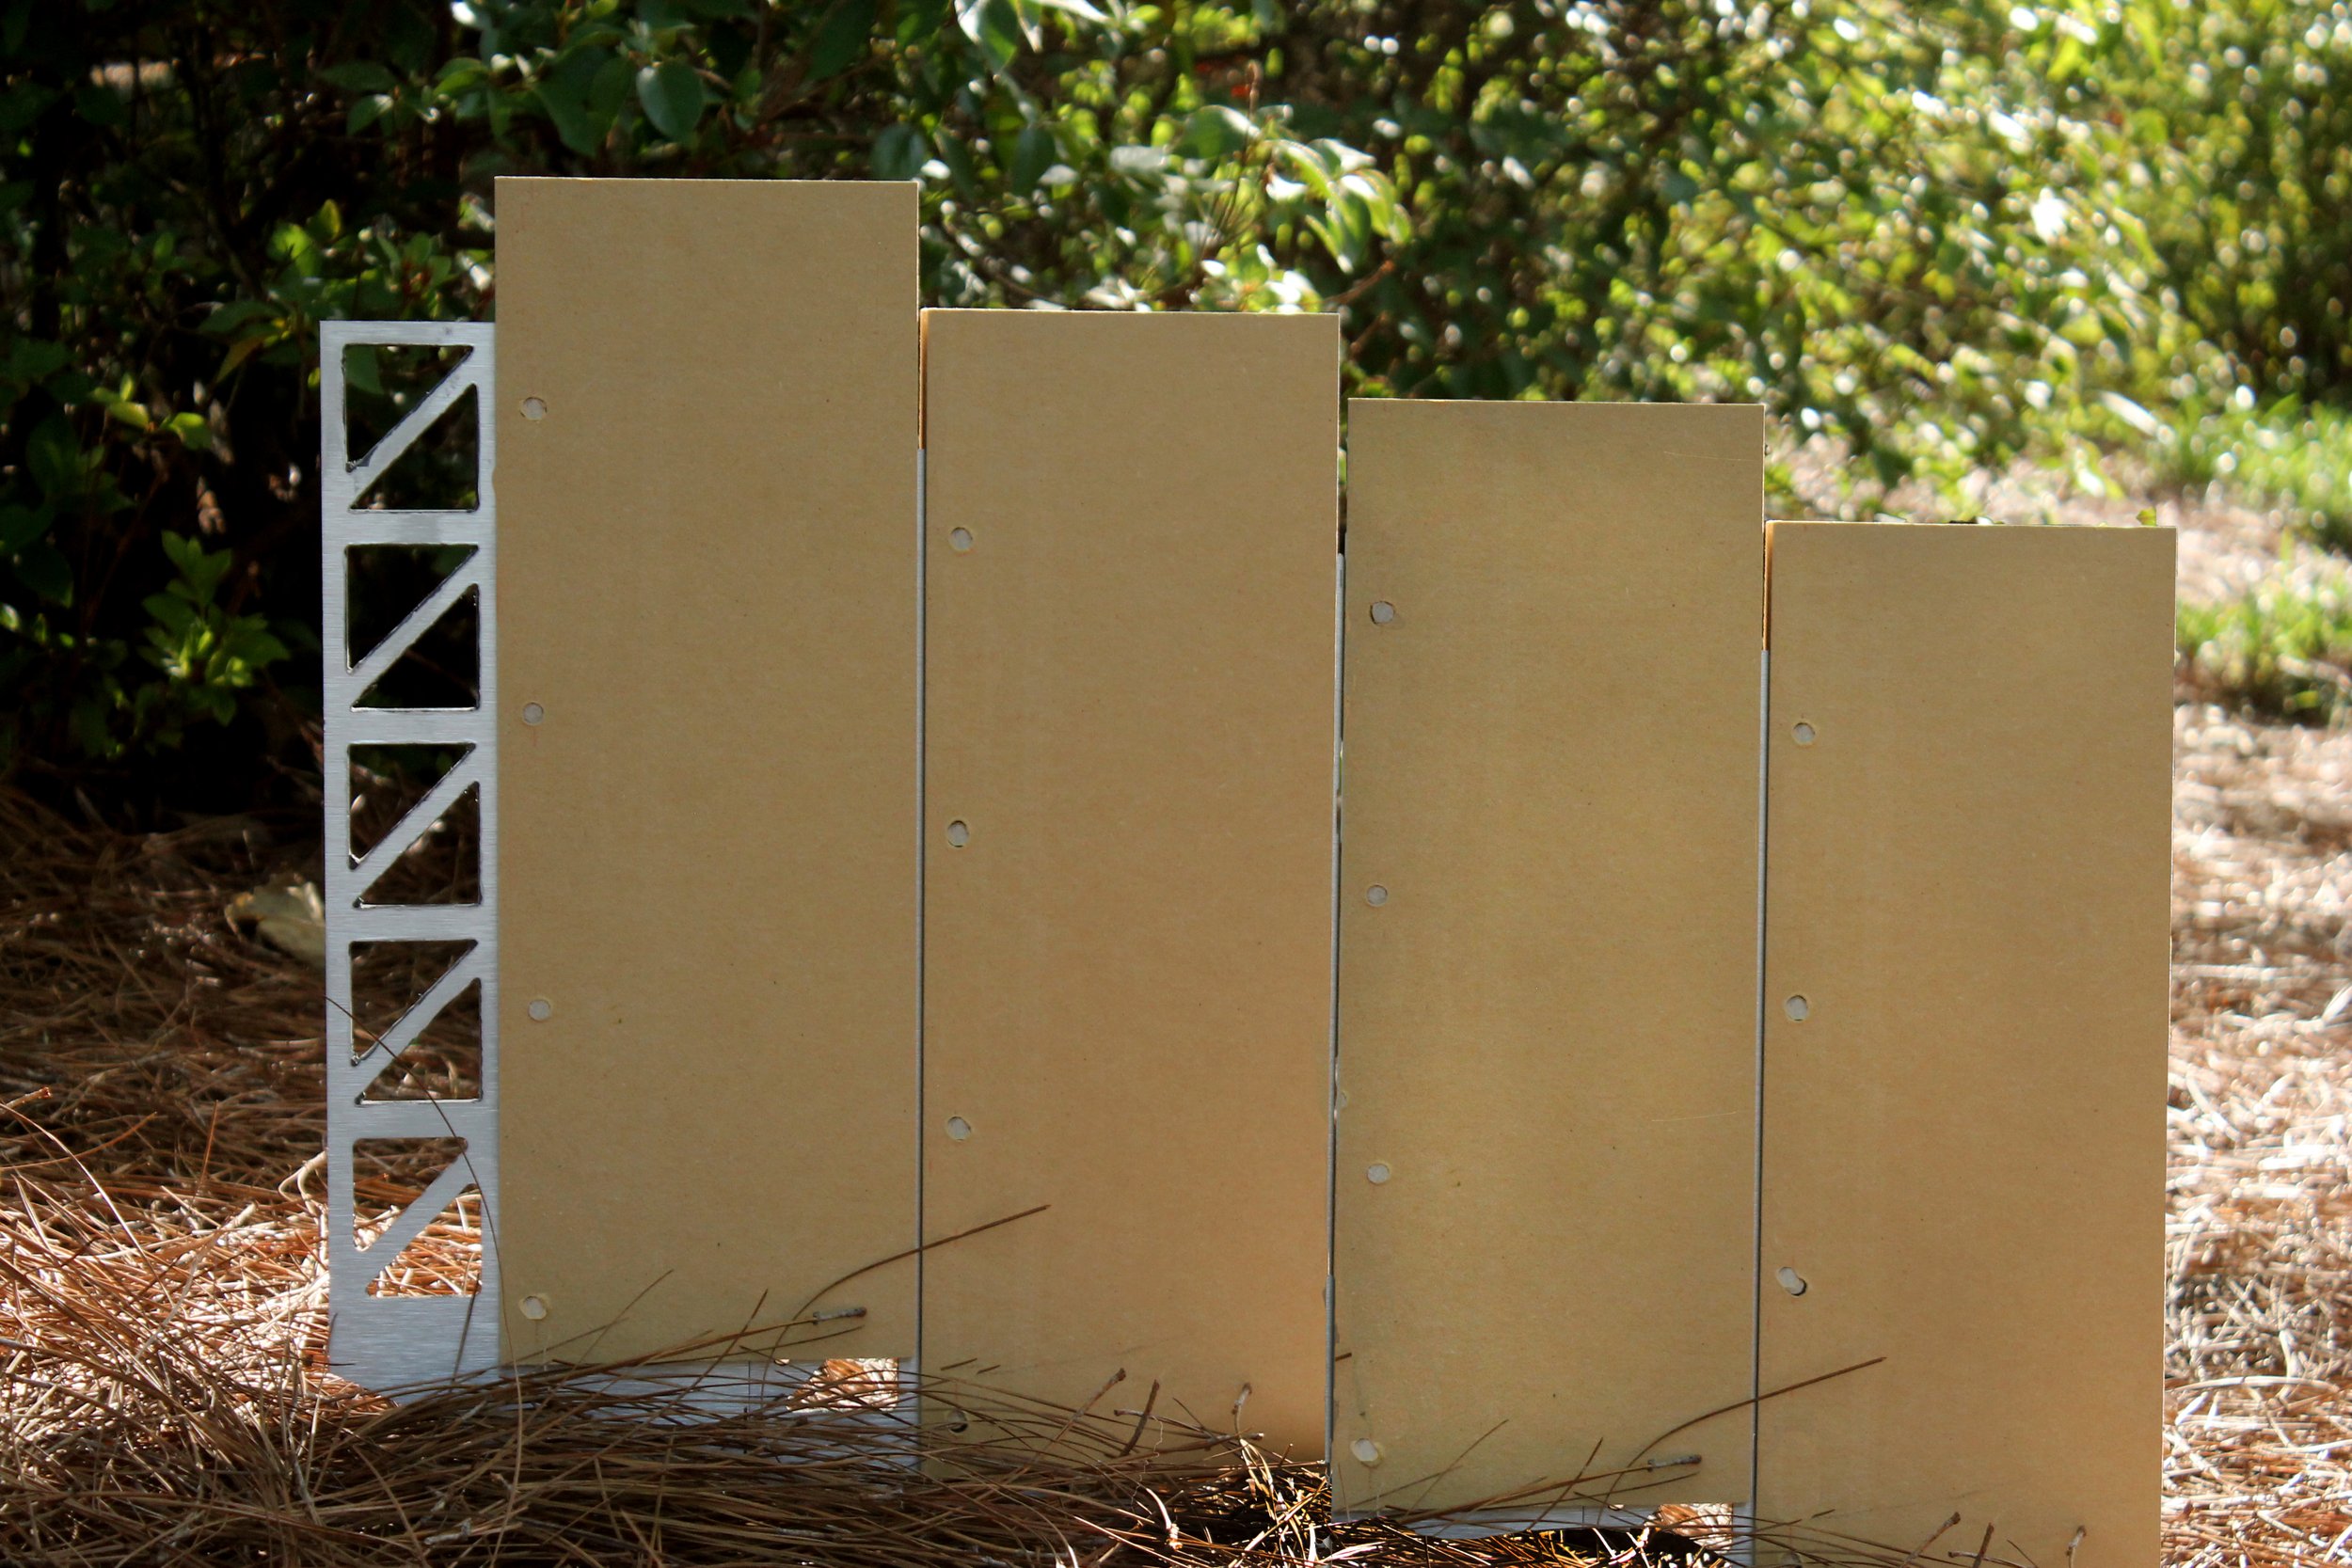
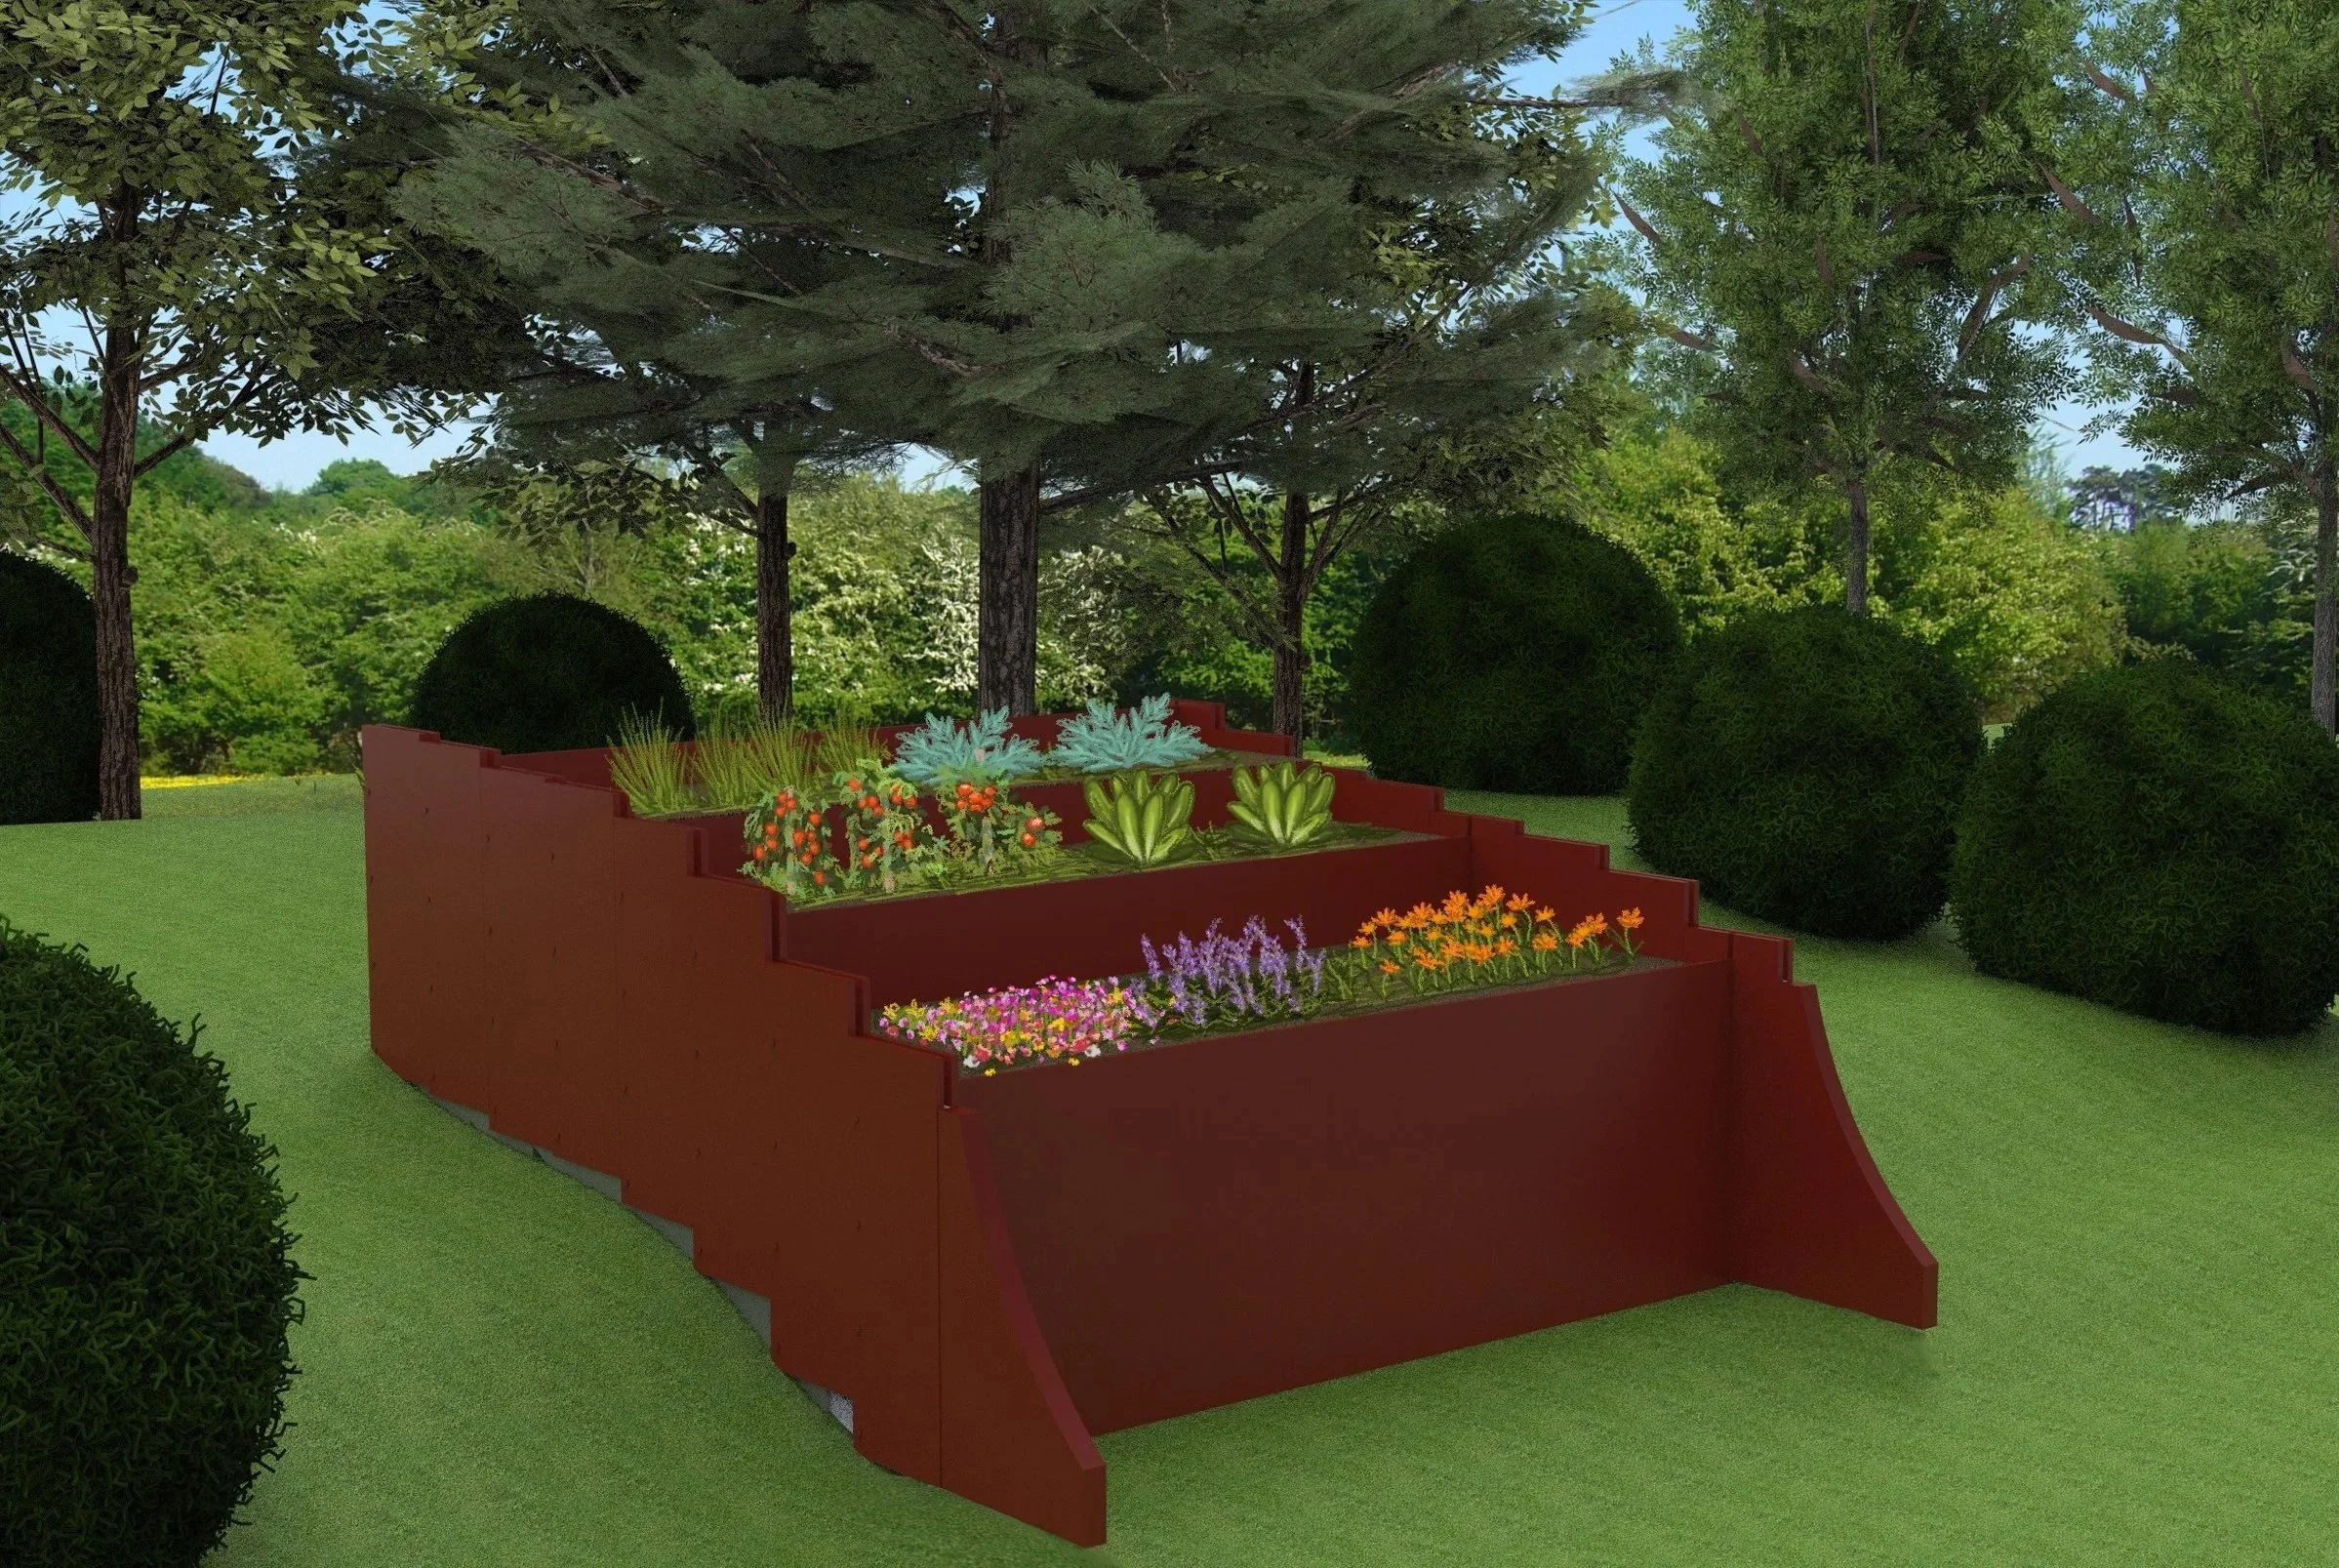
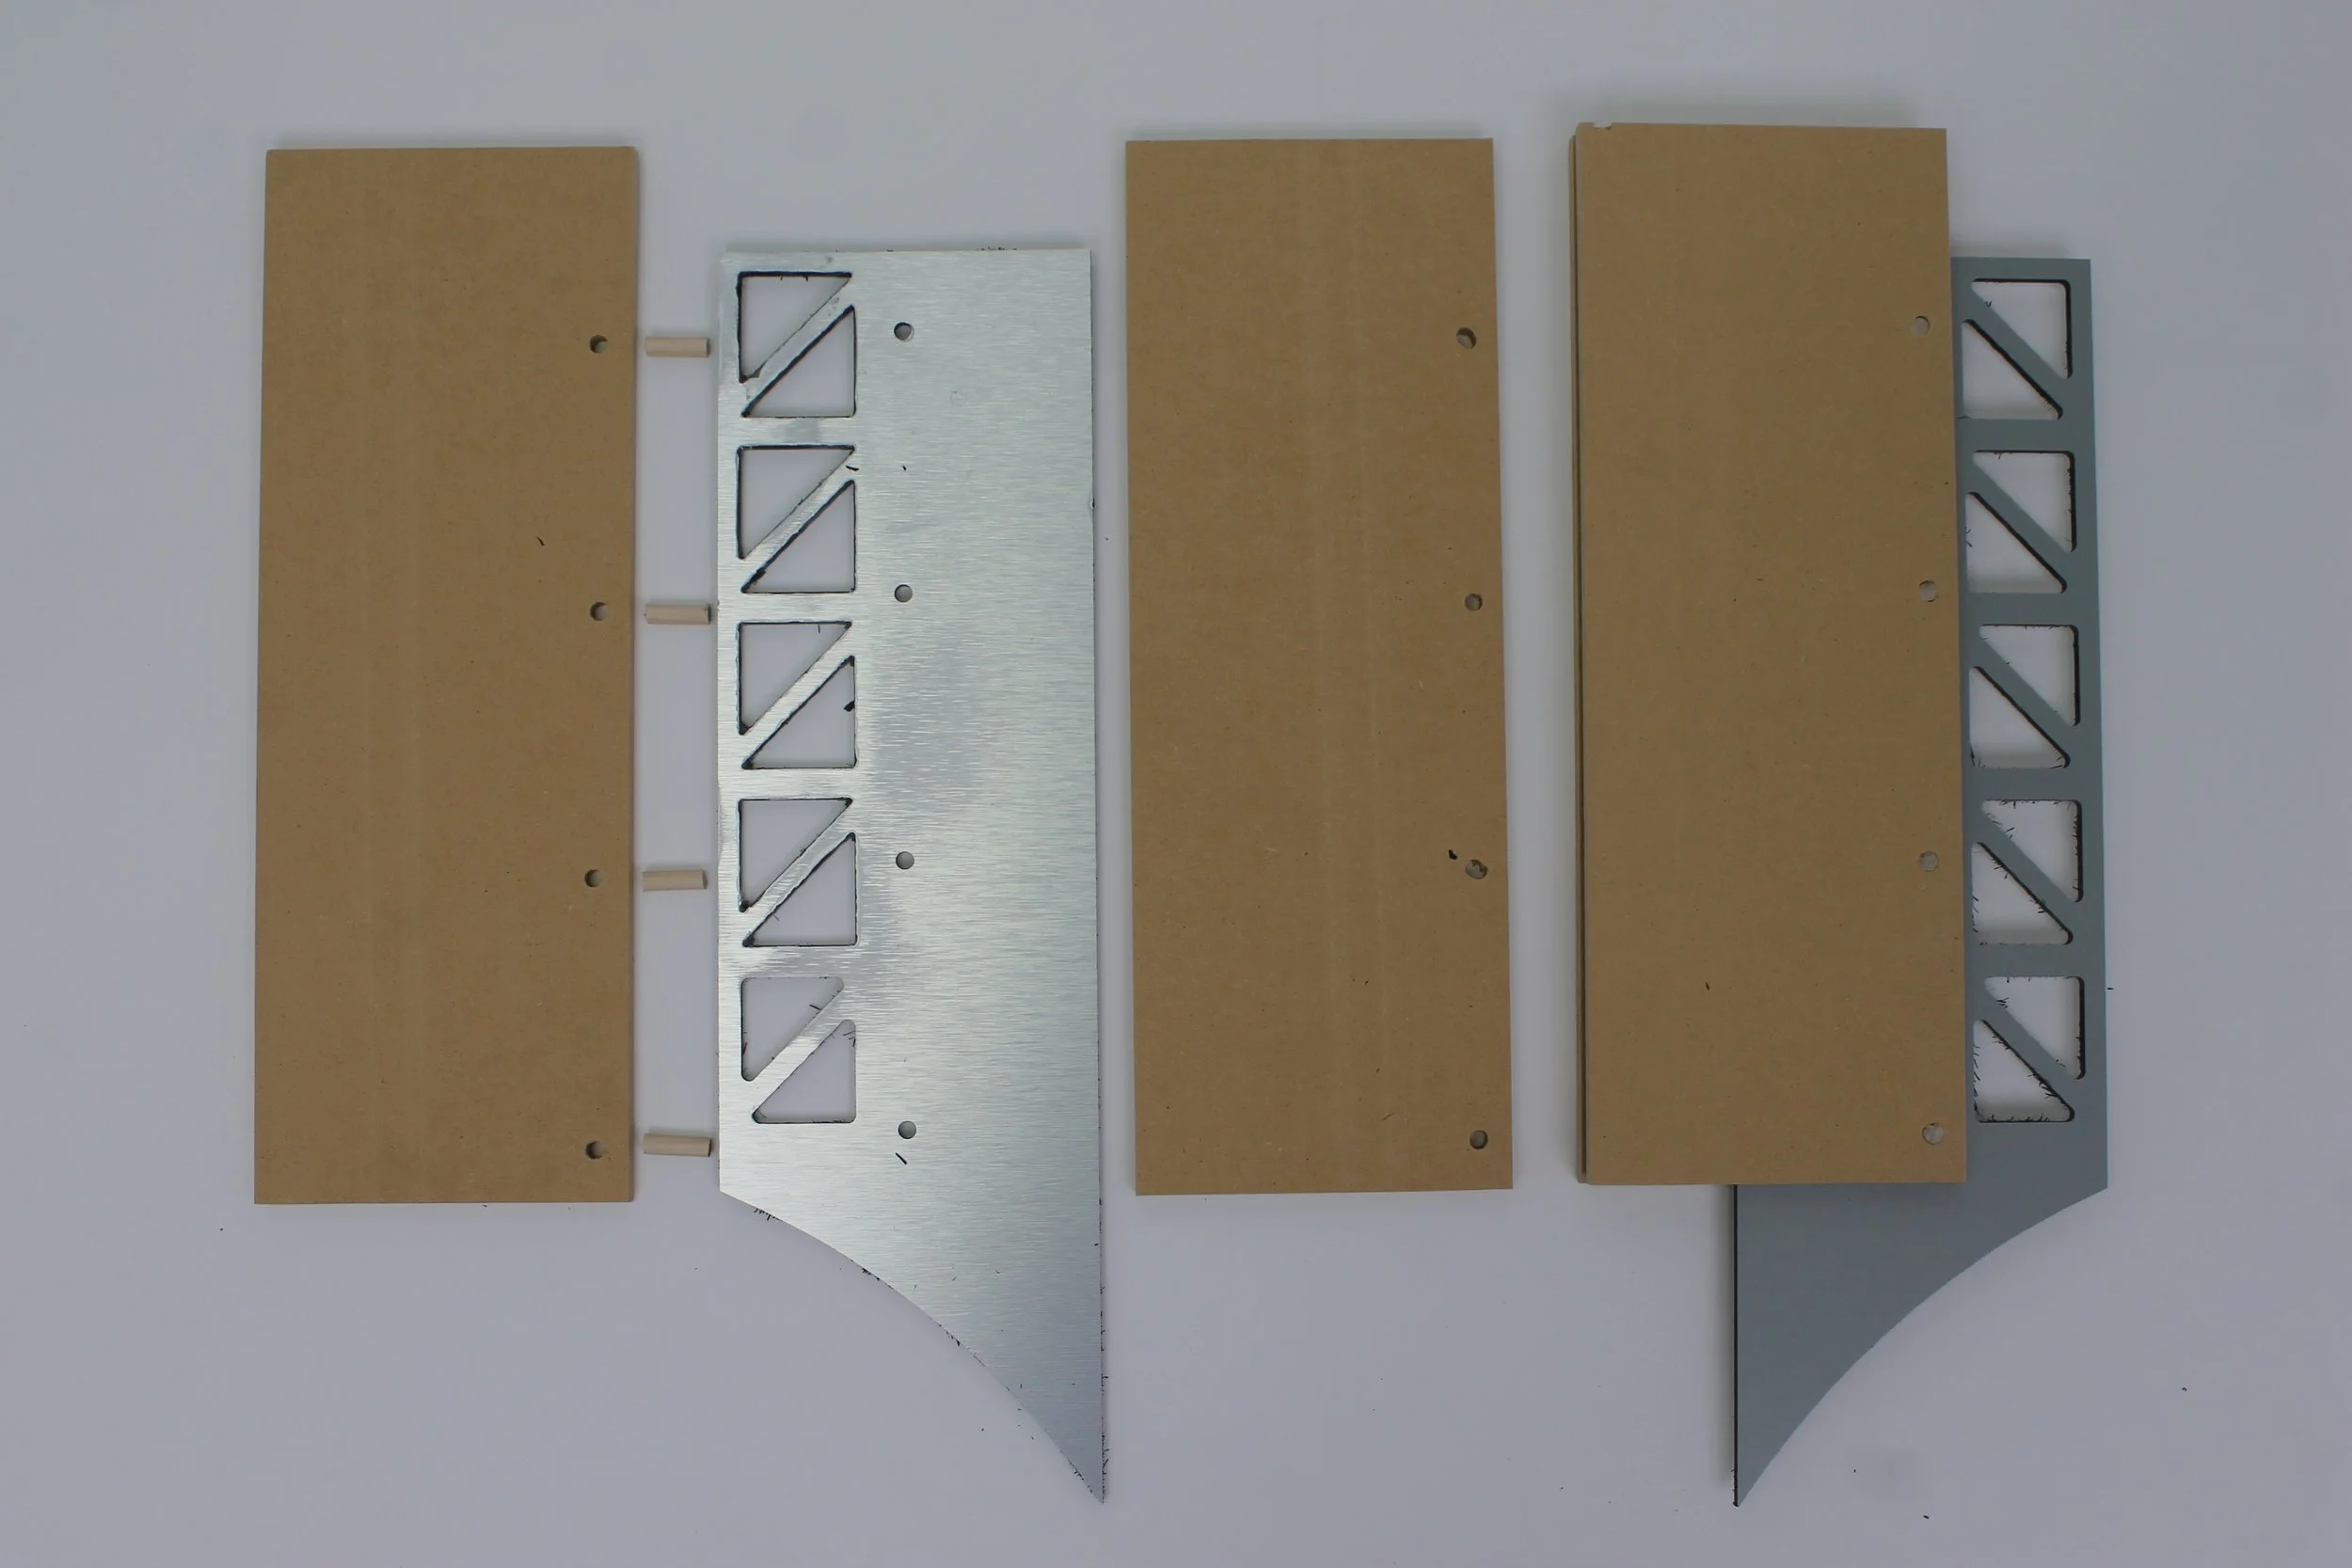
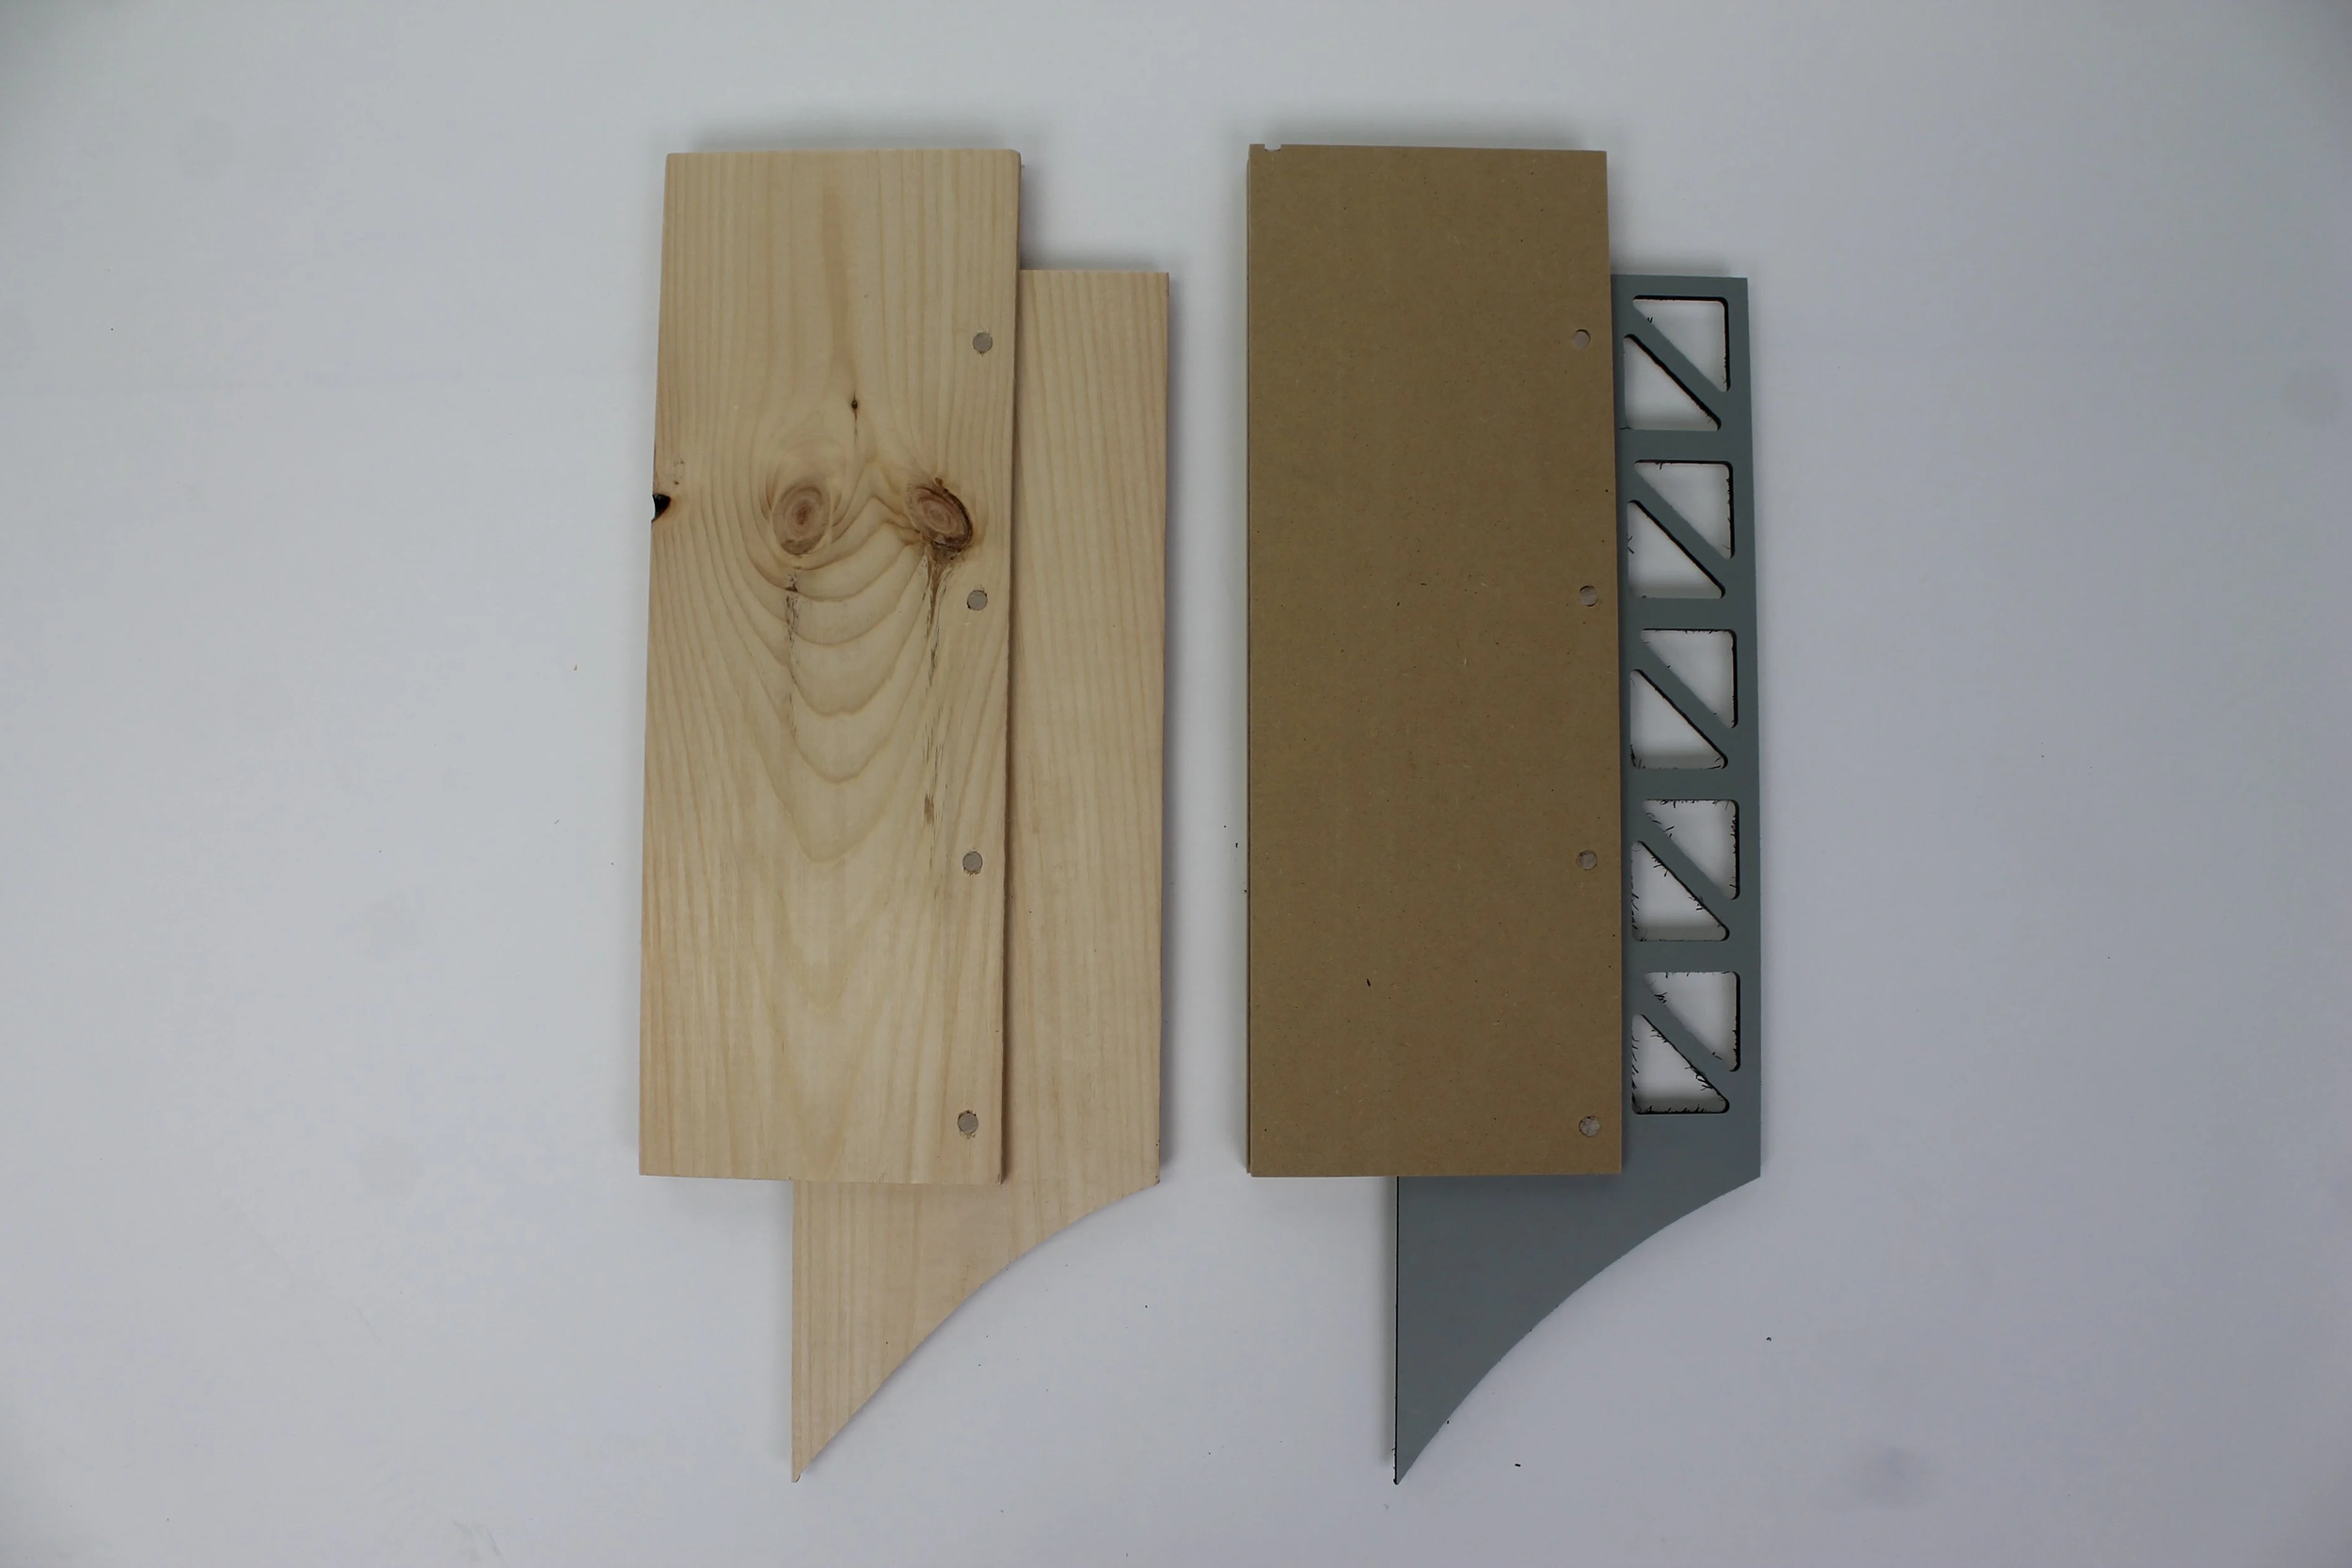
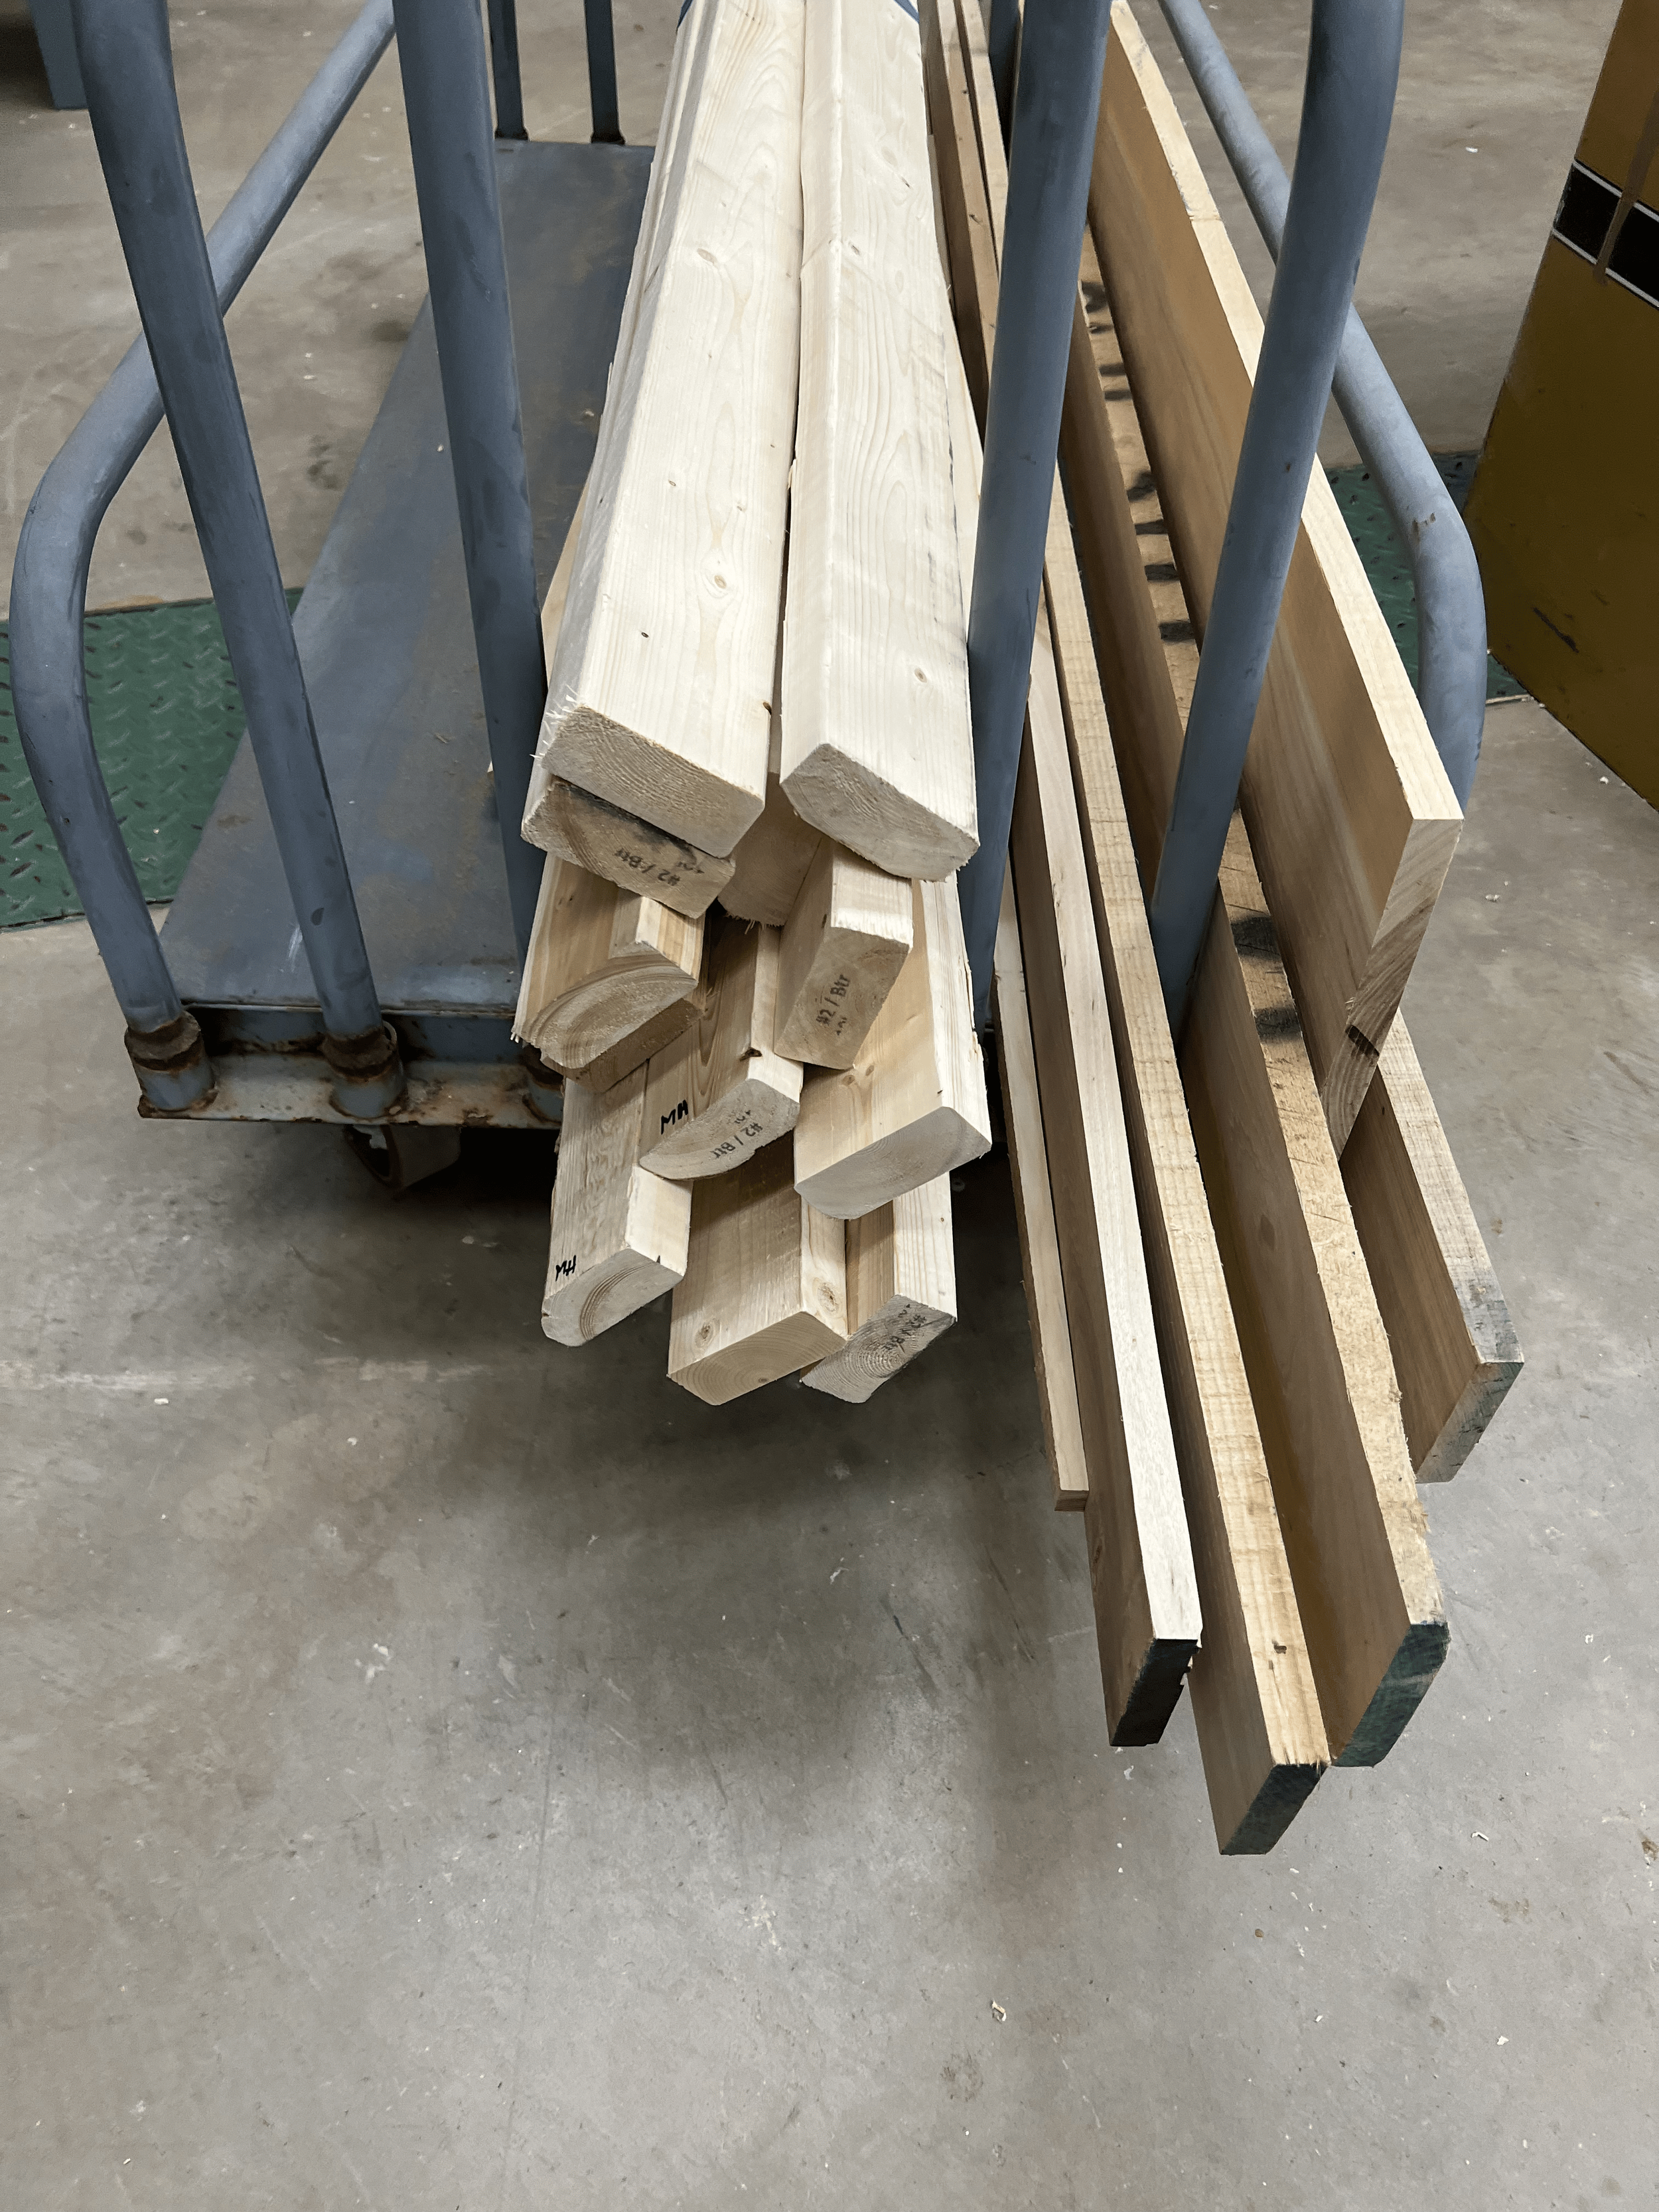
The final steps were making it real and making it pretty! Creating these to scale was a great learning process in metal and wood, as well as creating repeatable parts. Bringing this into CAD and adding all the final touches was perfect for presentation to the client and for overall understanding of the product.
From small-scale models to life-size products
Problem-solving through CAD and 3D printing led to the final design, using precise wood preparation and cutting, CNC-cut metal components, and processes set up for easy repeatability
re-
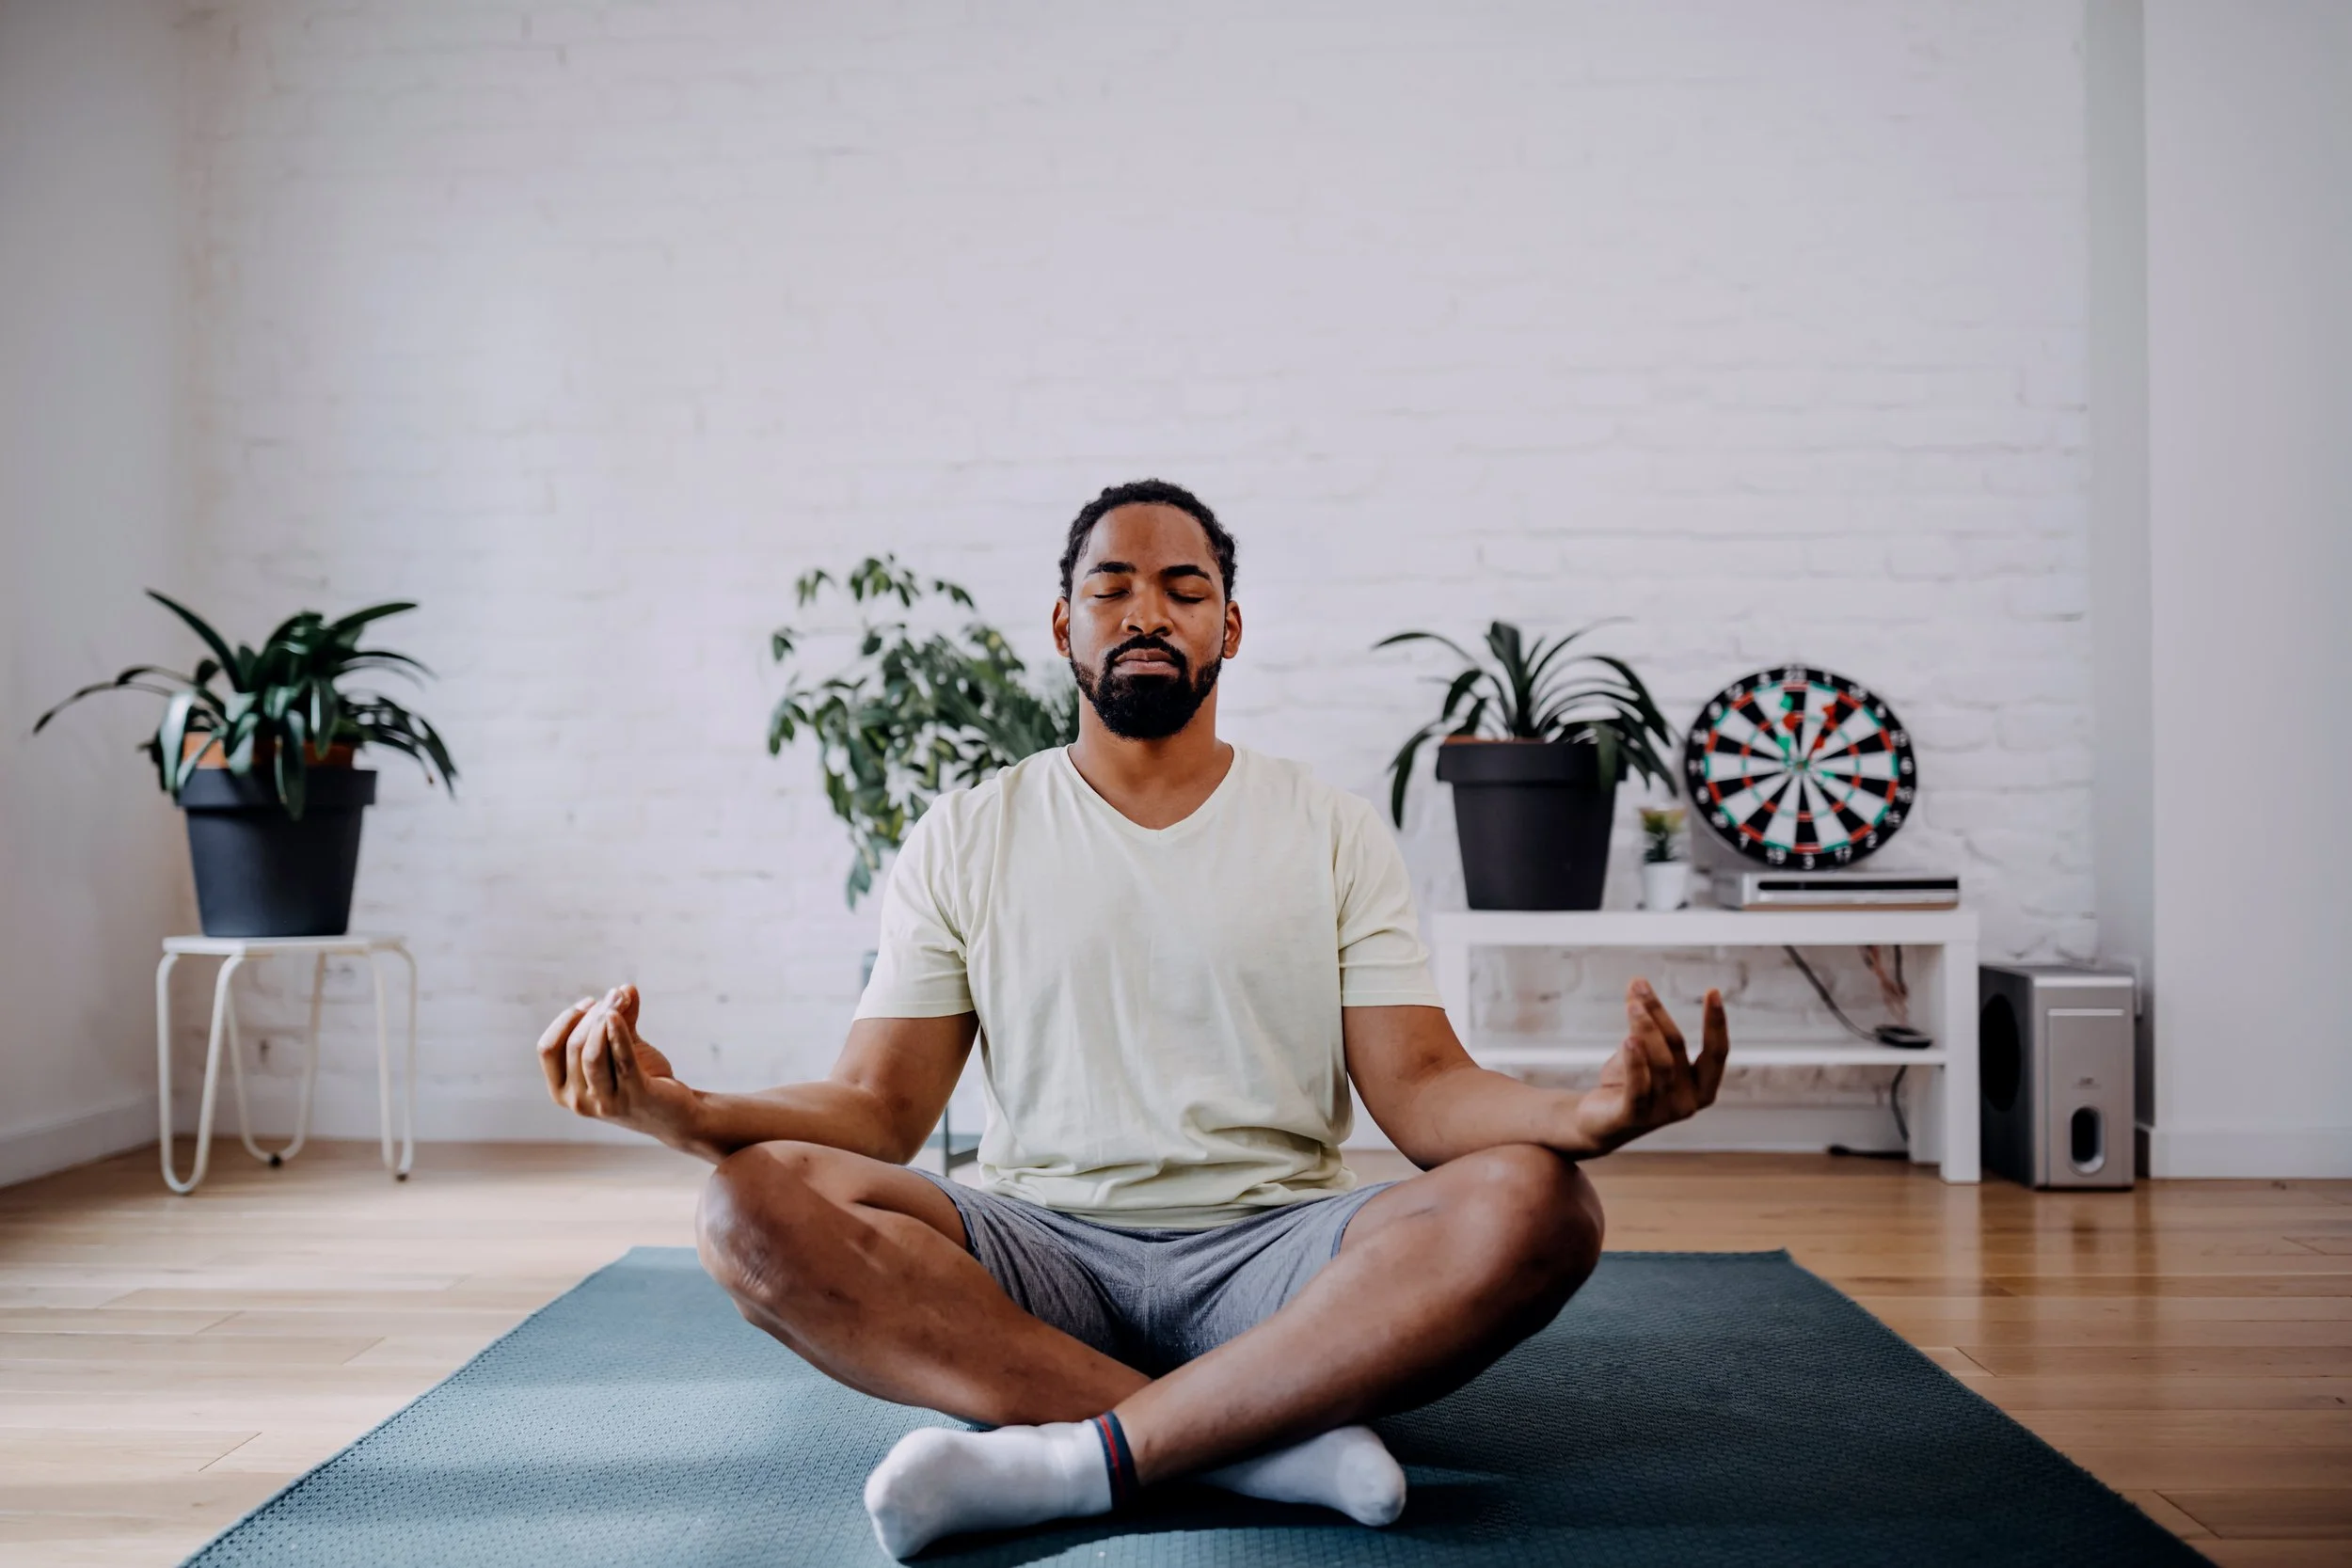
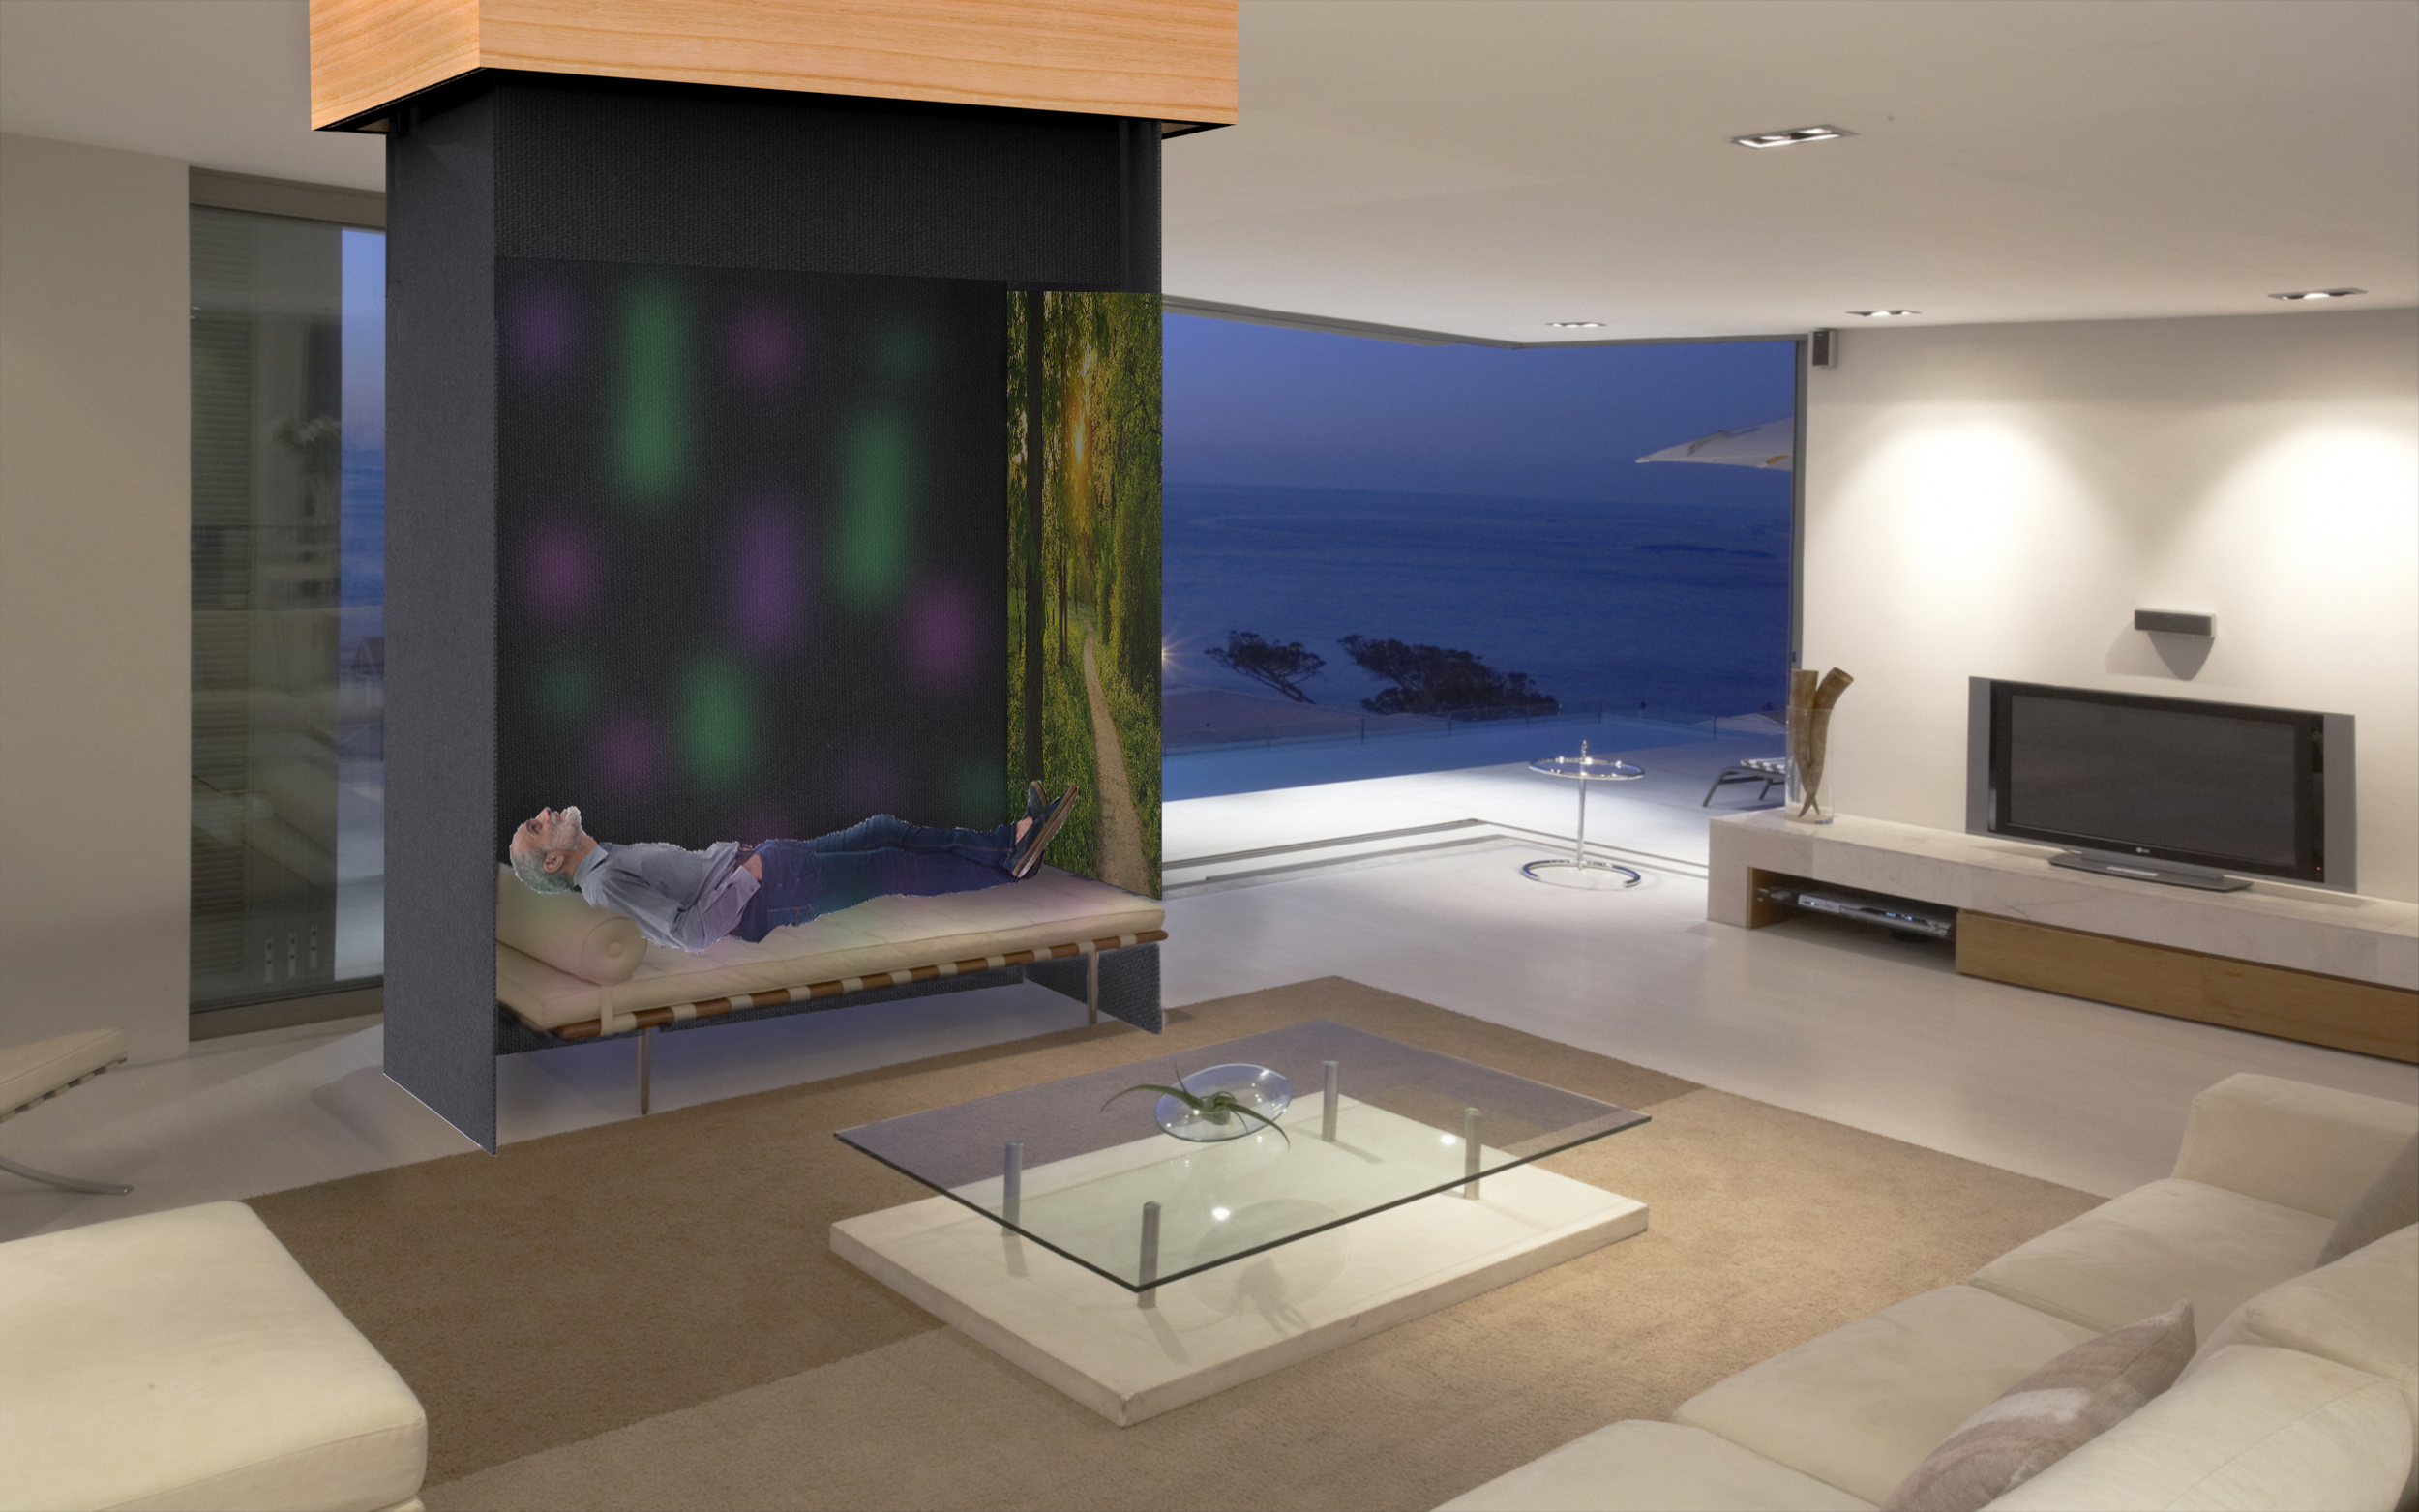
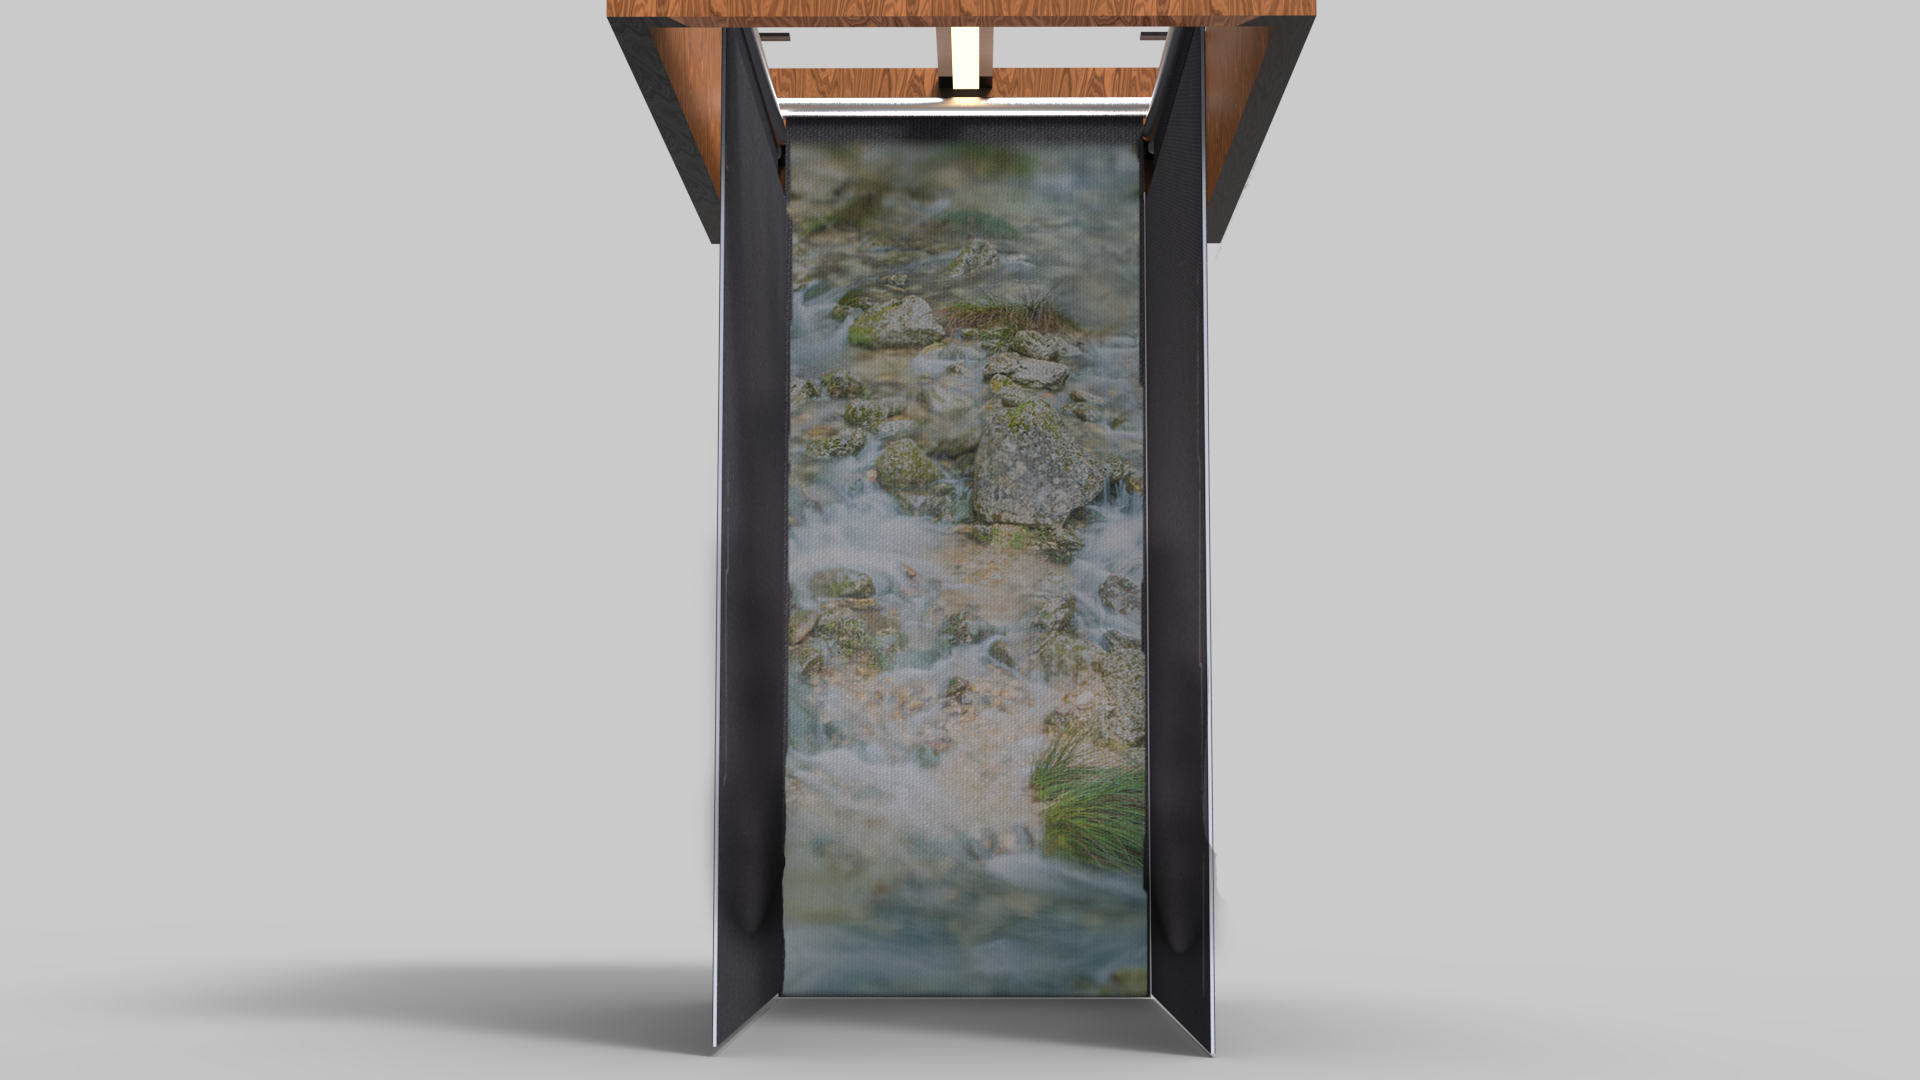
We all know that in a fast-paced world, relaxation needs to be prioritized. Everyone finds their peace in different ways. Some use meditation, but roommates, neighbors, or your own mind can seem to be working against you. Another way was sensory deprivation tanks that were very expensive but very useful.
I wanted to create a small escape that could be installed in your own home, workplace, public buildings, and more. Finding a way to customize your own peace was the top priority.

Concept Creation
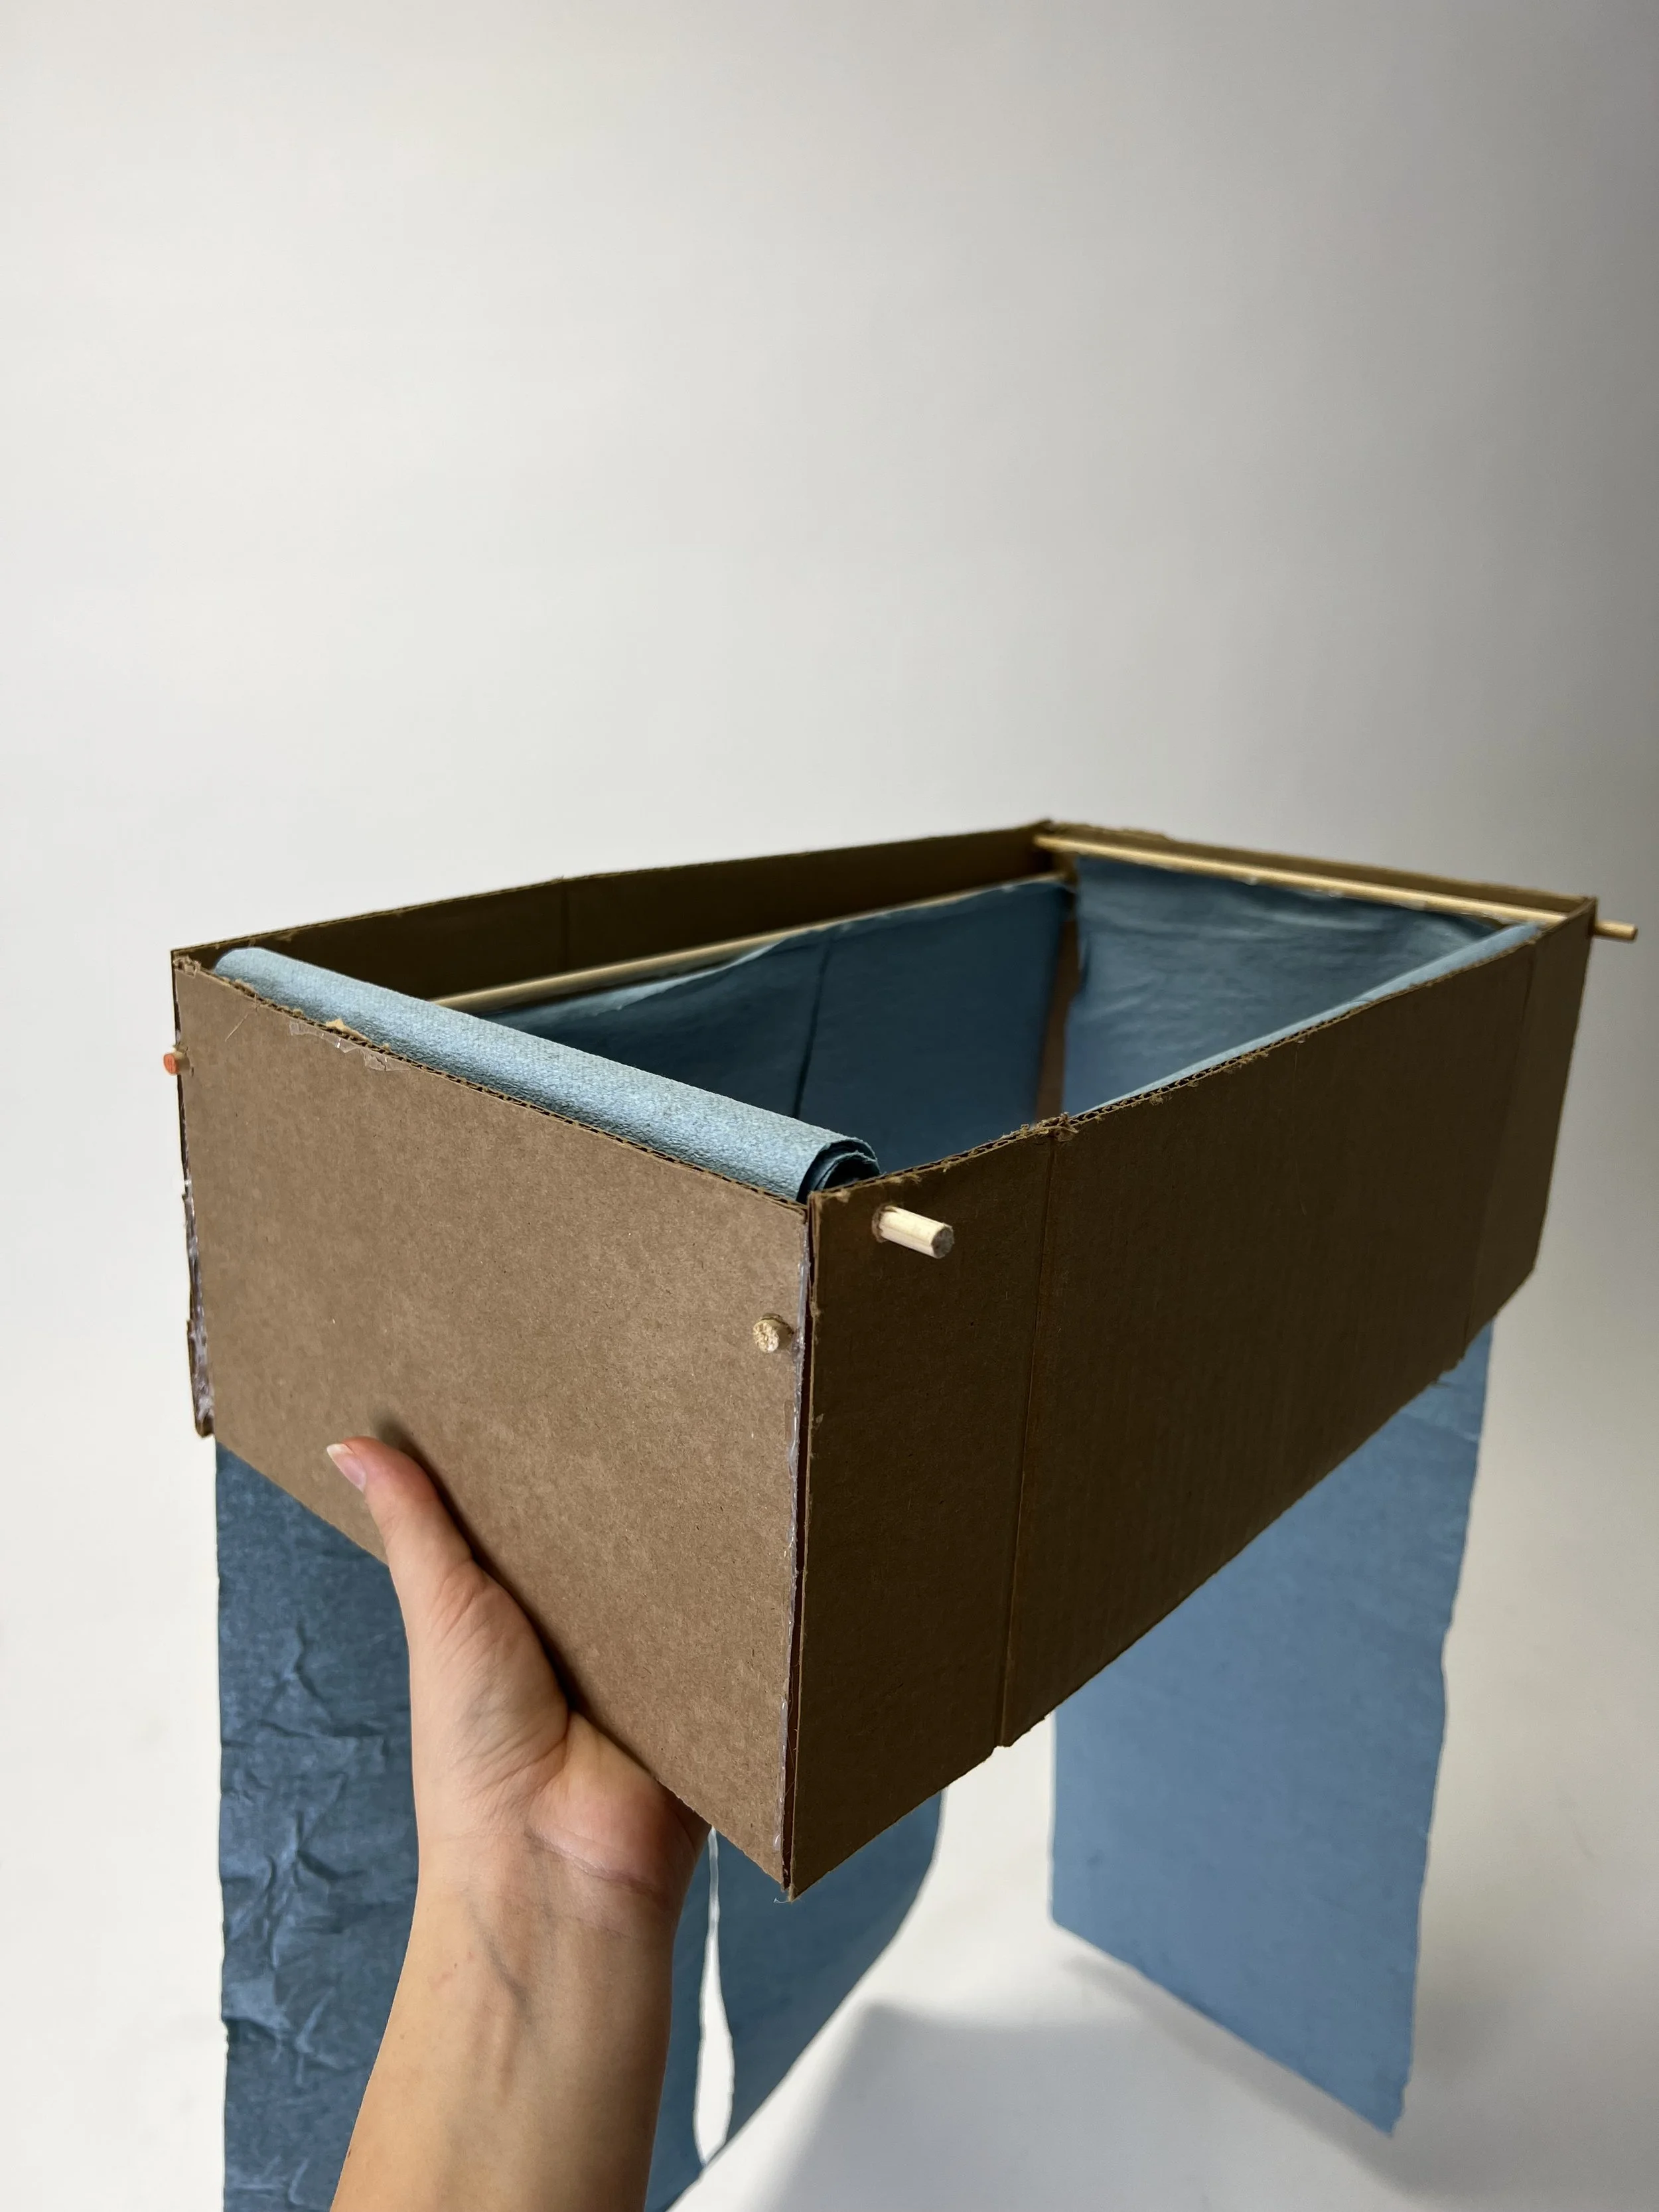
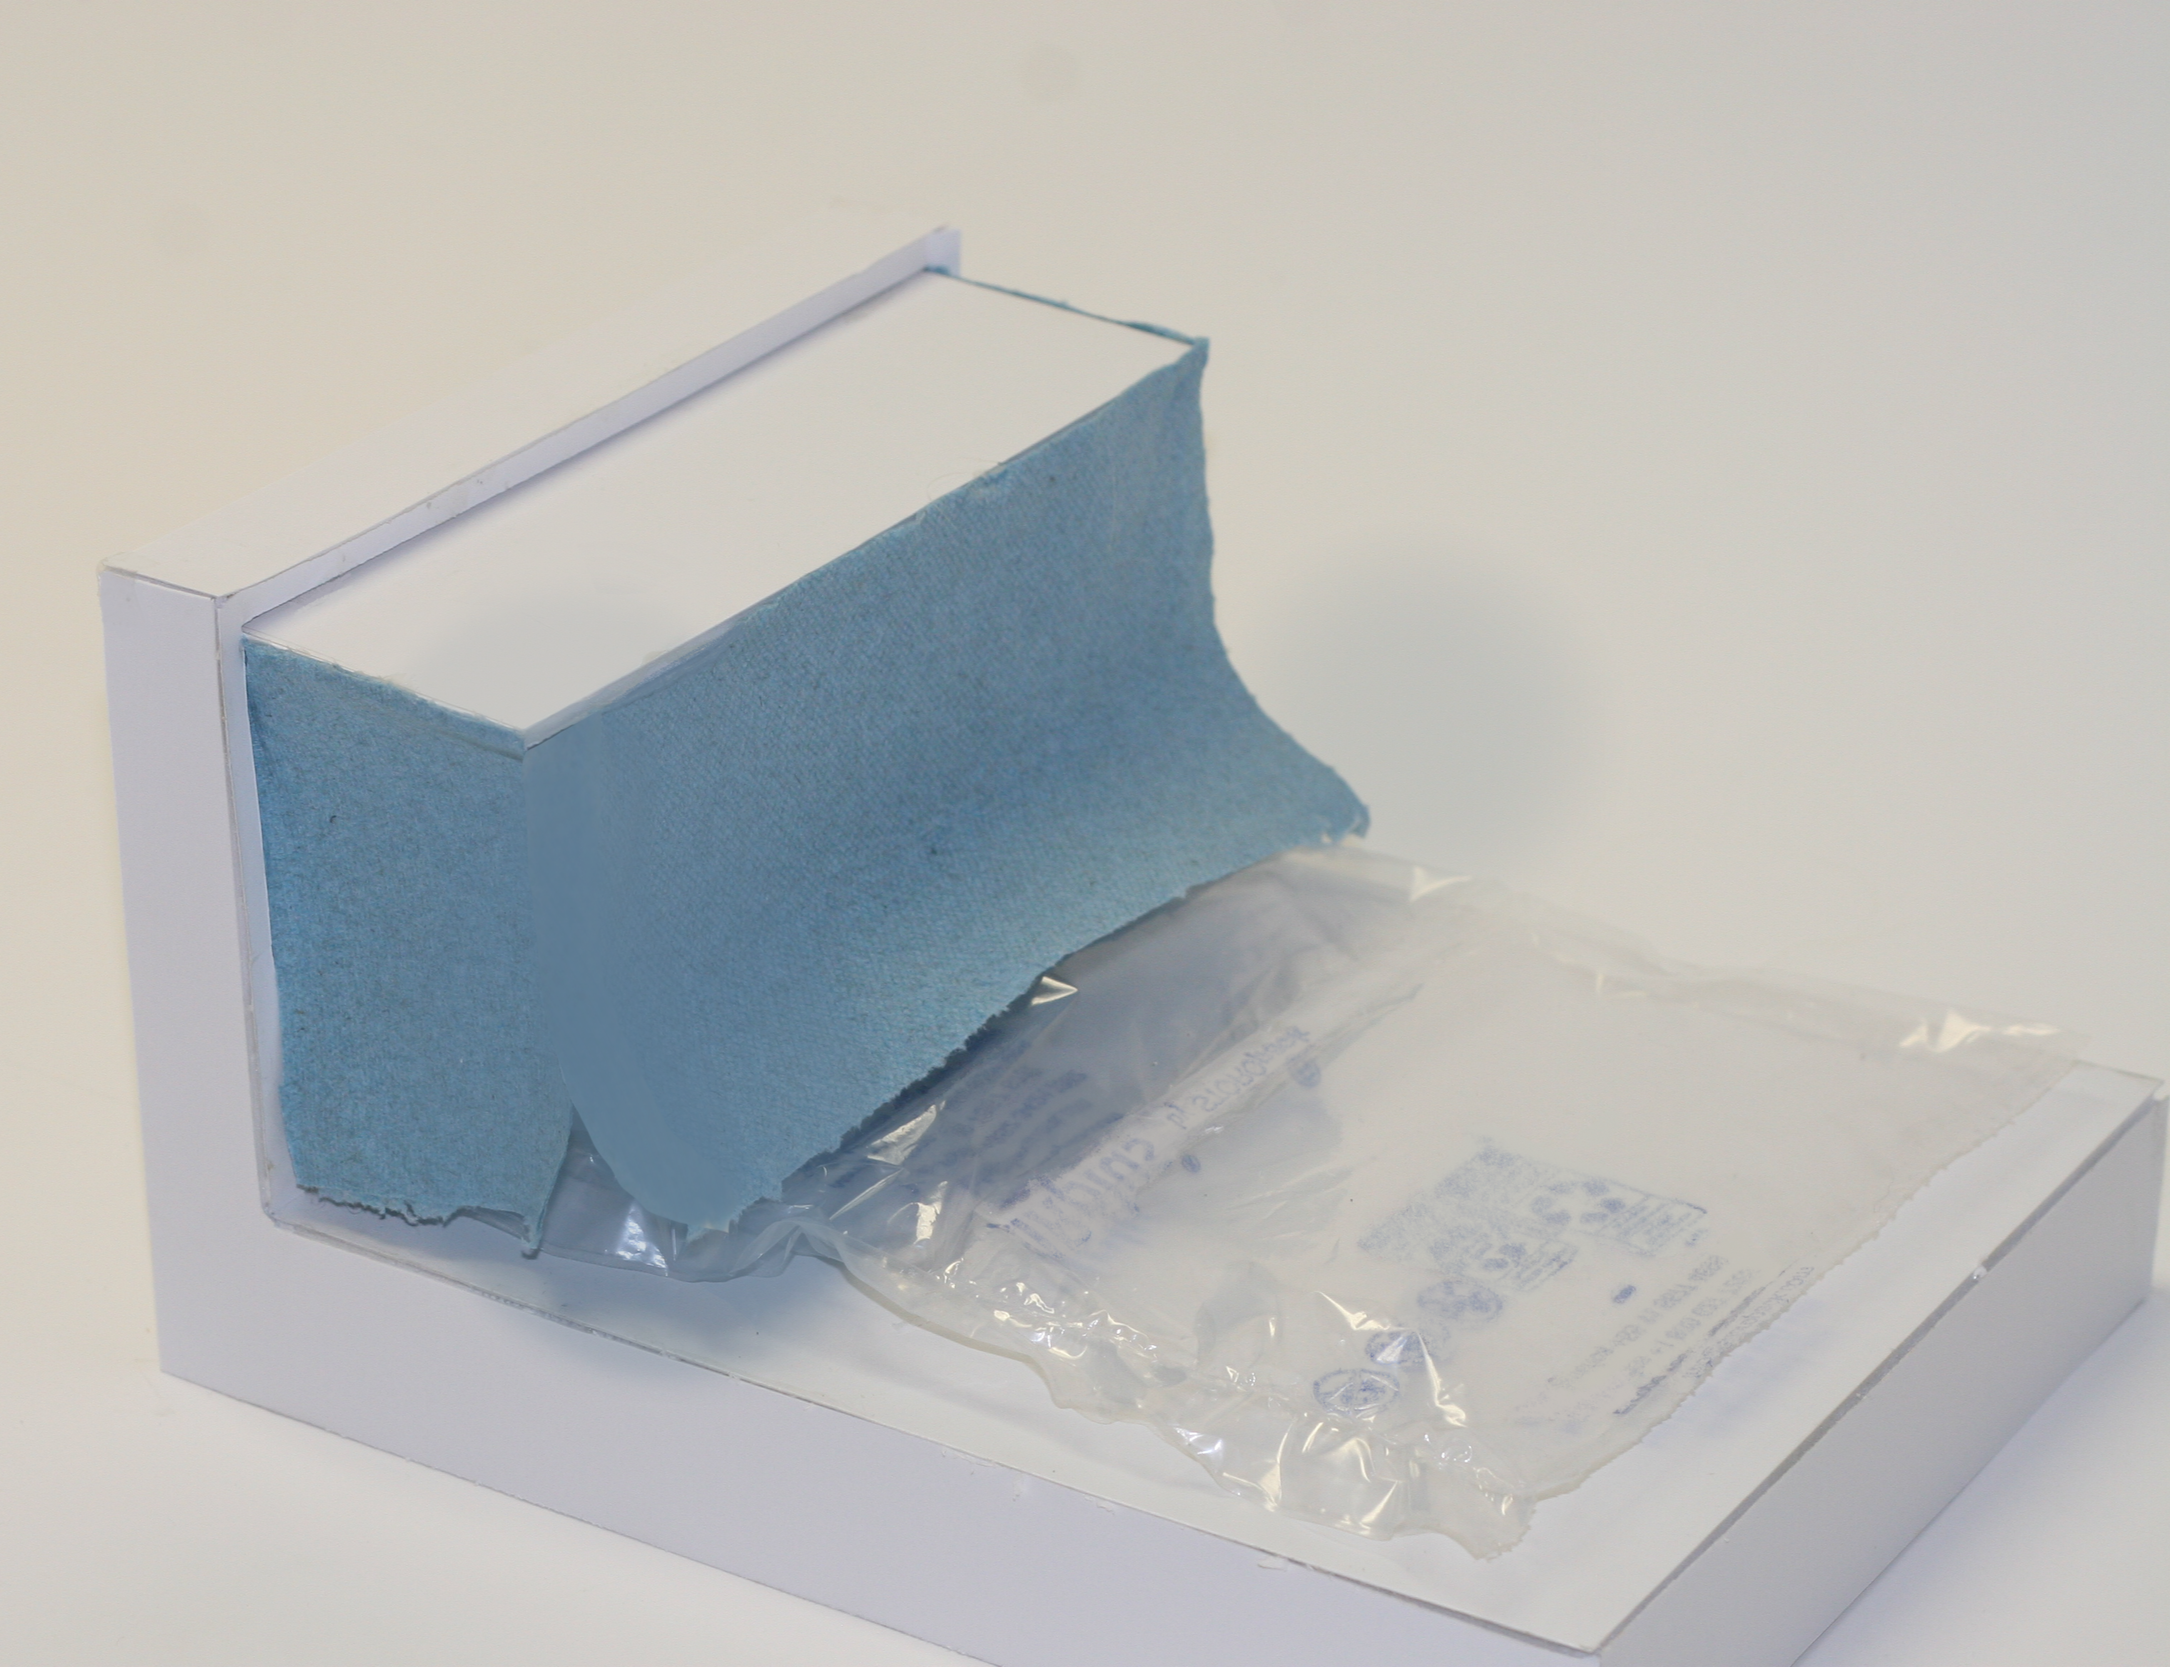
Once I decided what issue I wanted to solve, I got to work again. Also, making this a modular design made it appealing to renters and homeowners alike. Realizations such as controlling the speed of rollers, how to create total blackout curtains, and understanding what relaxes us all were trials throughout the process.
Final Model and Presentation
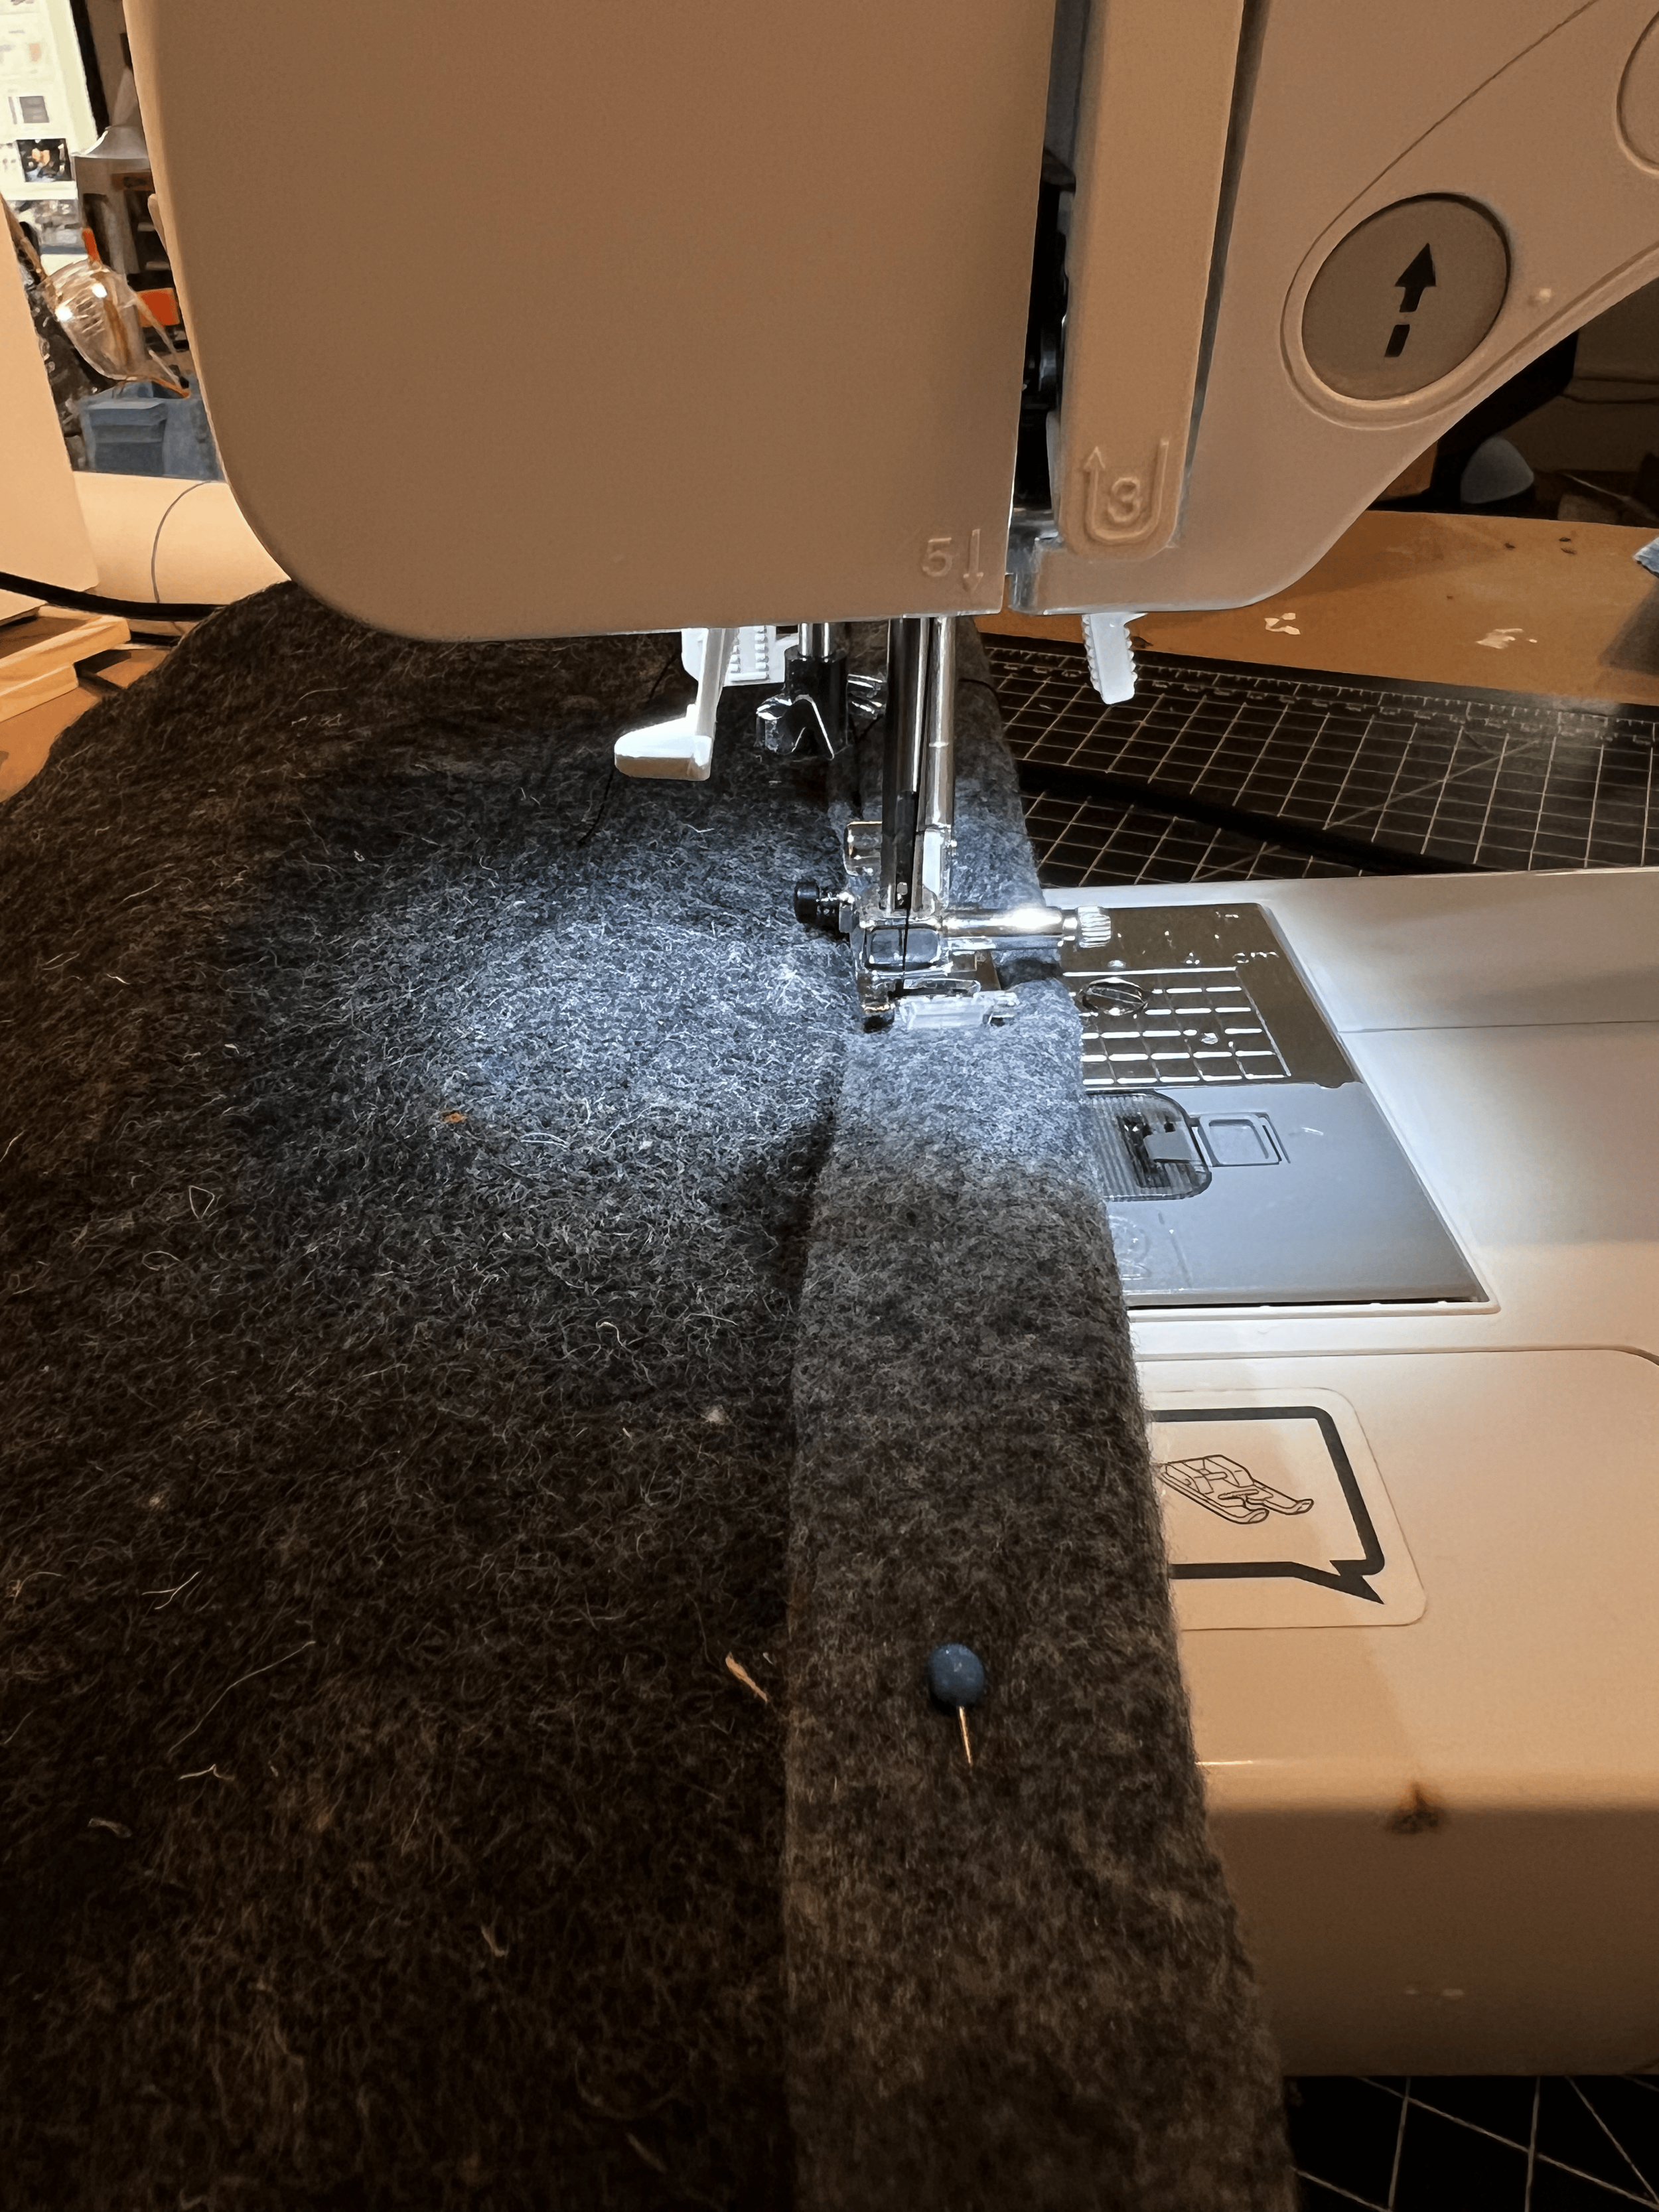
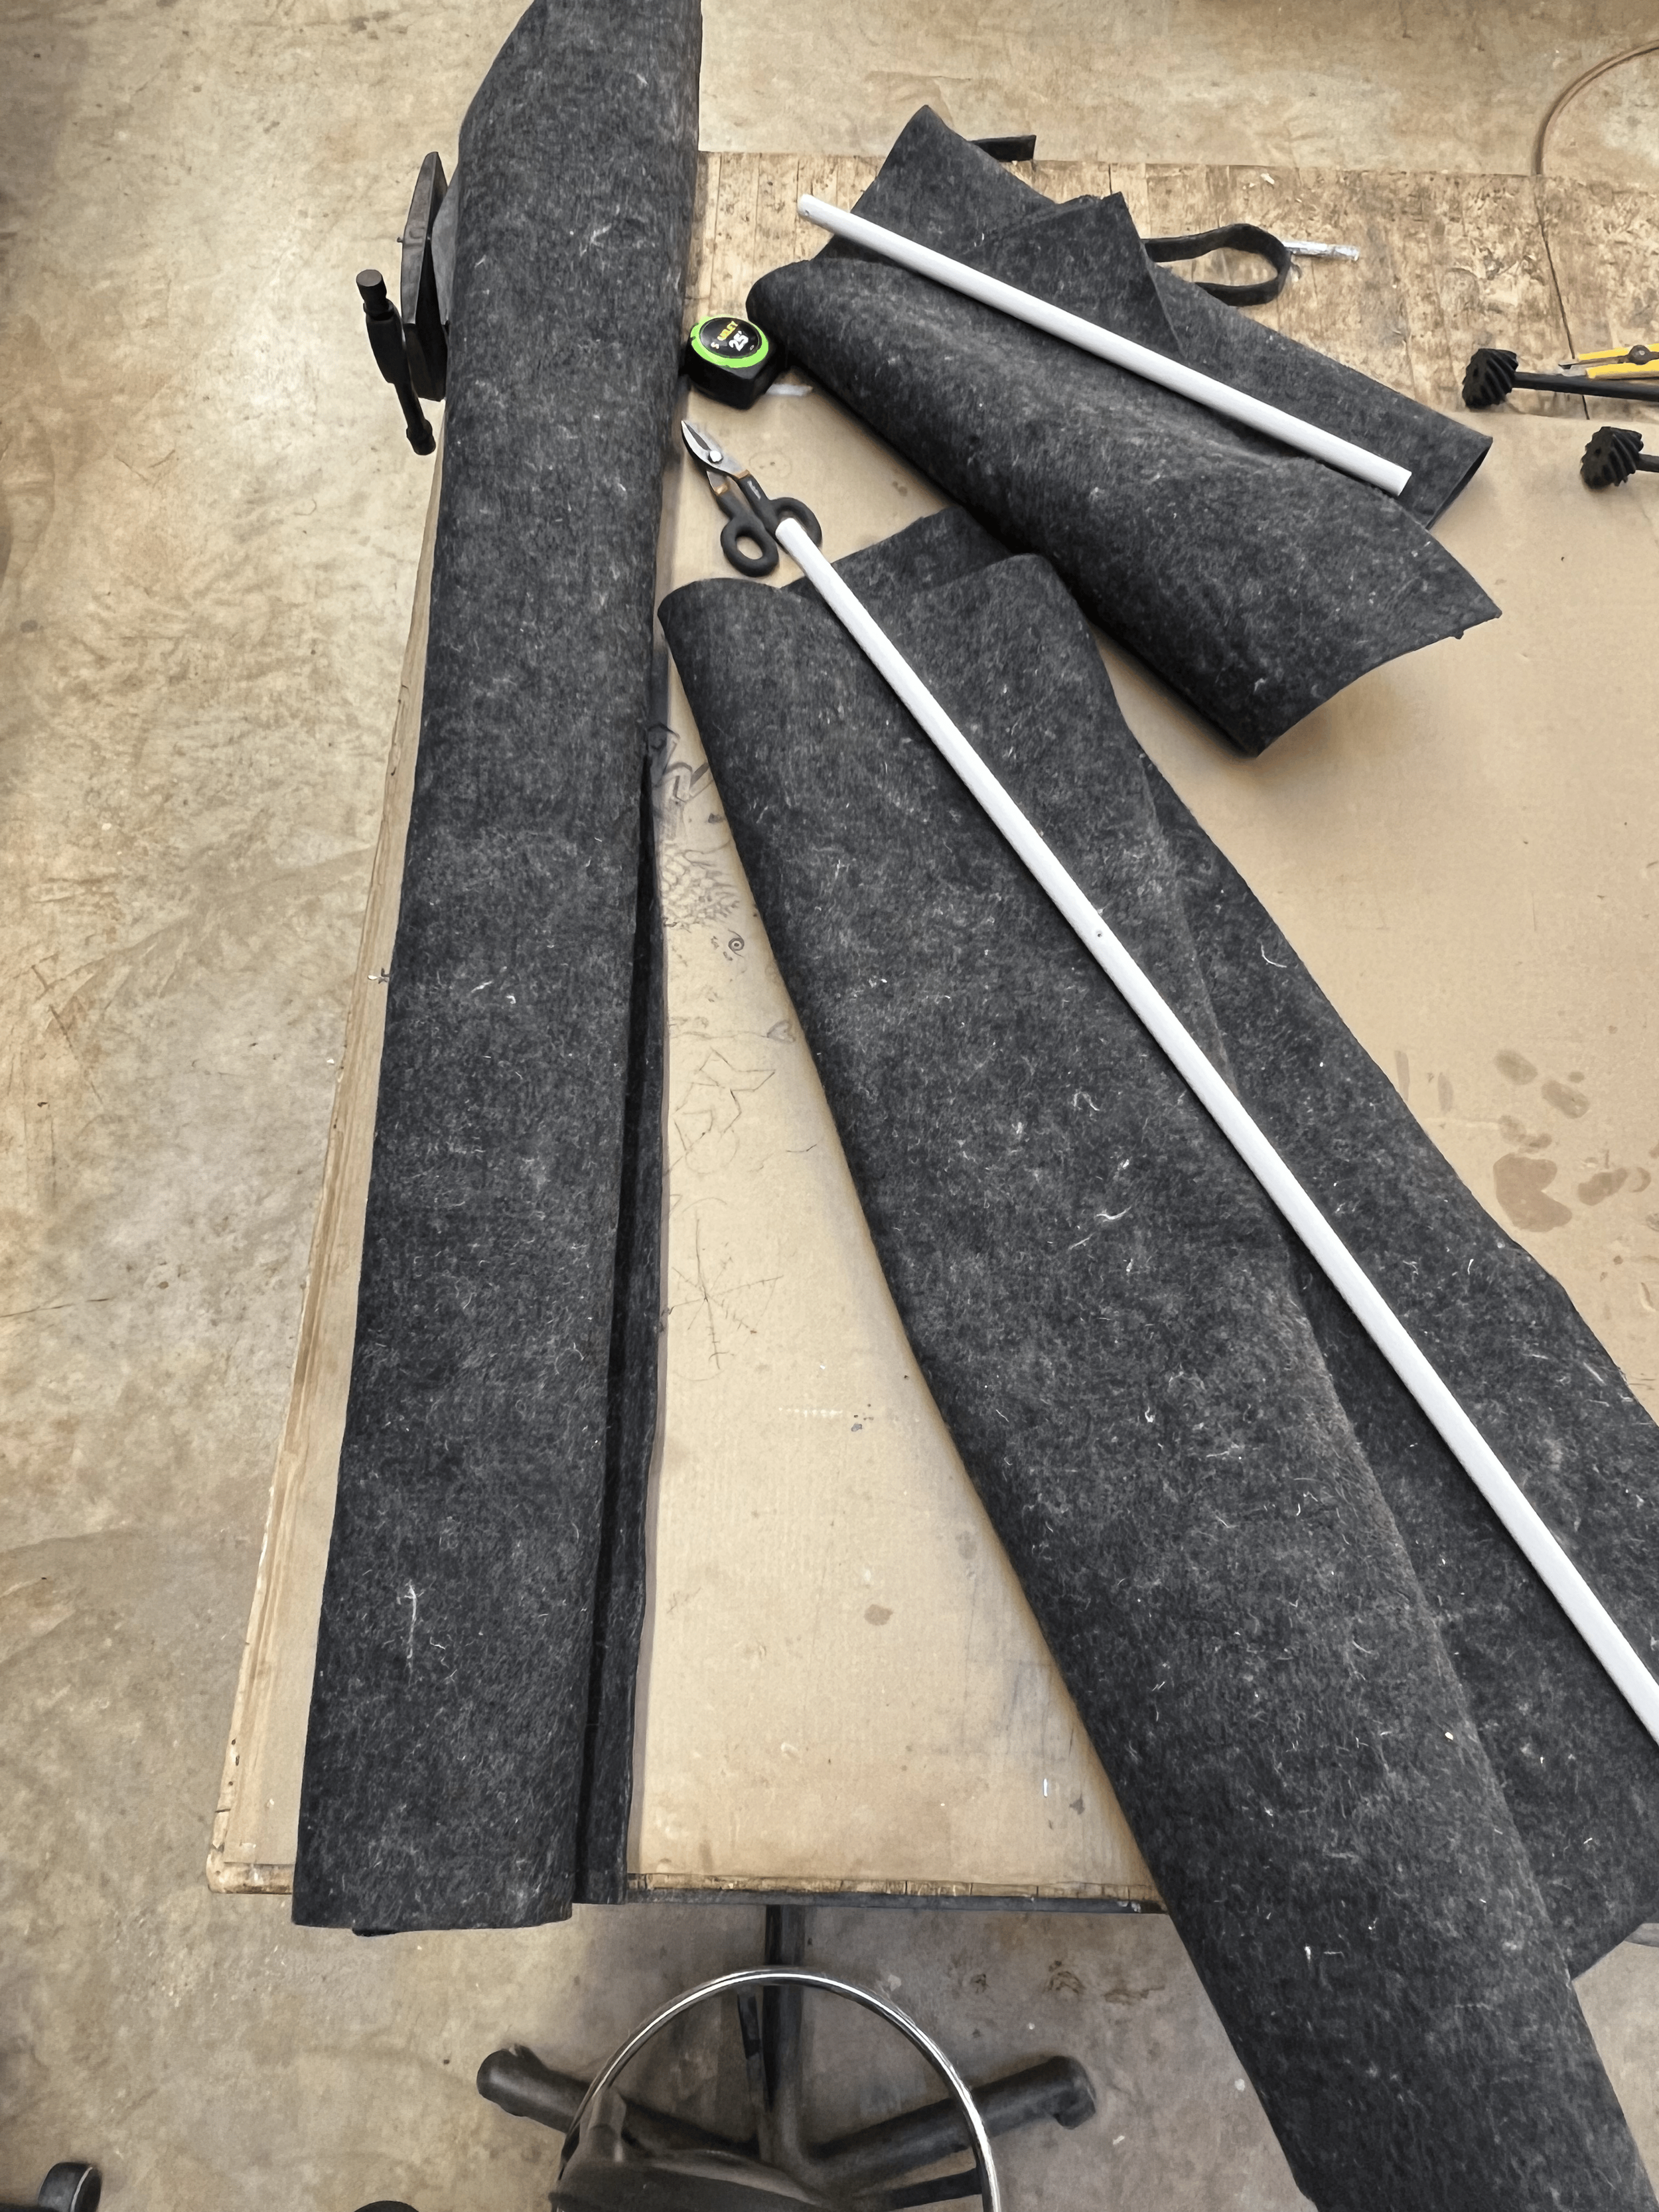
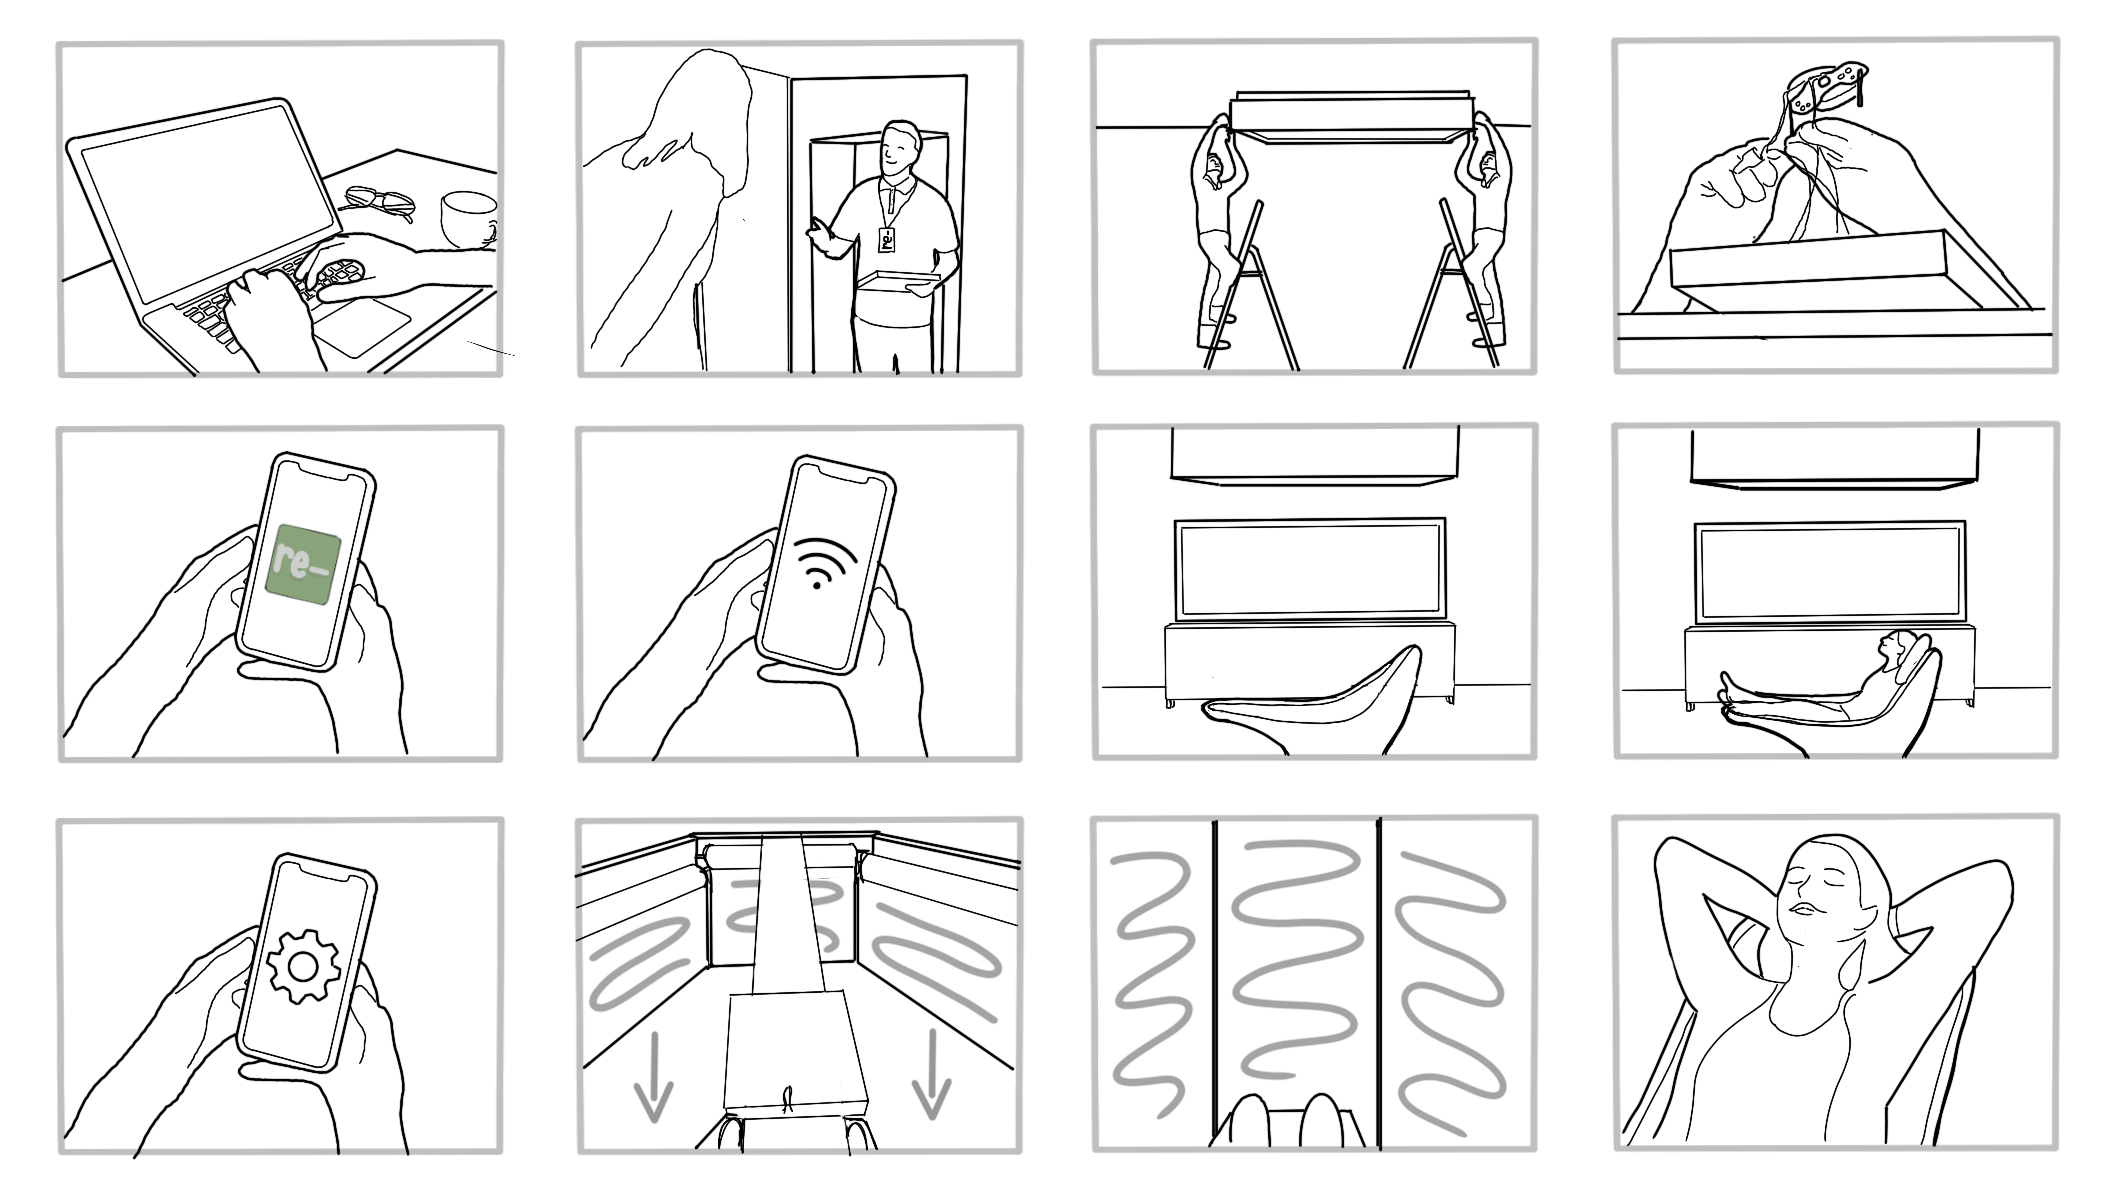
The final steps were making it real and making it pretty! Creating the roll-down shades to scale was a great learning process in working with so many different materials. Bringing this into CAD and adding all the final aesthetic touches was perfect for presentation to the client and for overall understanding of the product. This project also had an app and visuals, which was another valuable learning experience.
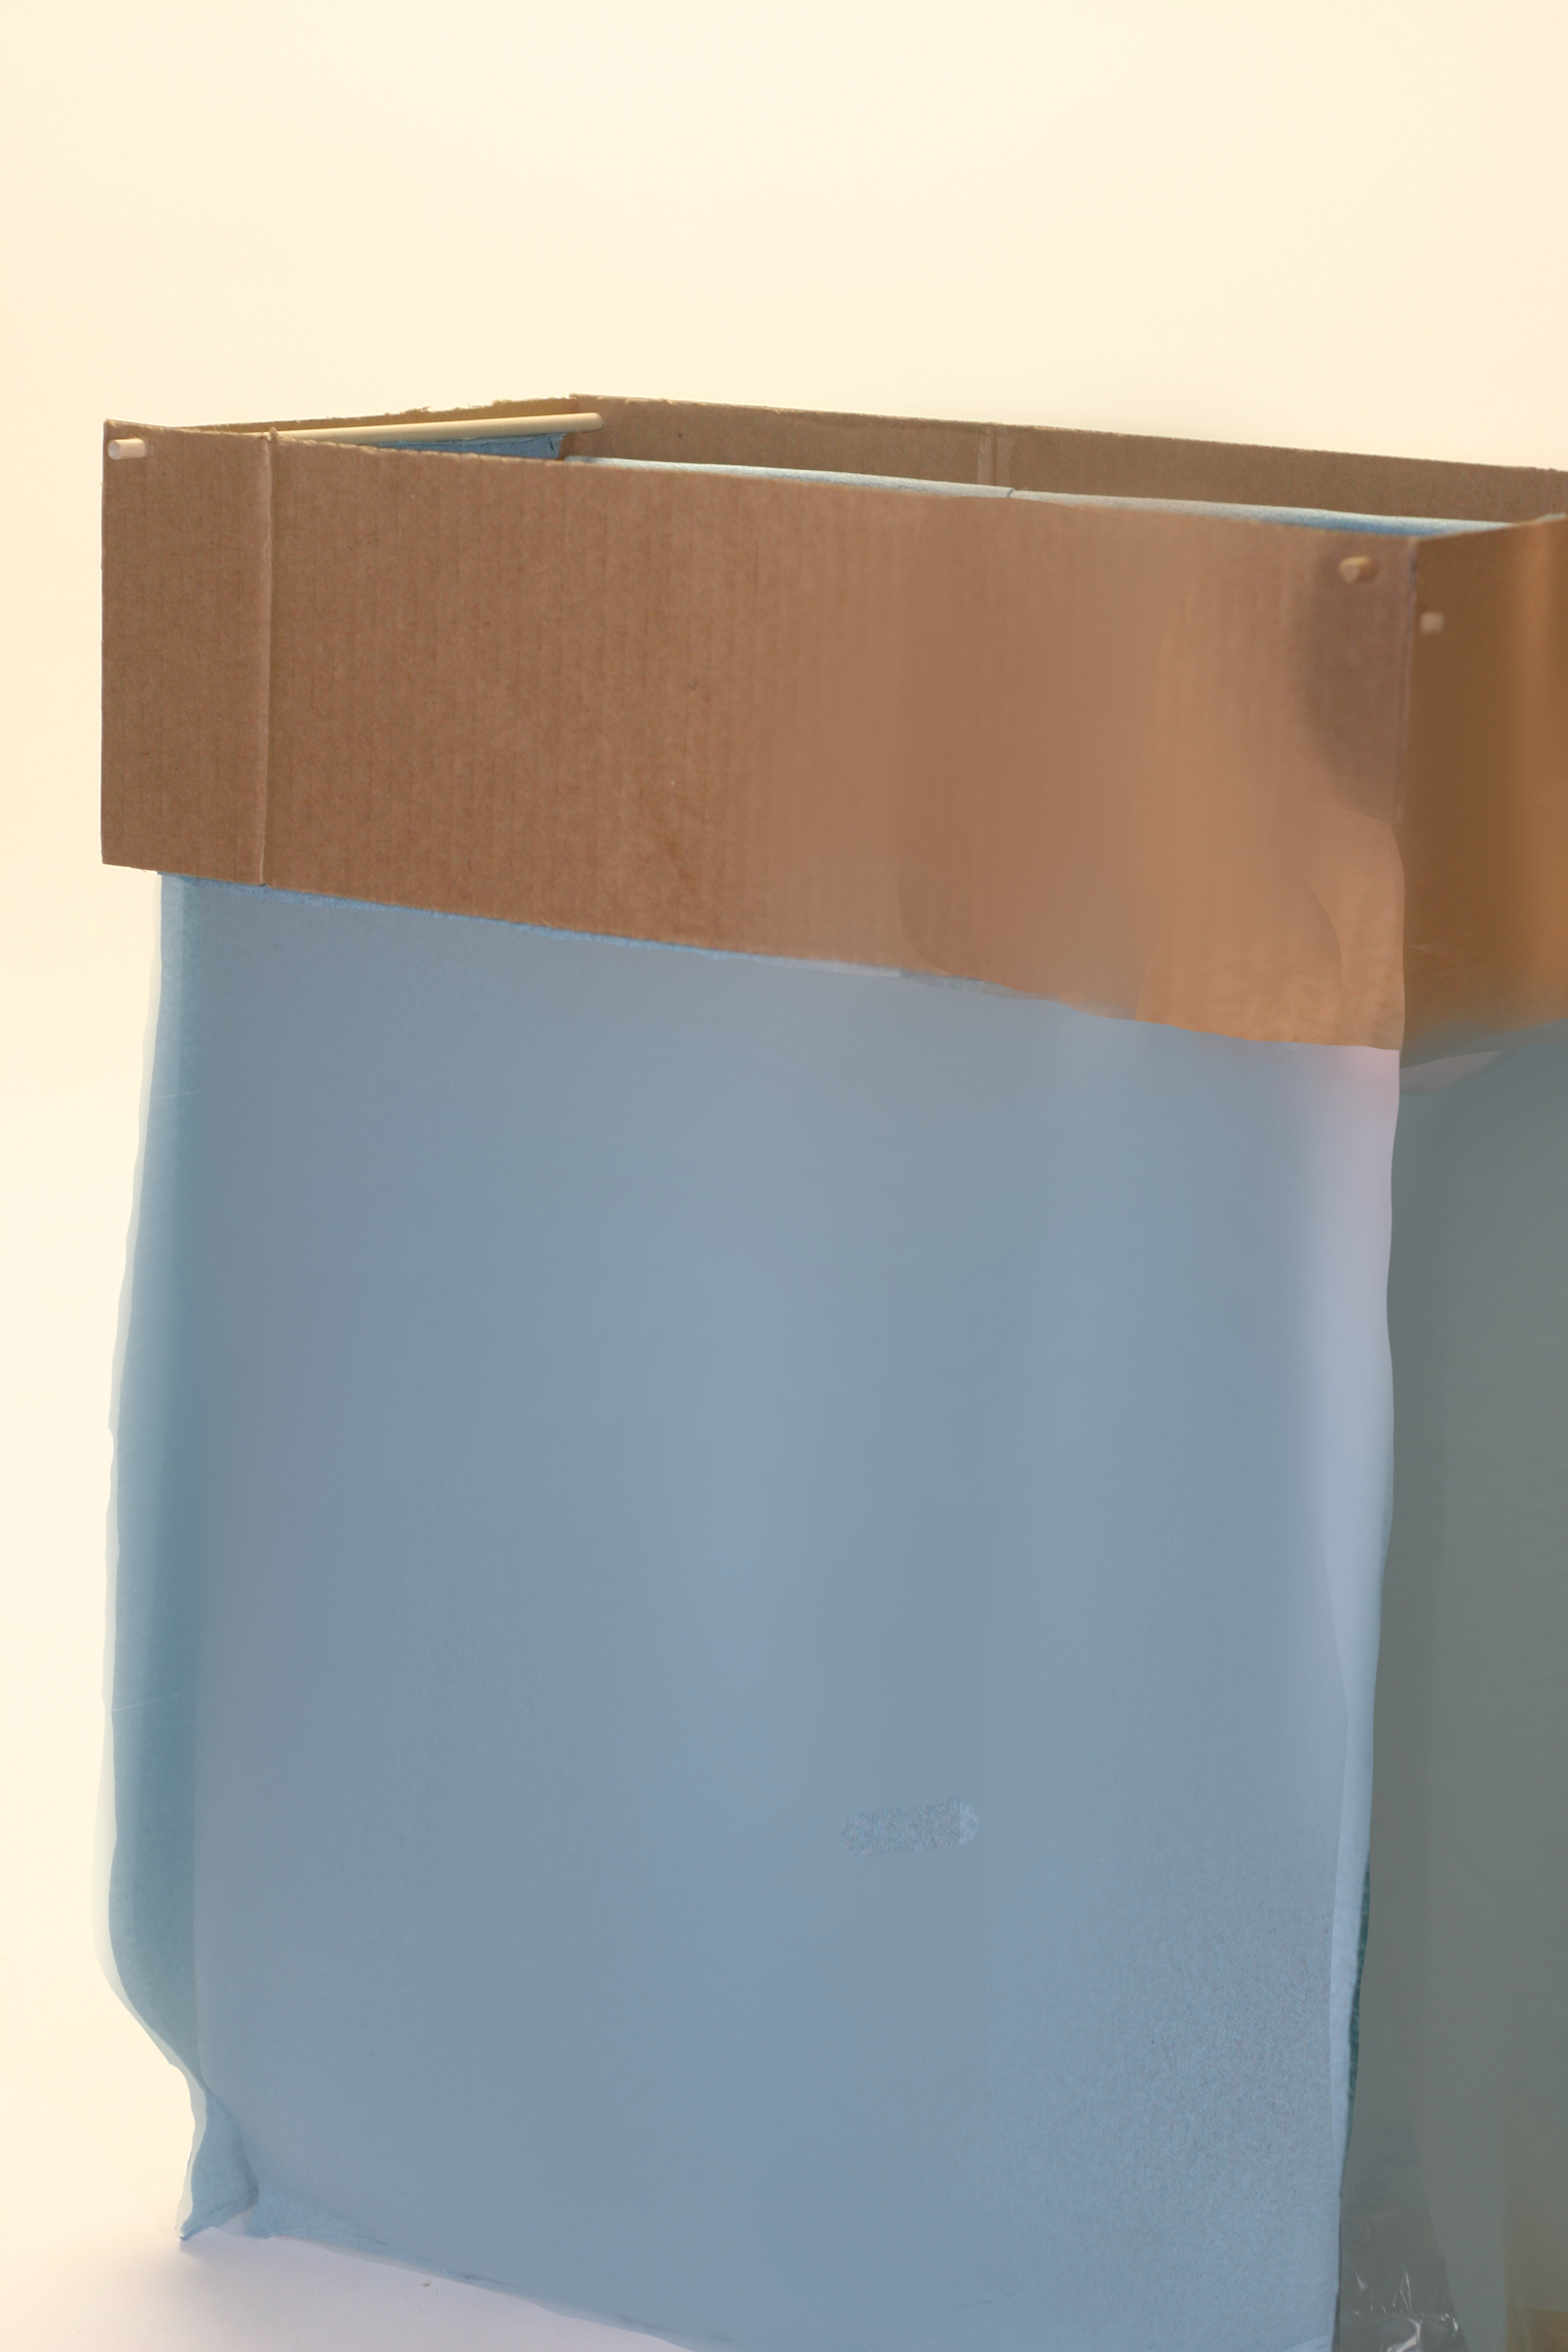

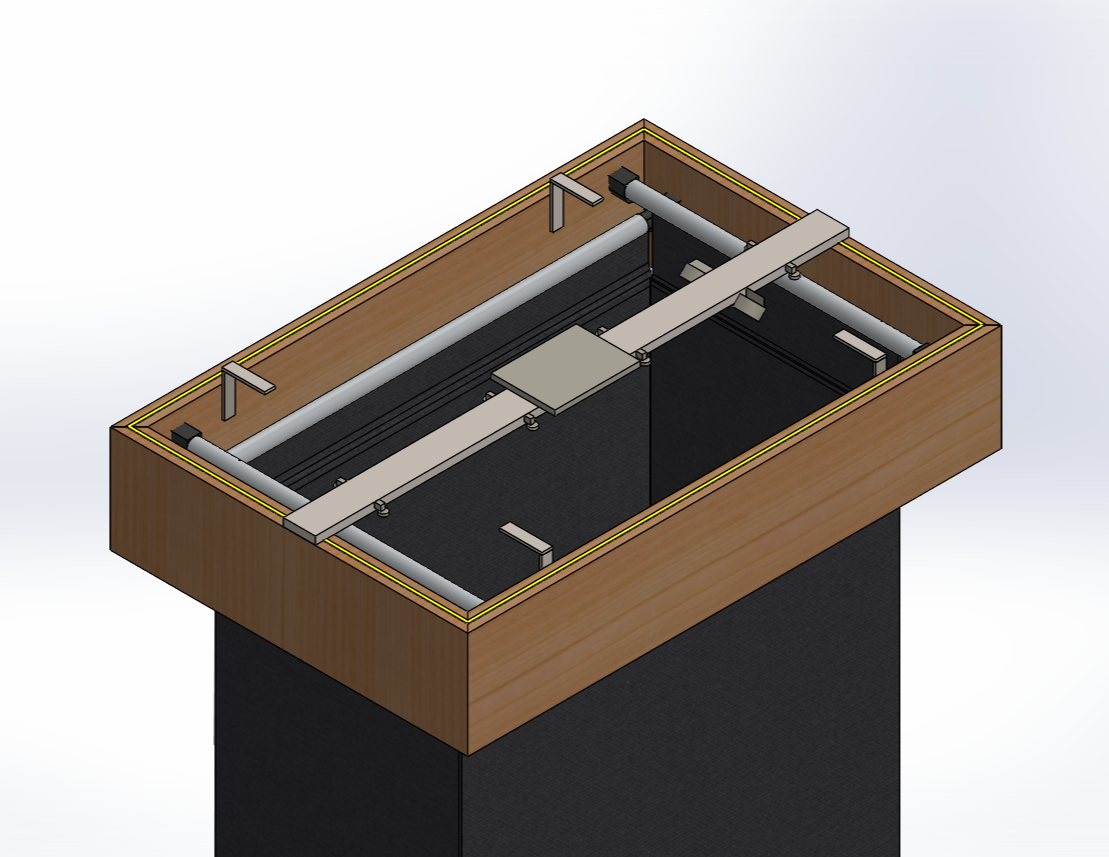
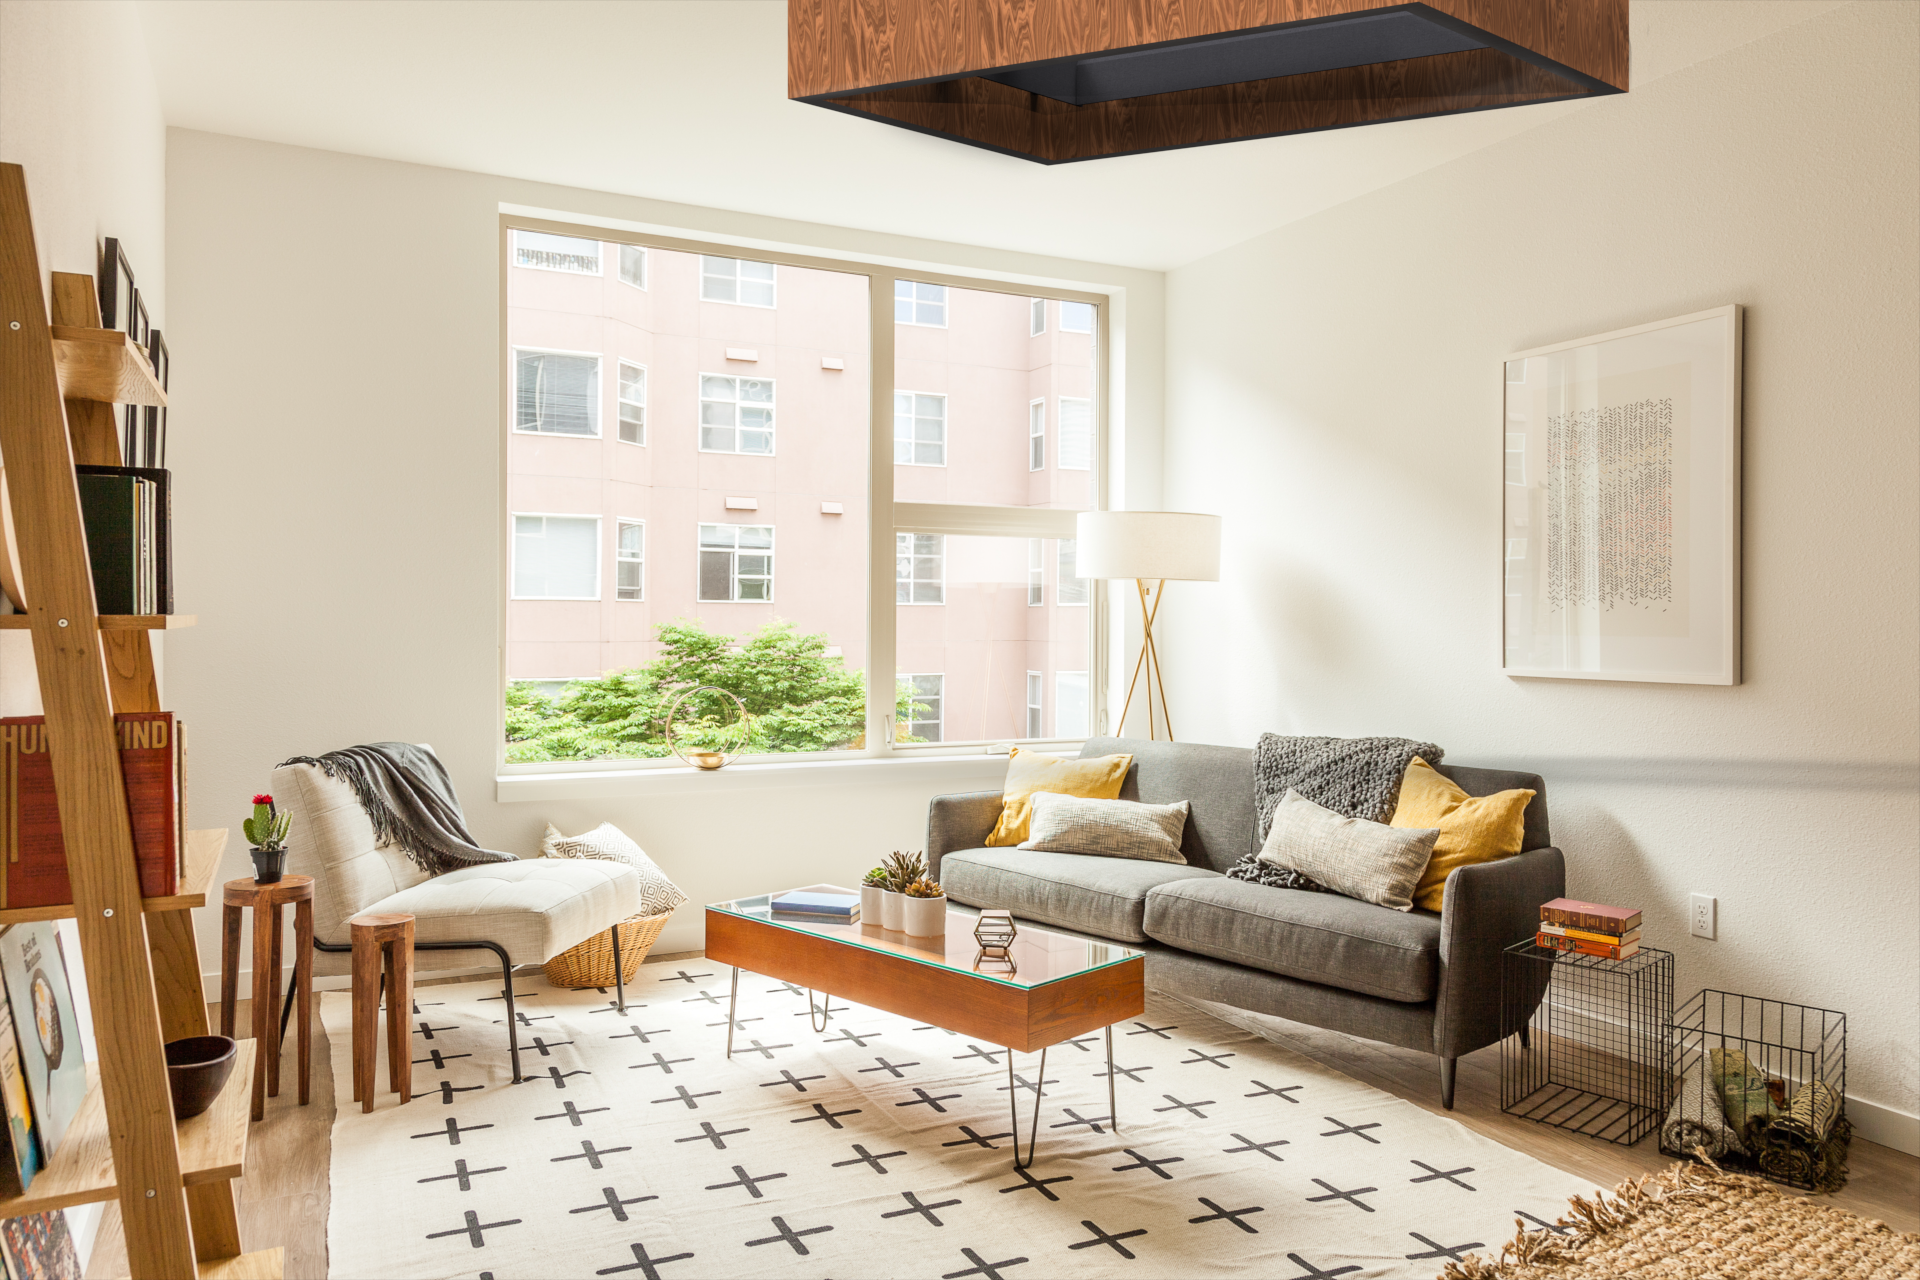
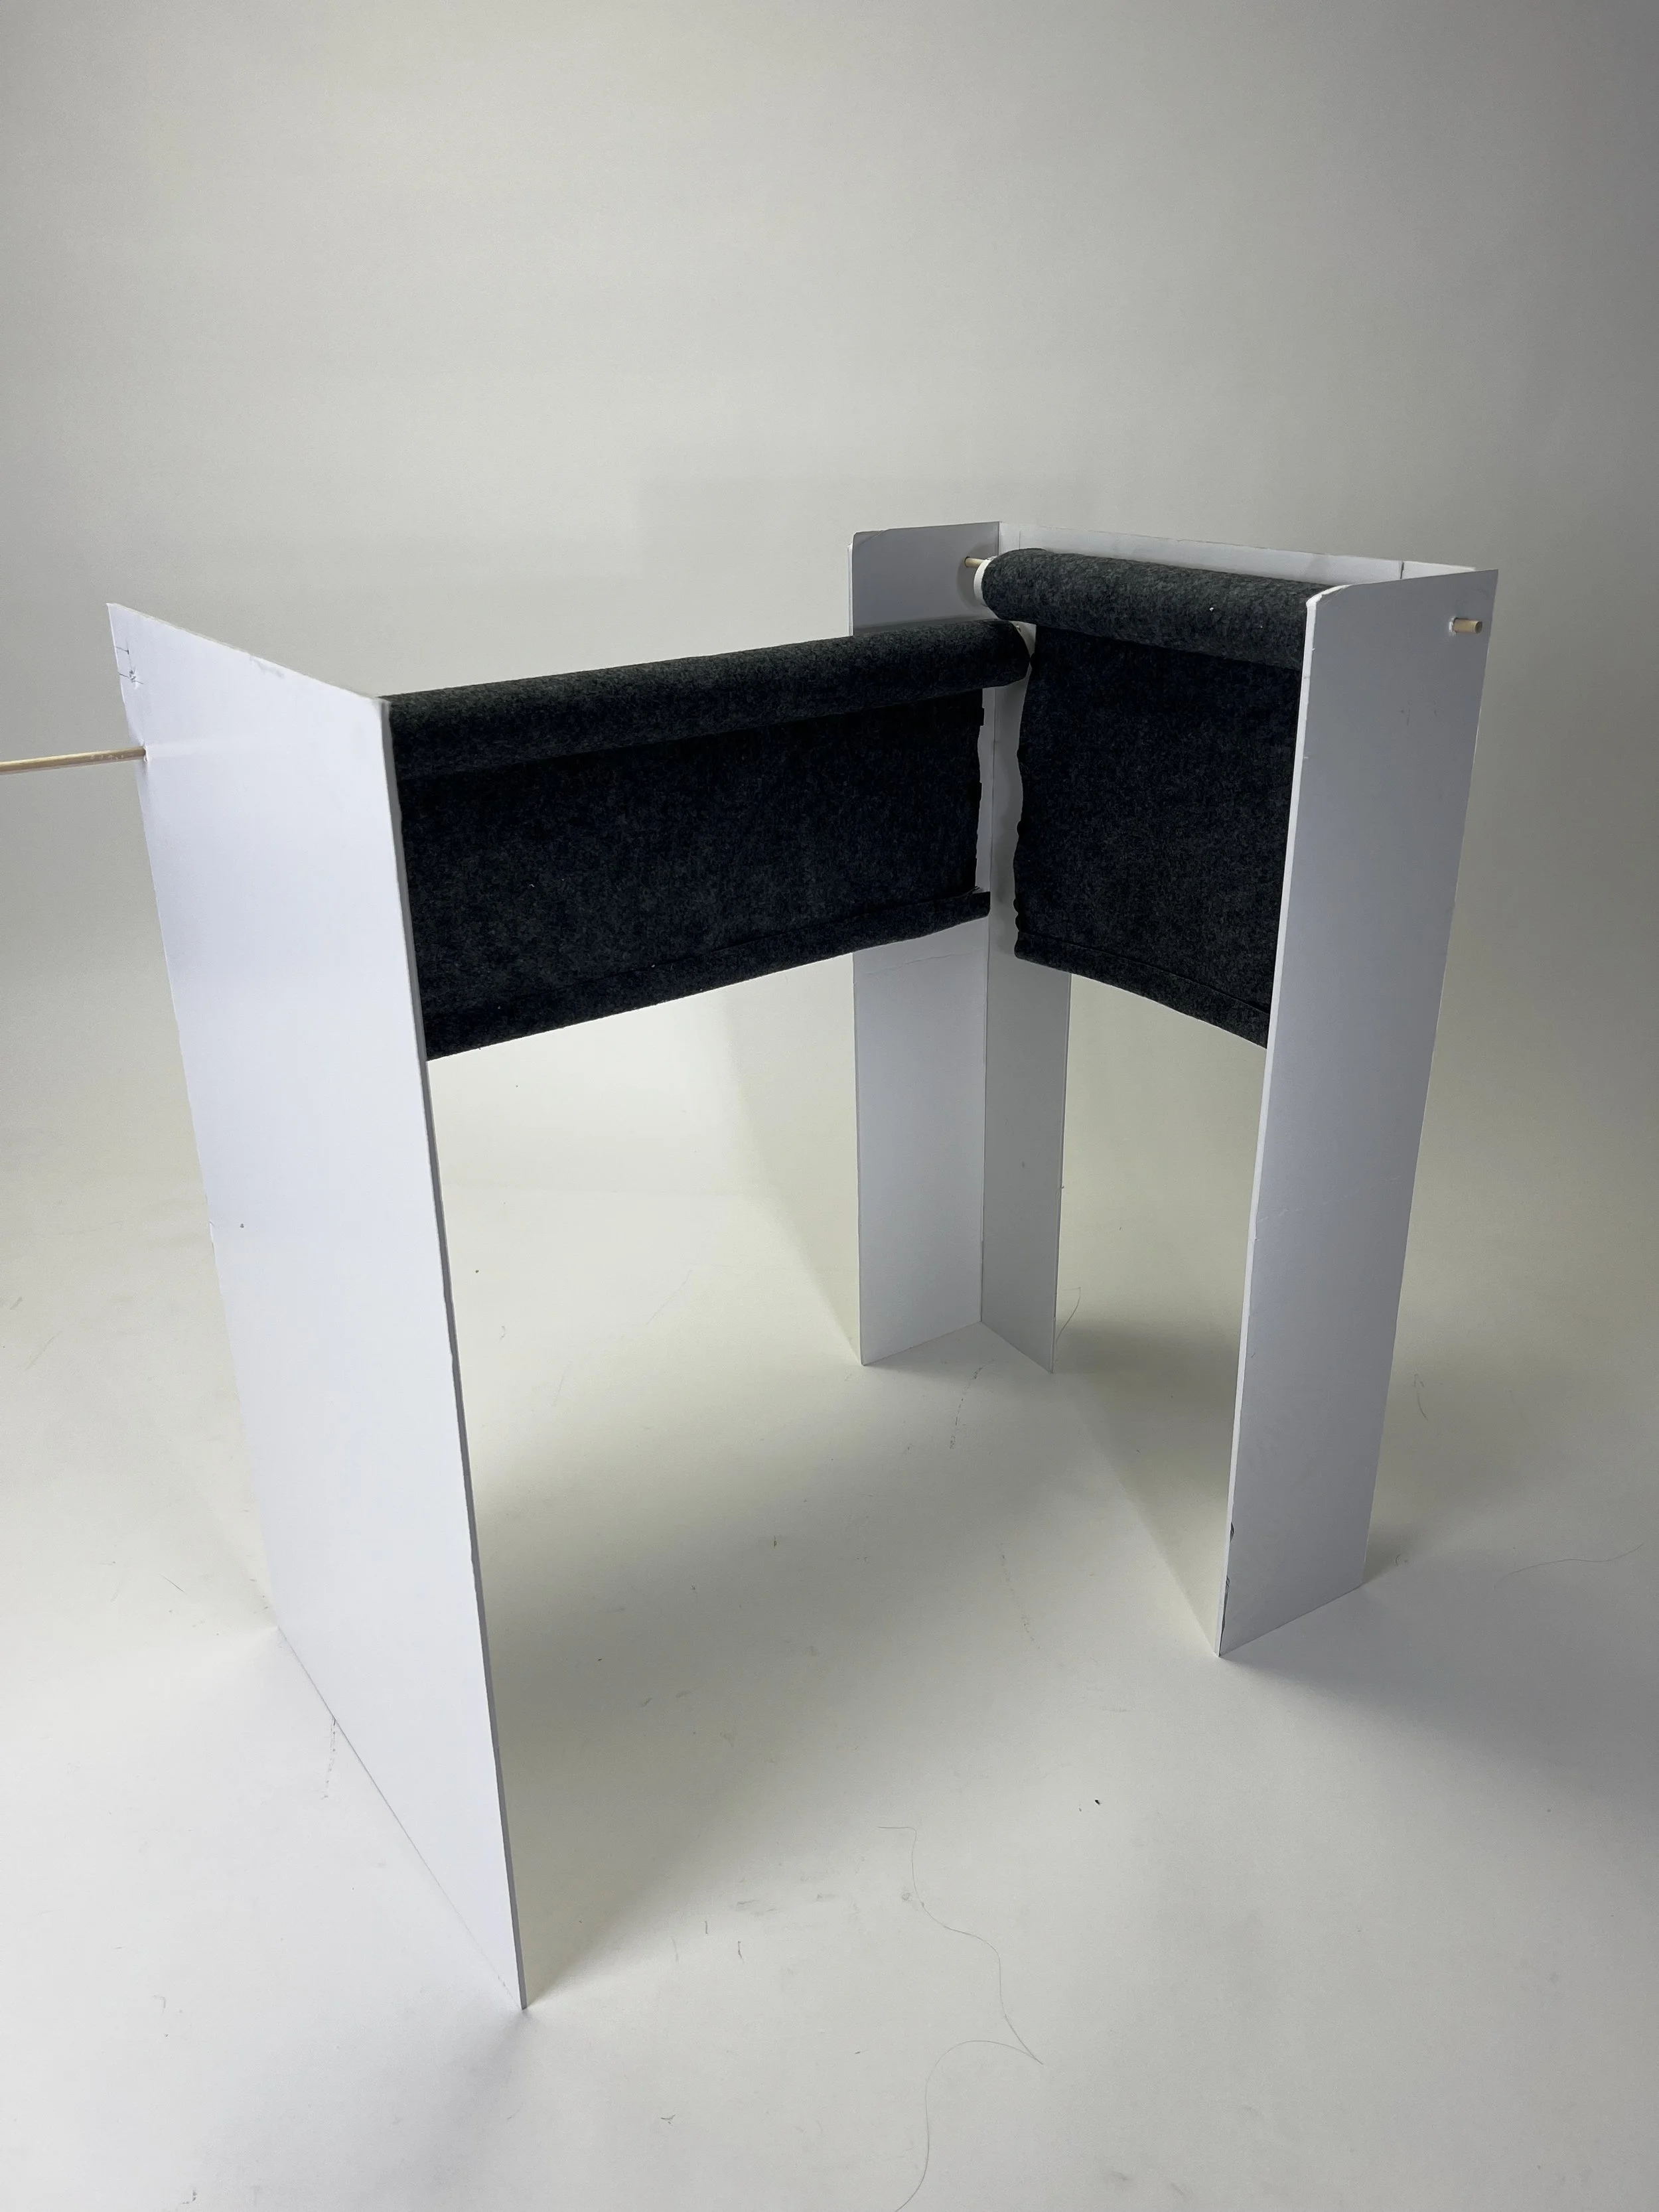
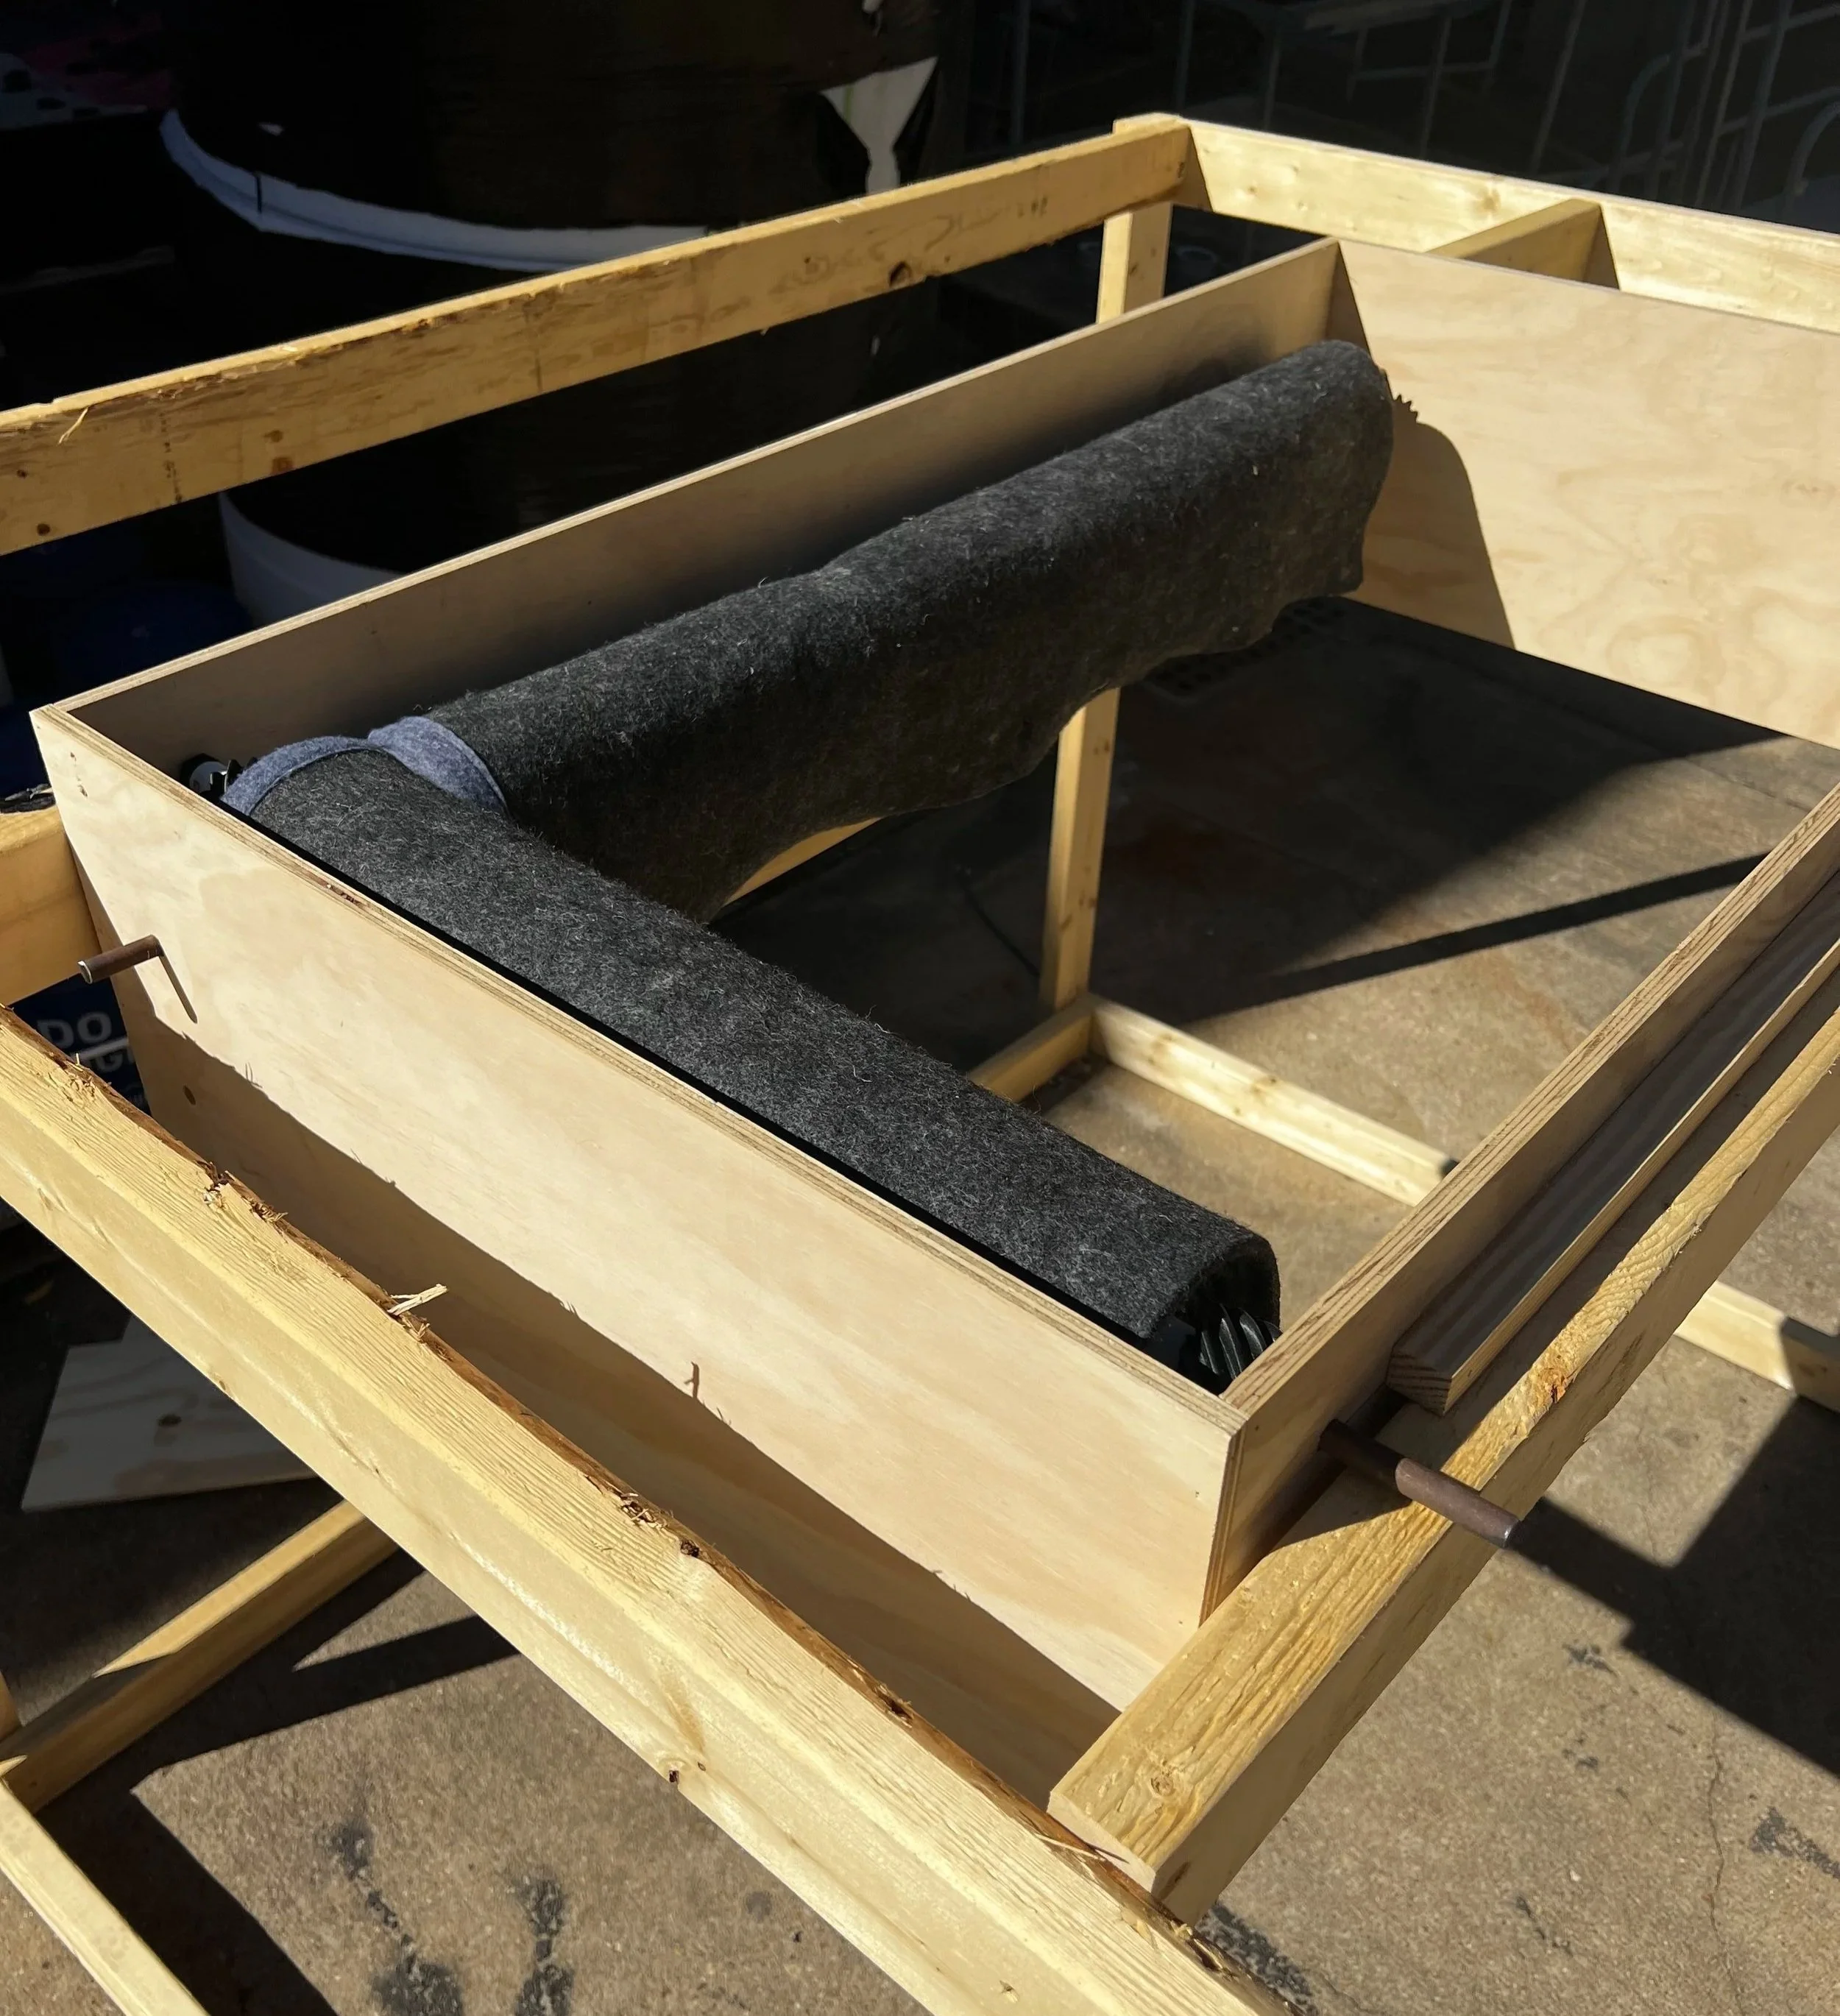
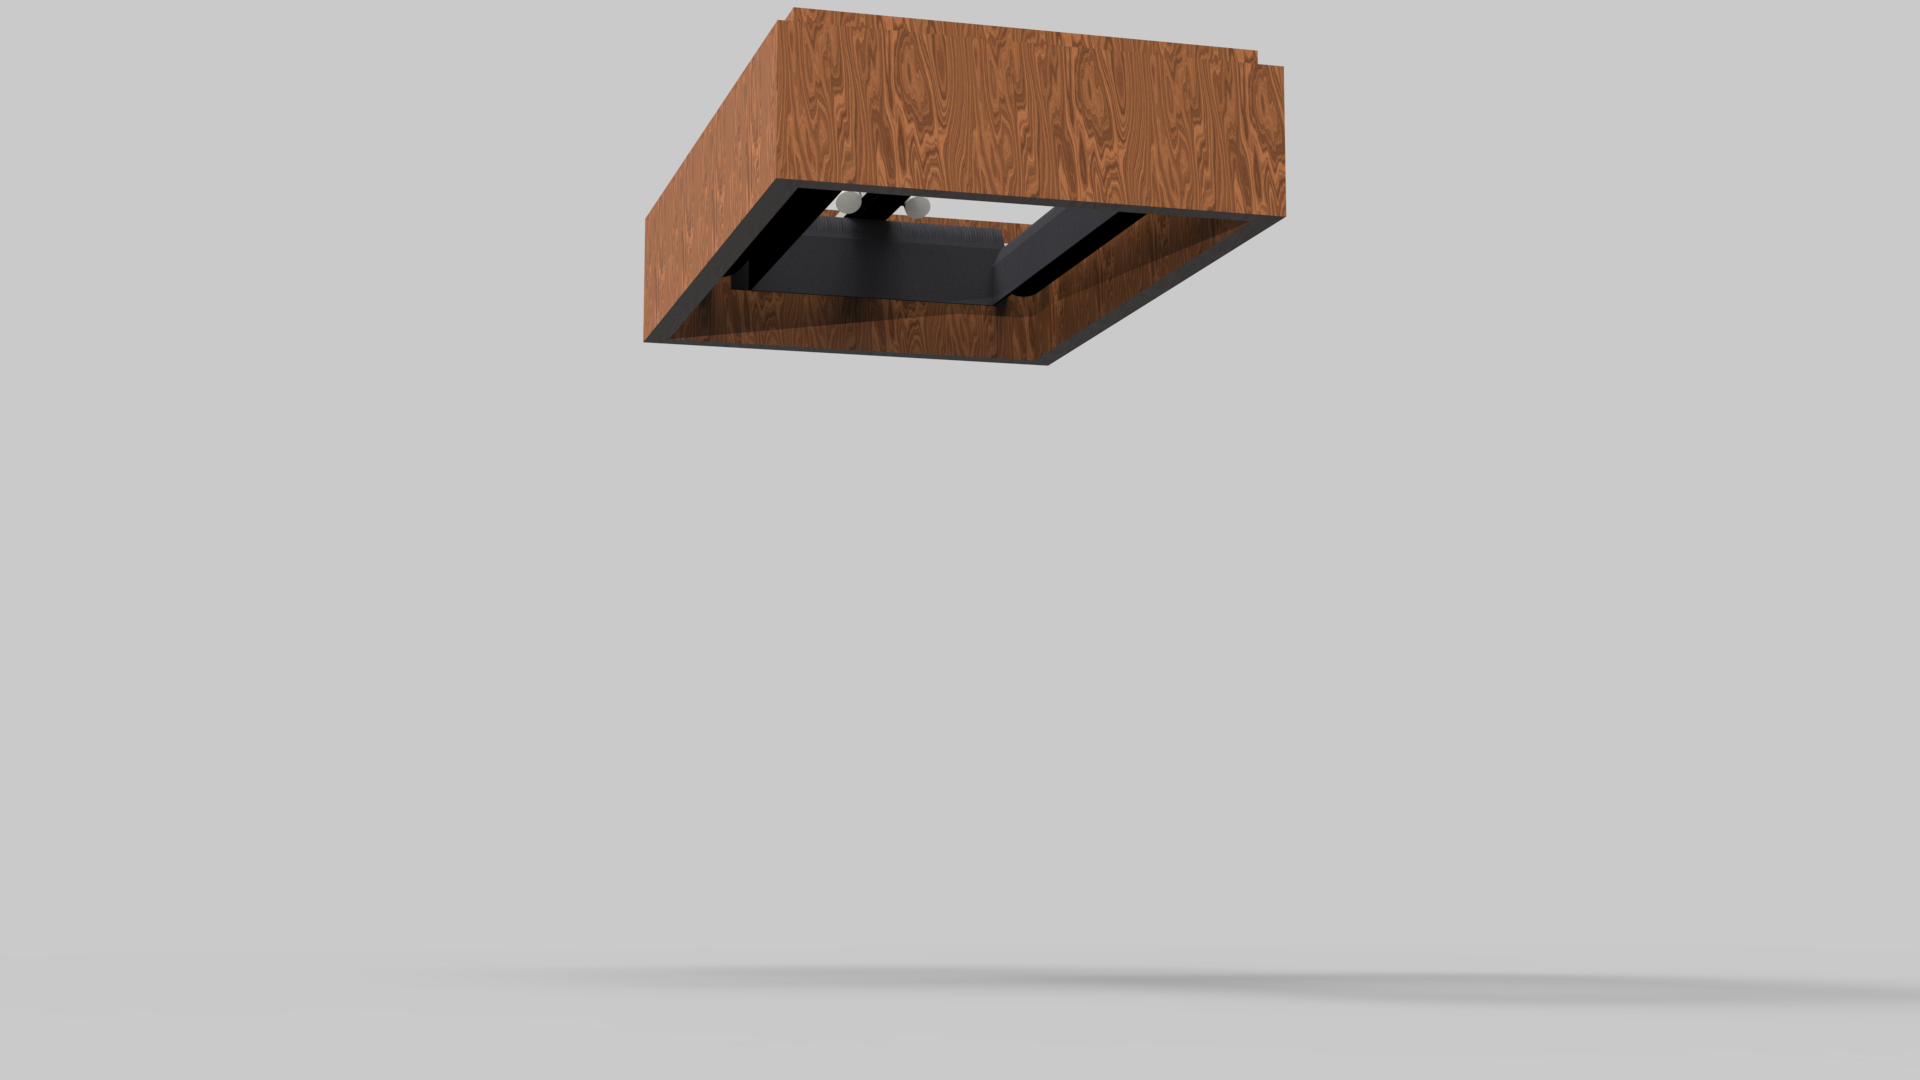
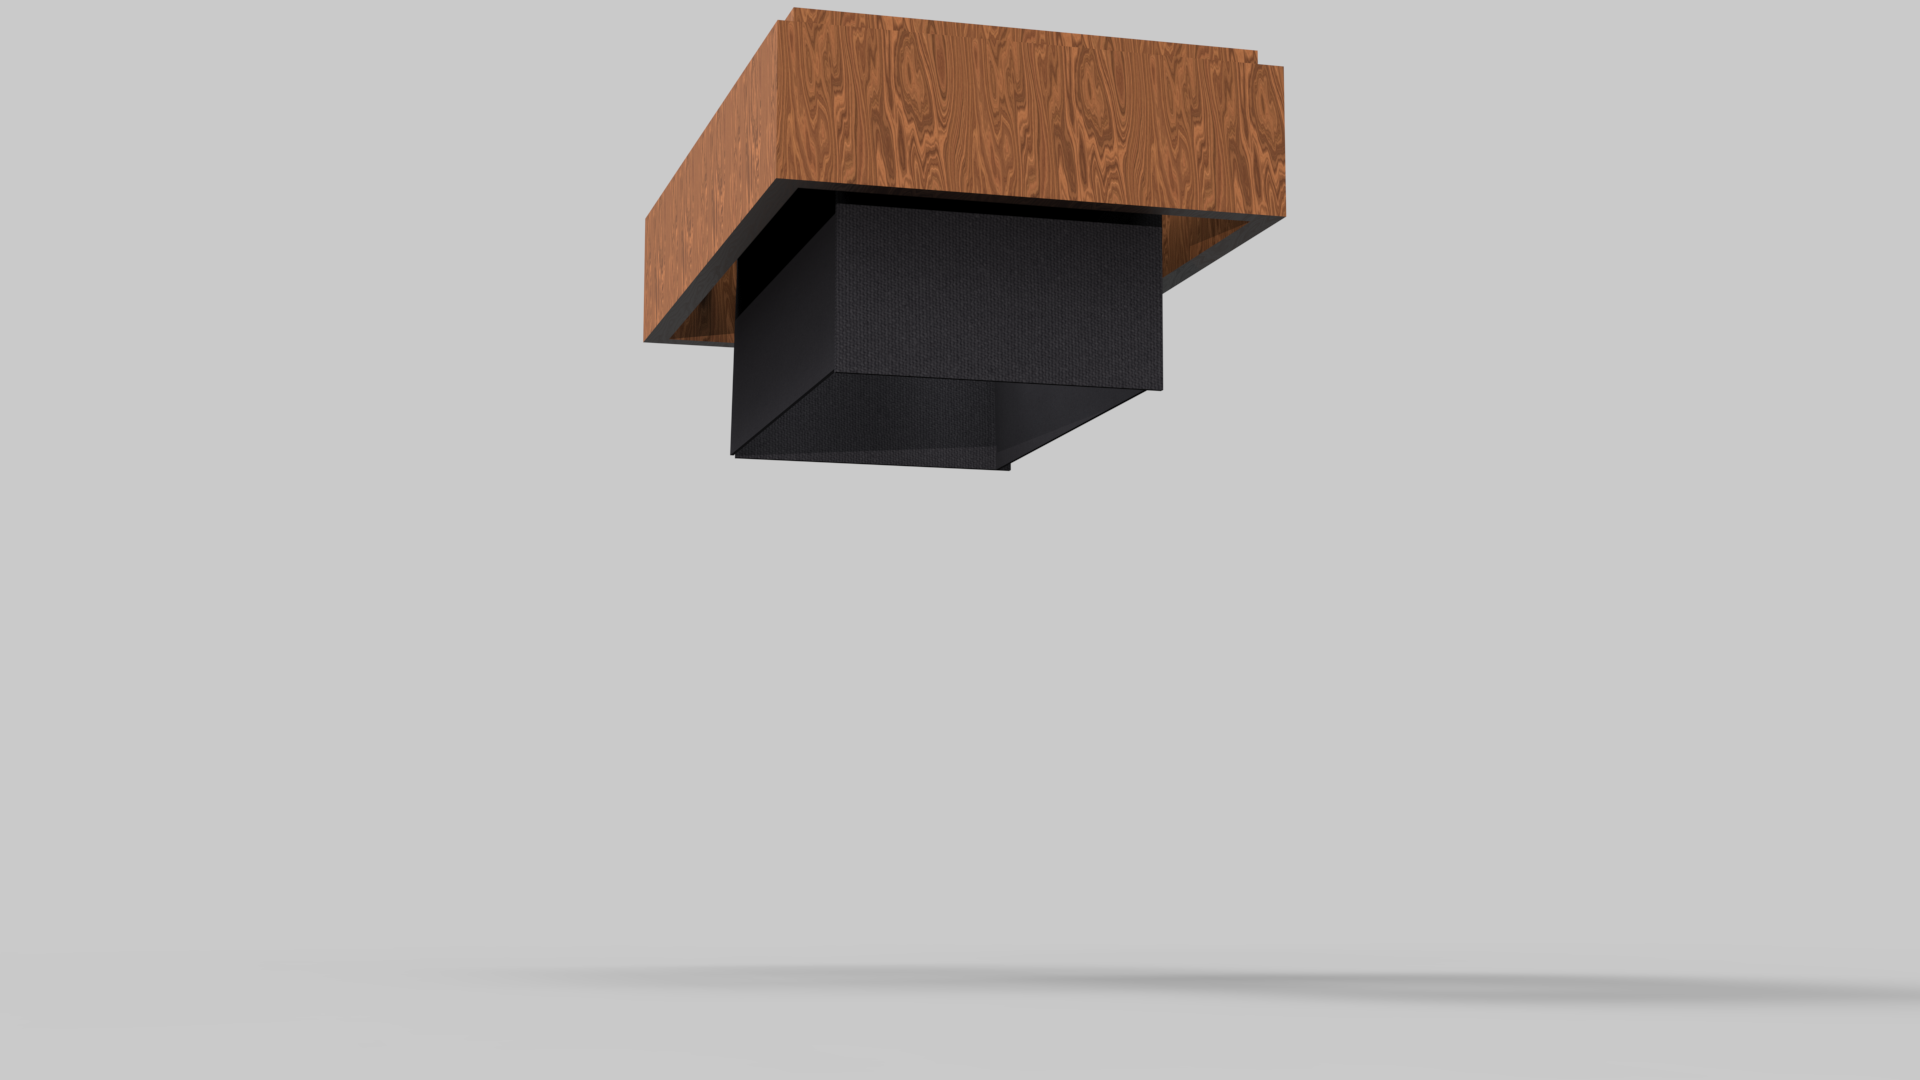
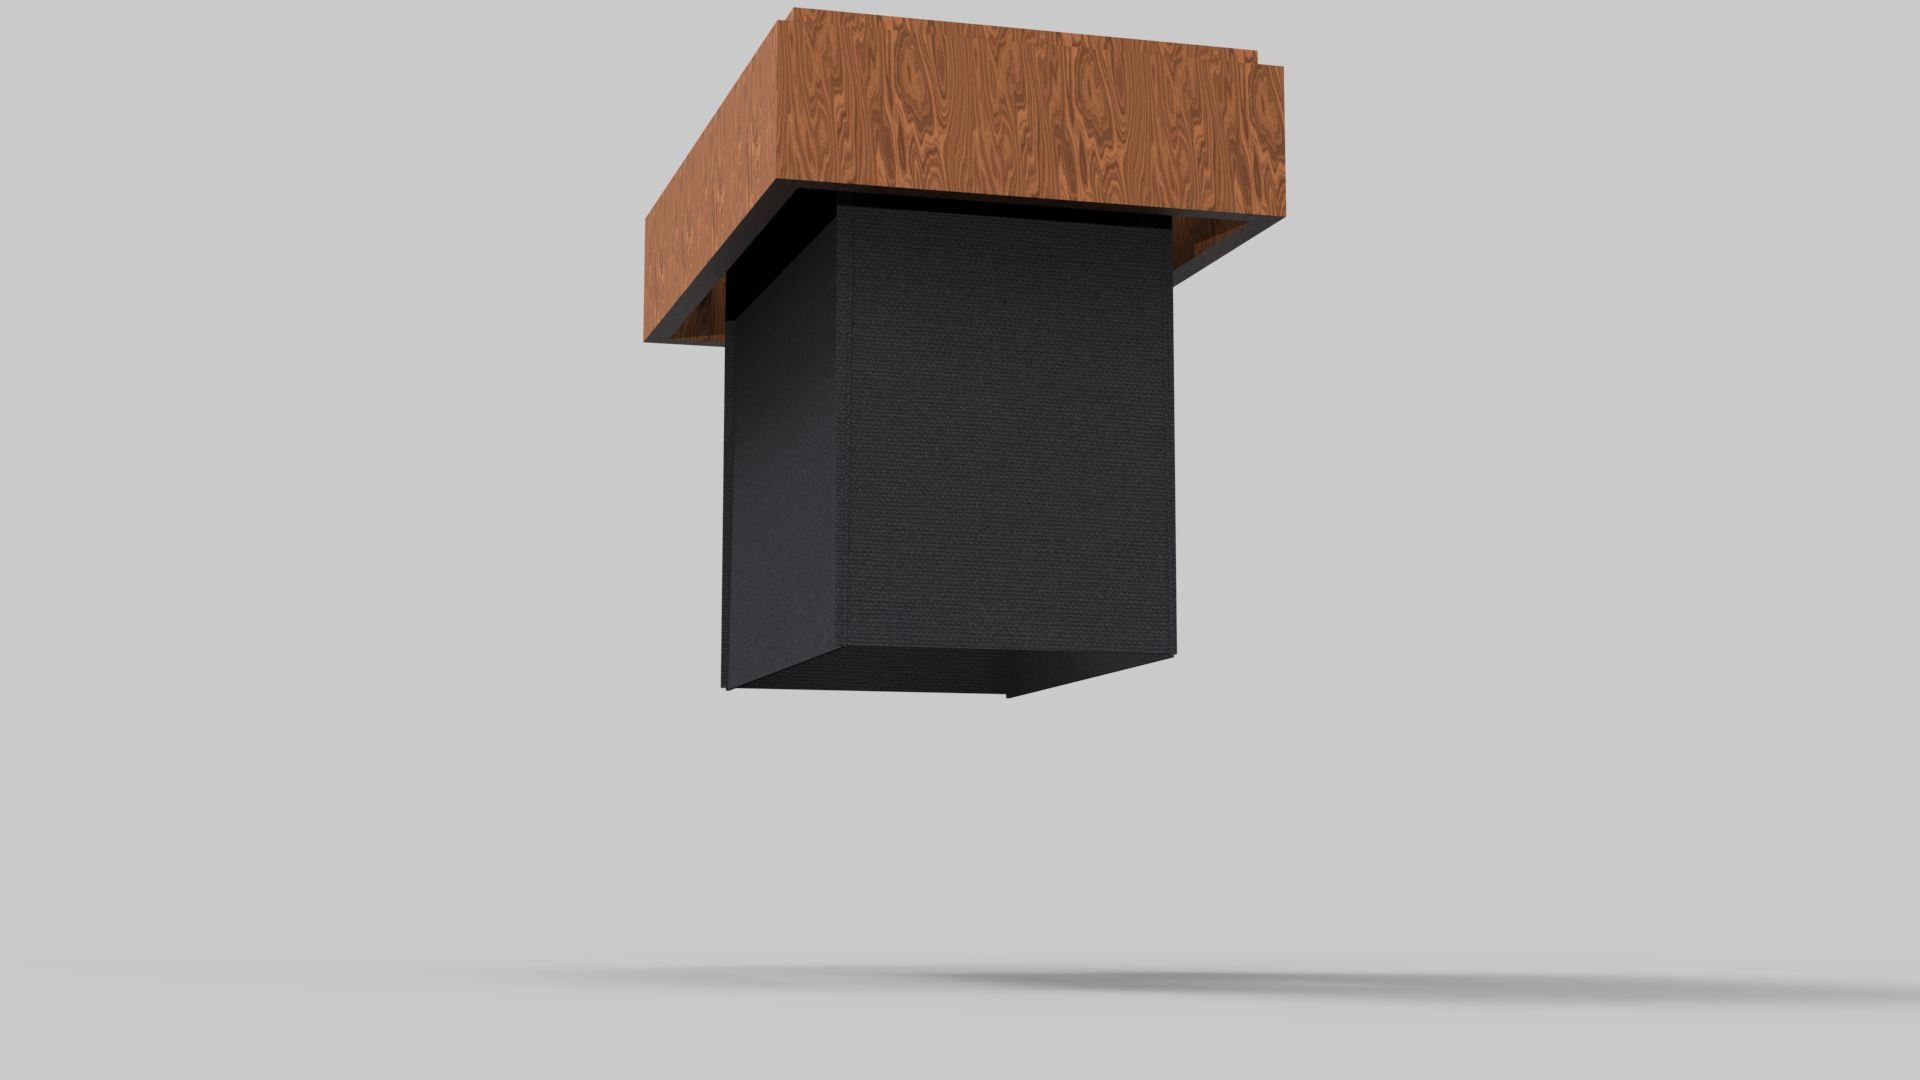
Early model iterations helped decide which concept I wanted to move forward with. Deciding if it will be attached to furniture, standing on legs, hanging from the ceiling, or something else was what I was trying to decide. After I decided on attaching to the ceiling, I went further and built the model at 1/3 size, then modeled the full size in CAD.

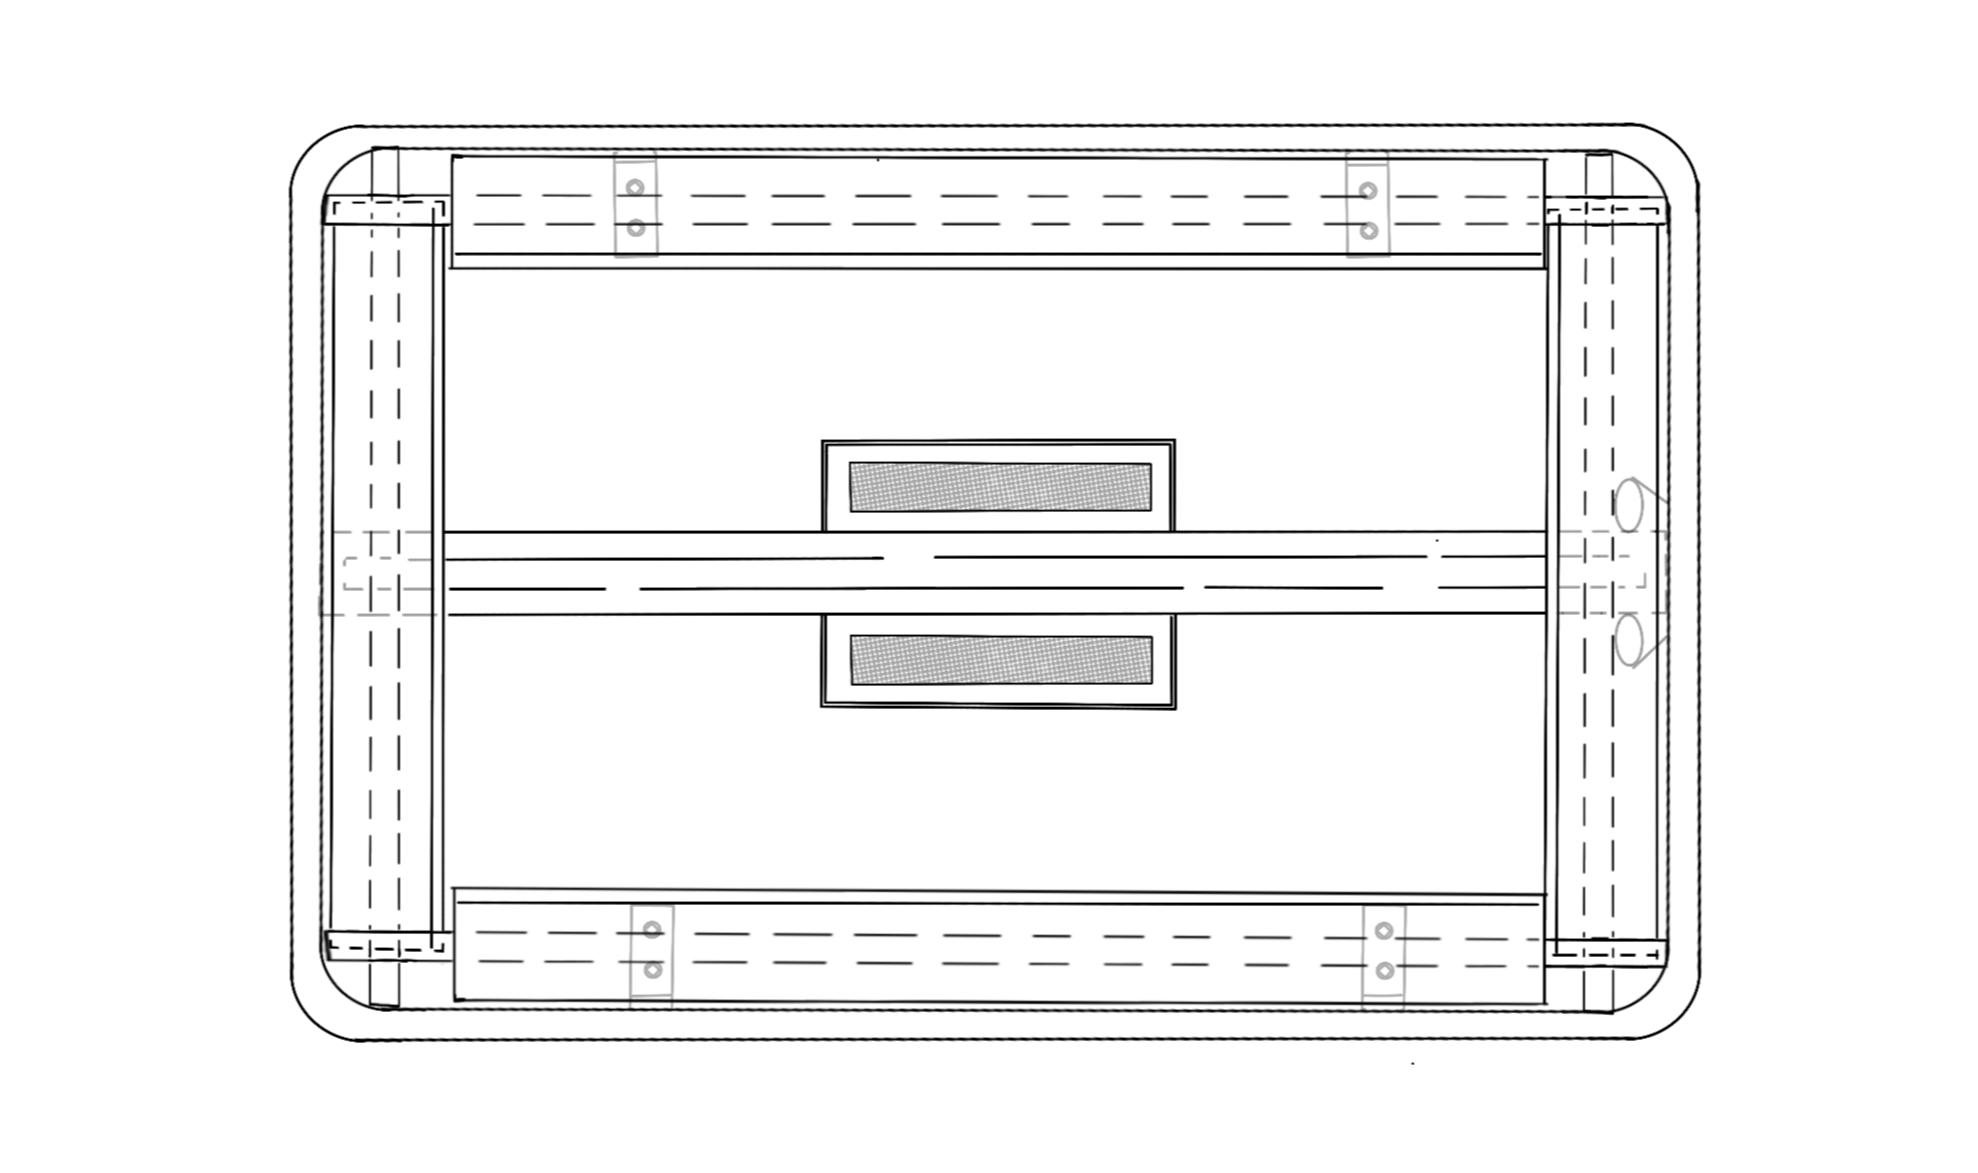


Switching the focus back to CAD models, material choices, and technology was the final step. Researching realistic motors and lighting that were affordable for my consumer, and figuring out how to program them as well as install them, took up the end of this process.
Final Product
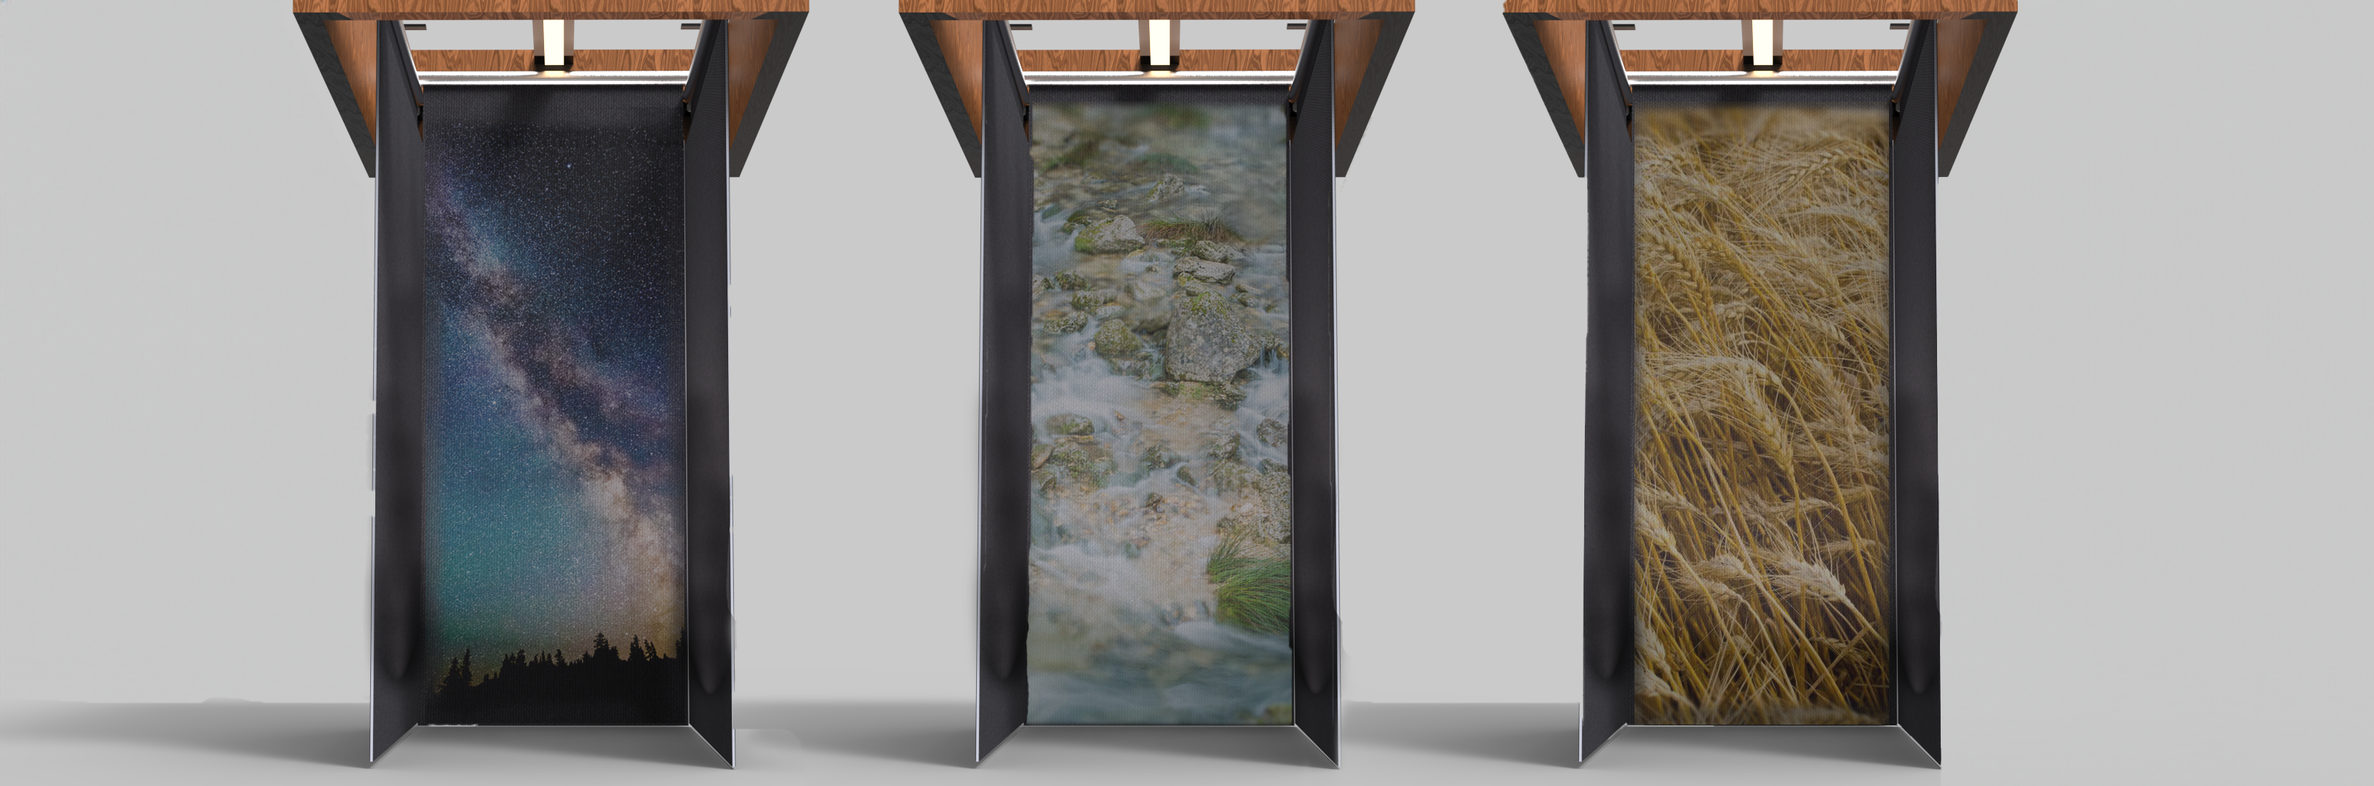
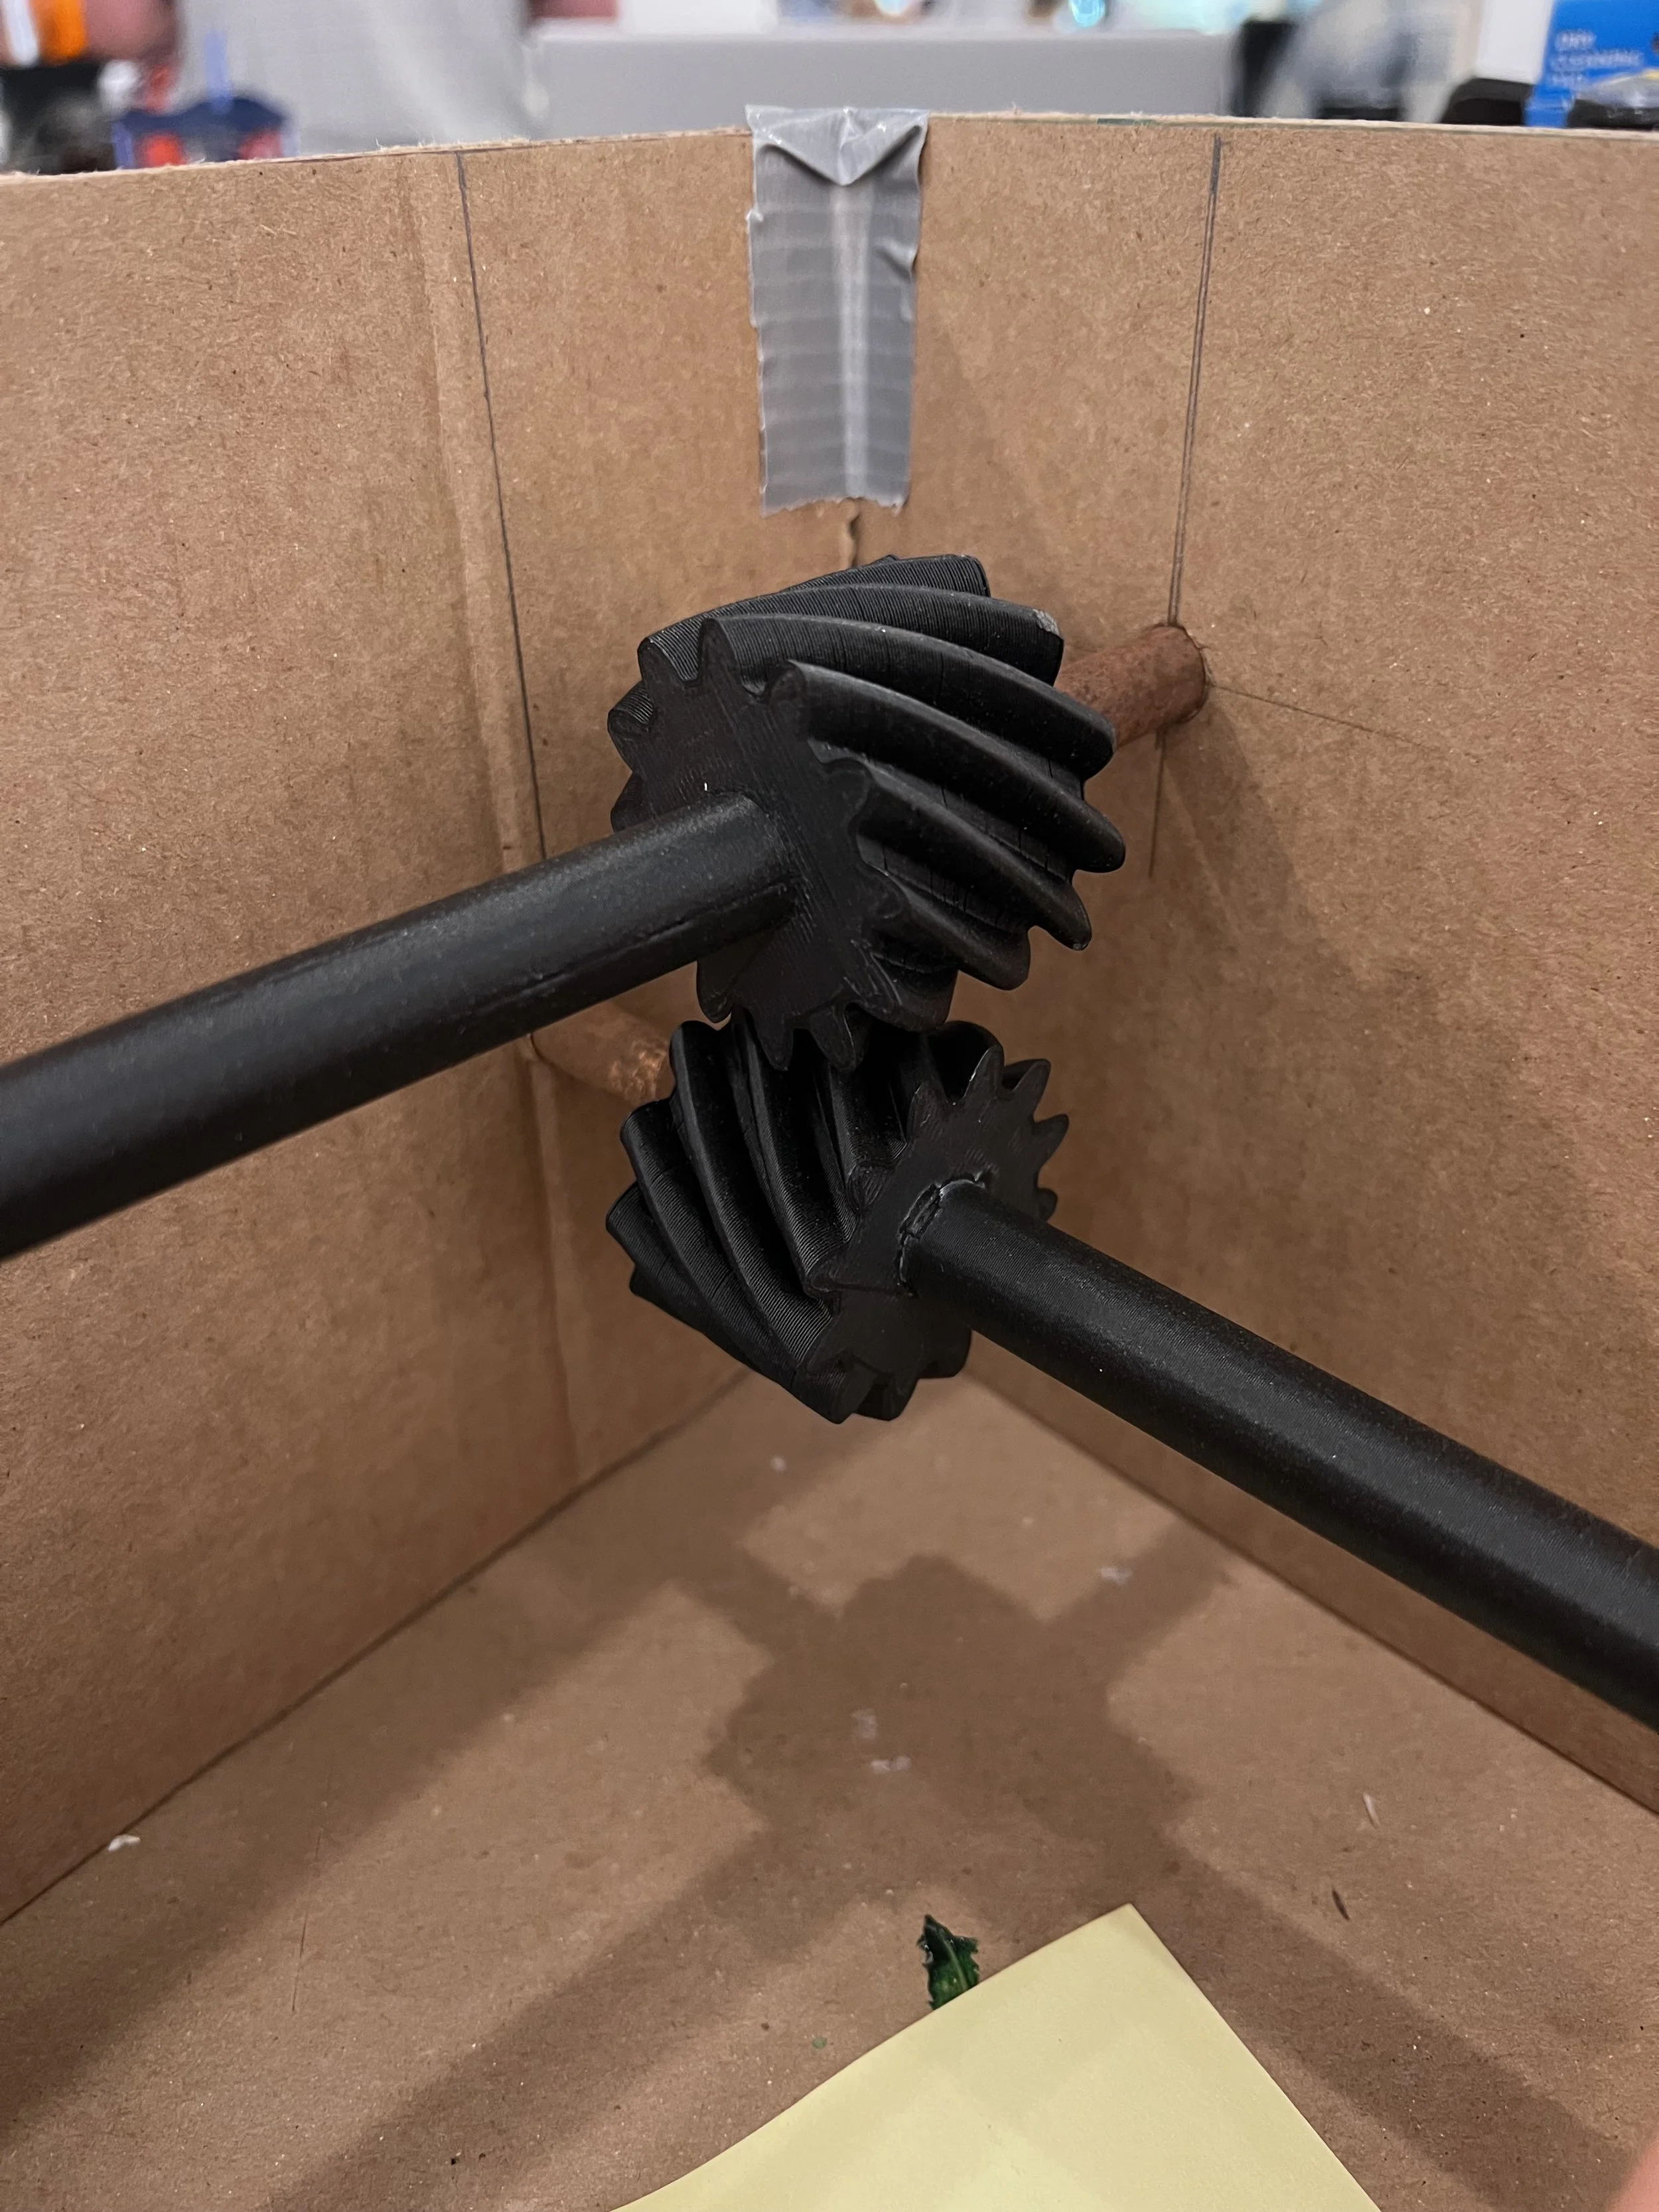
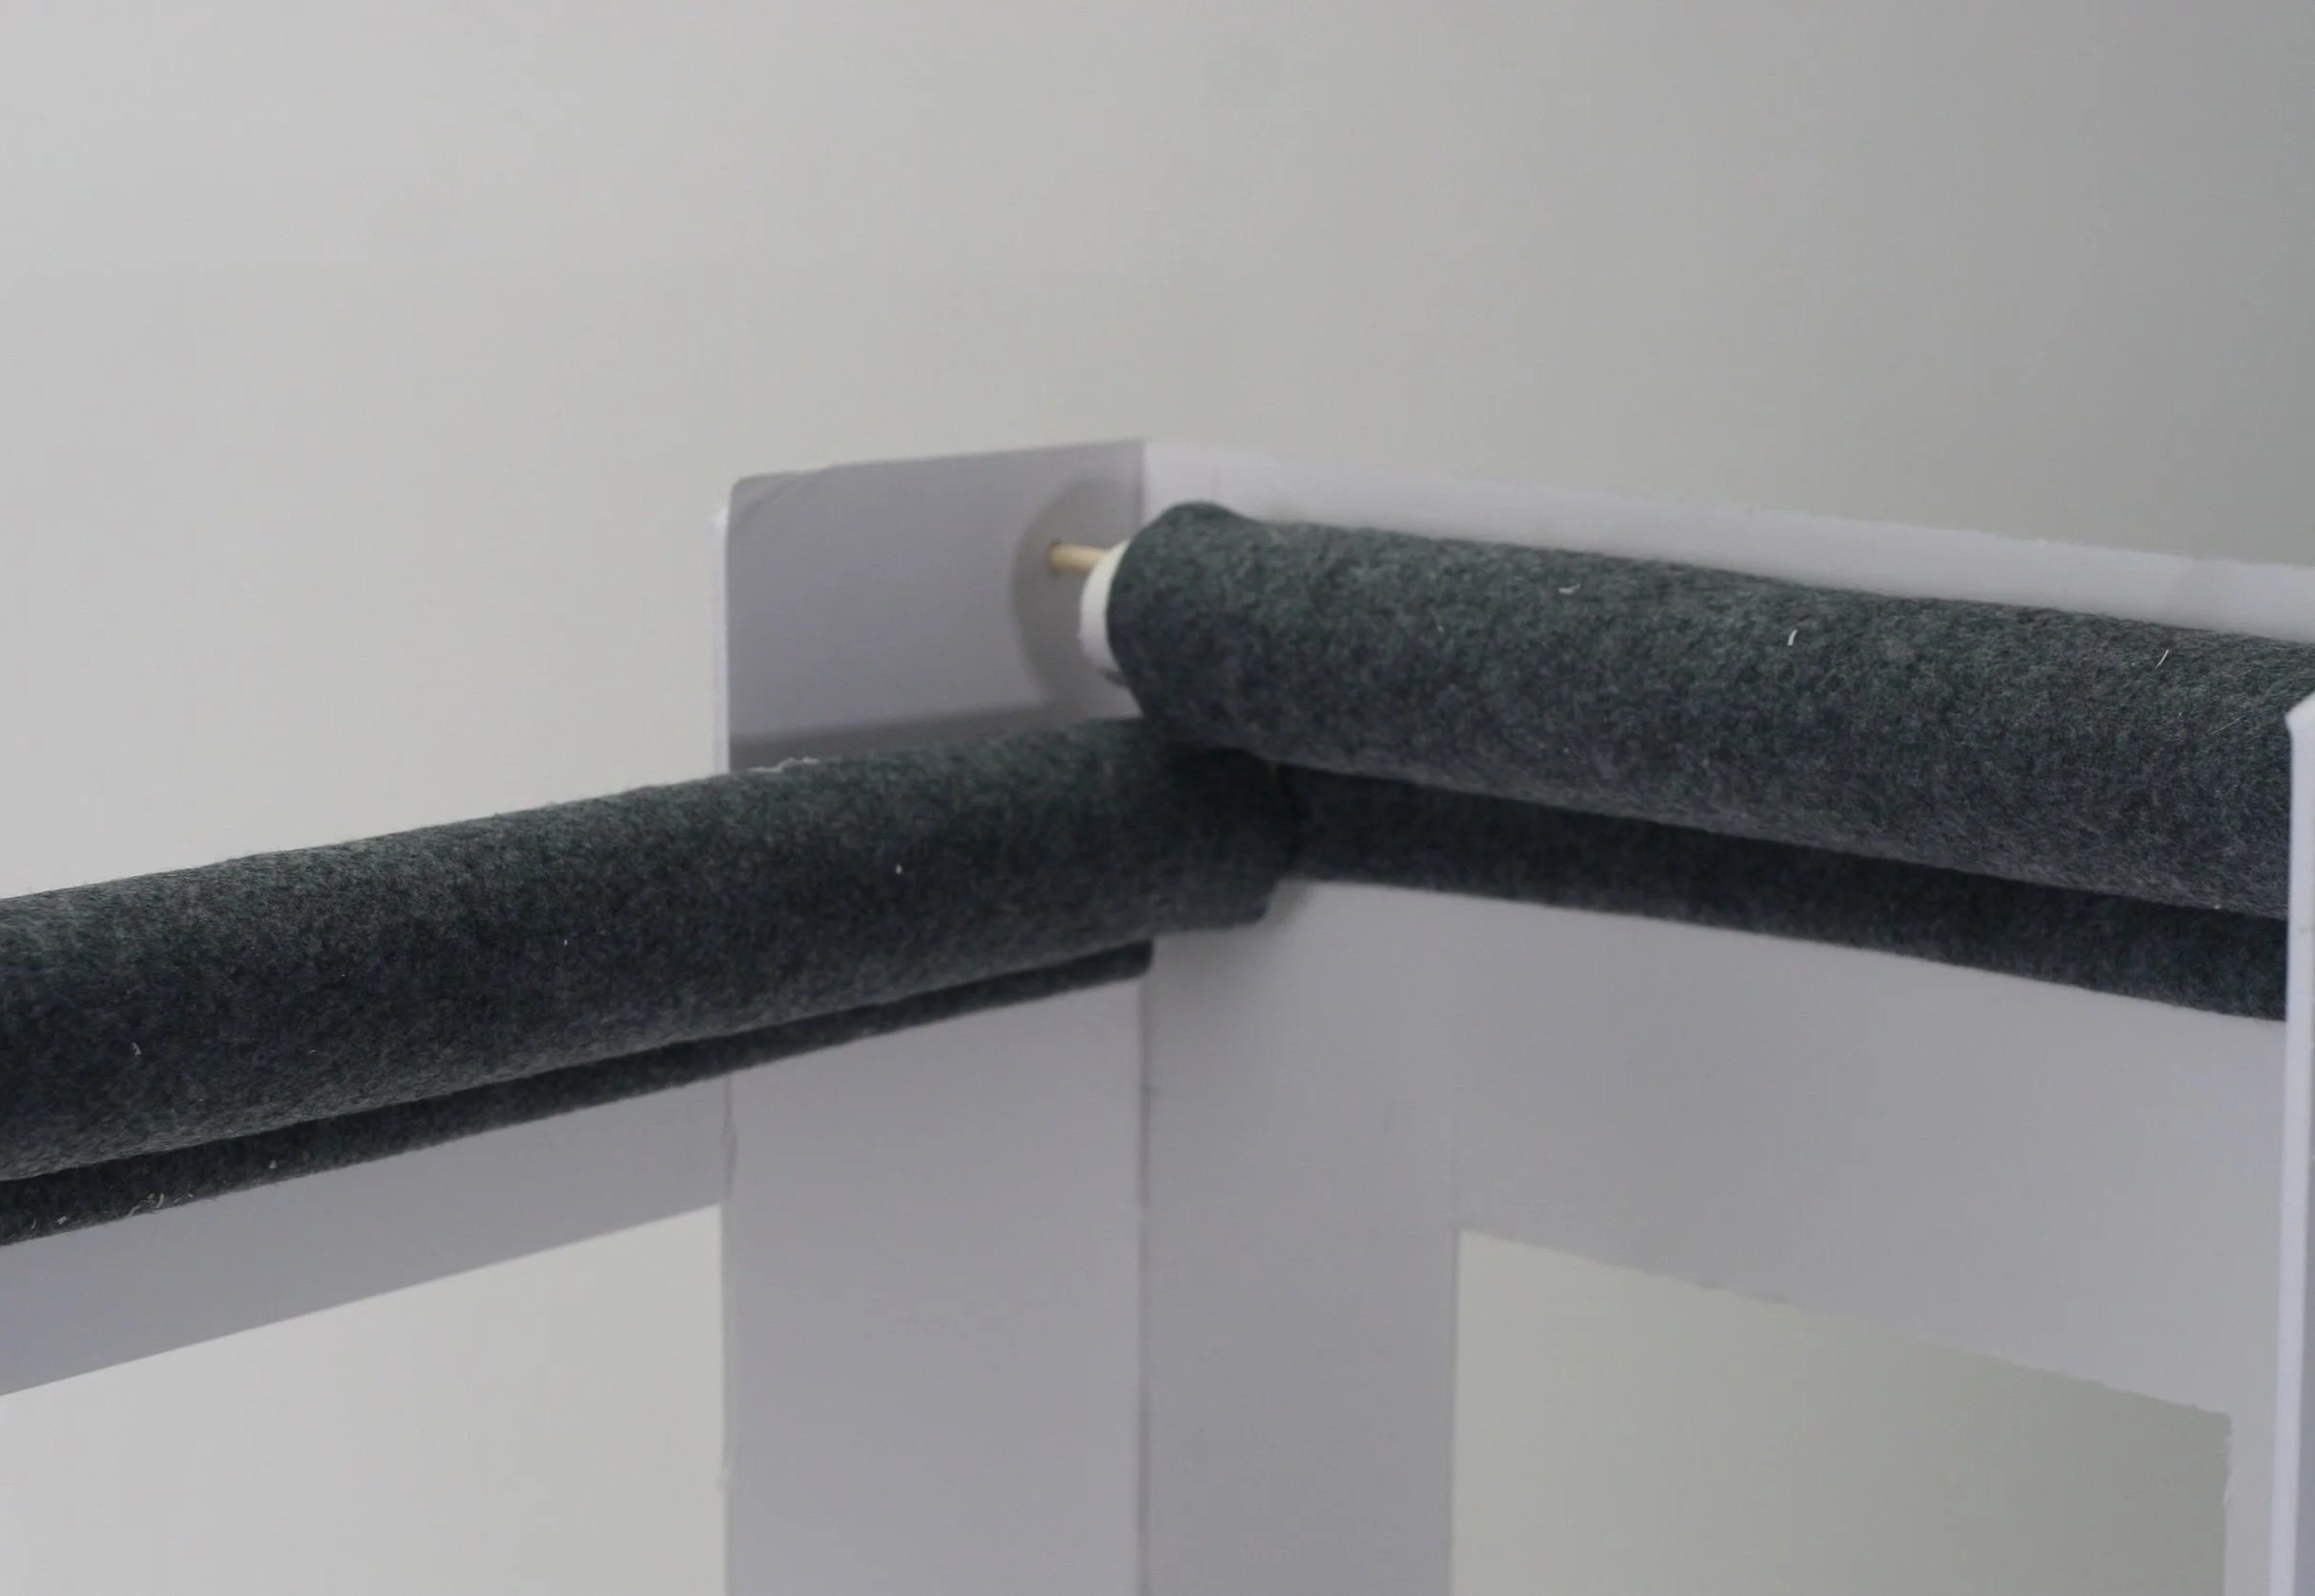
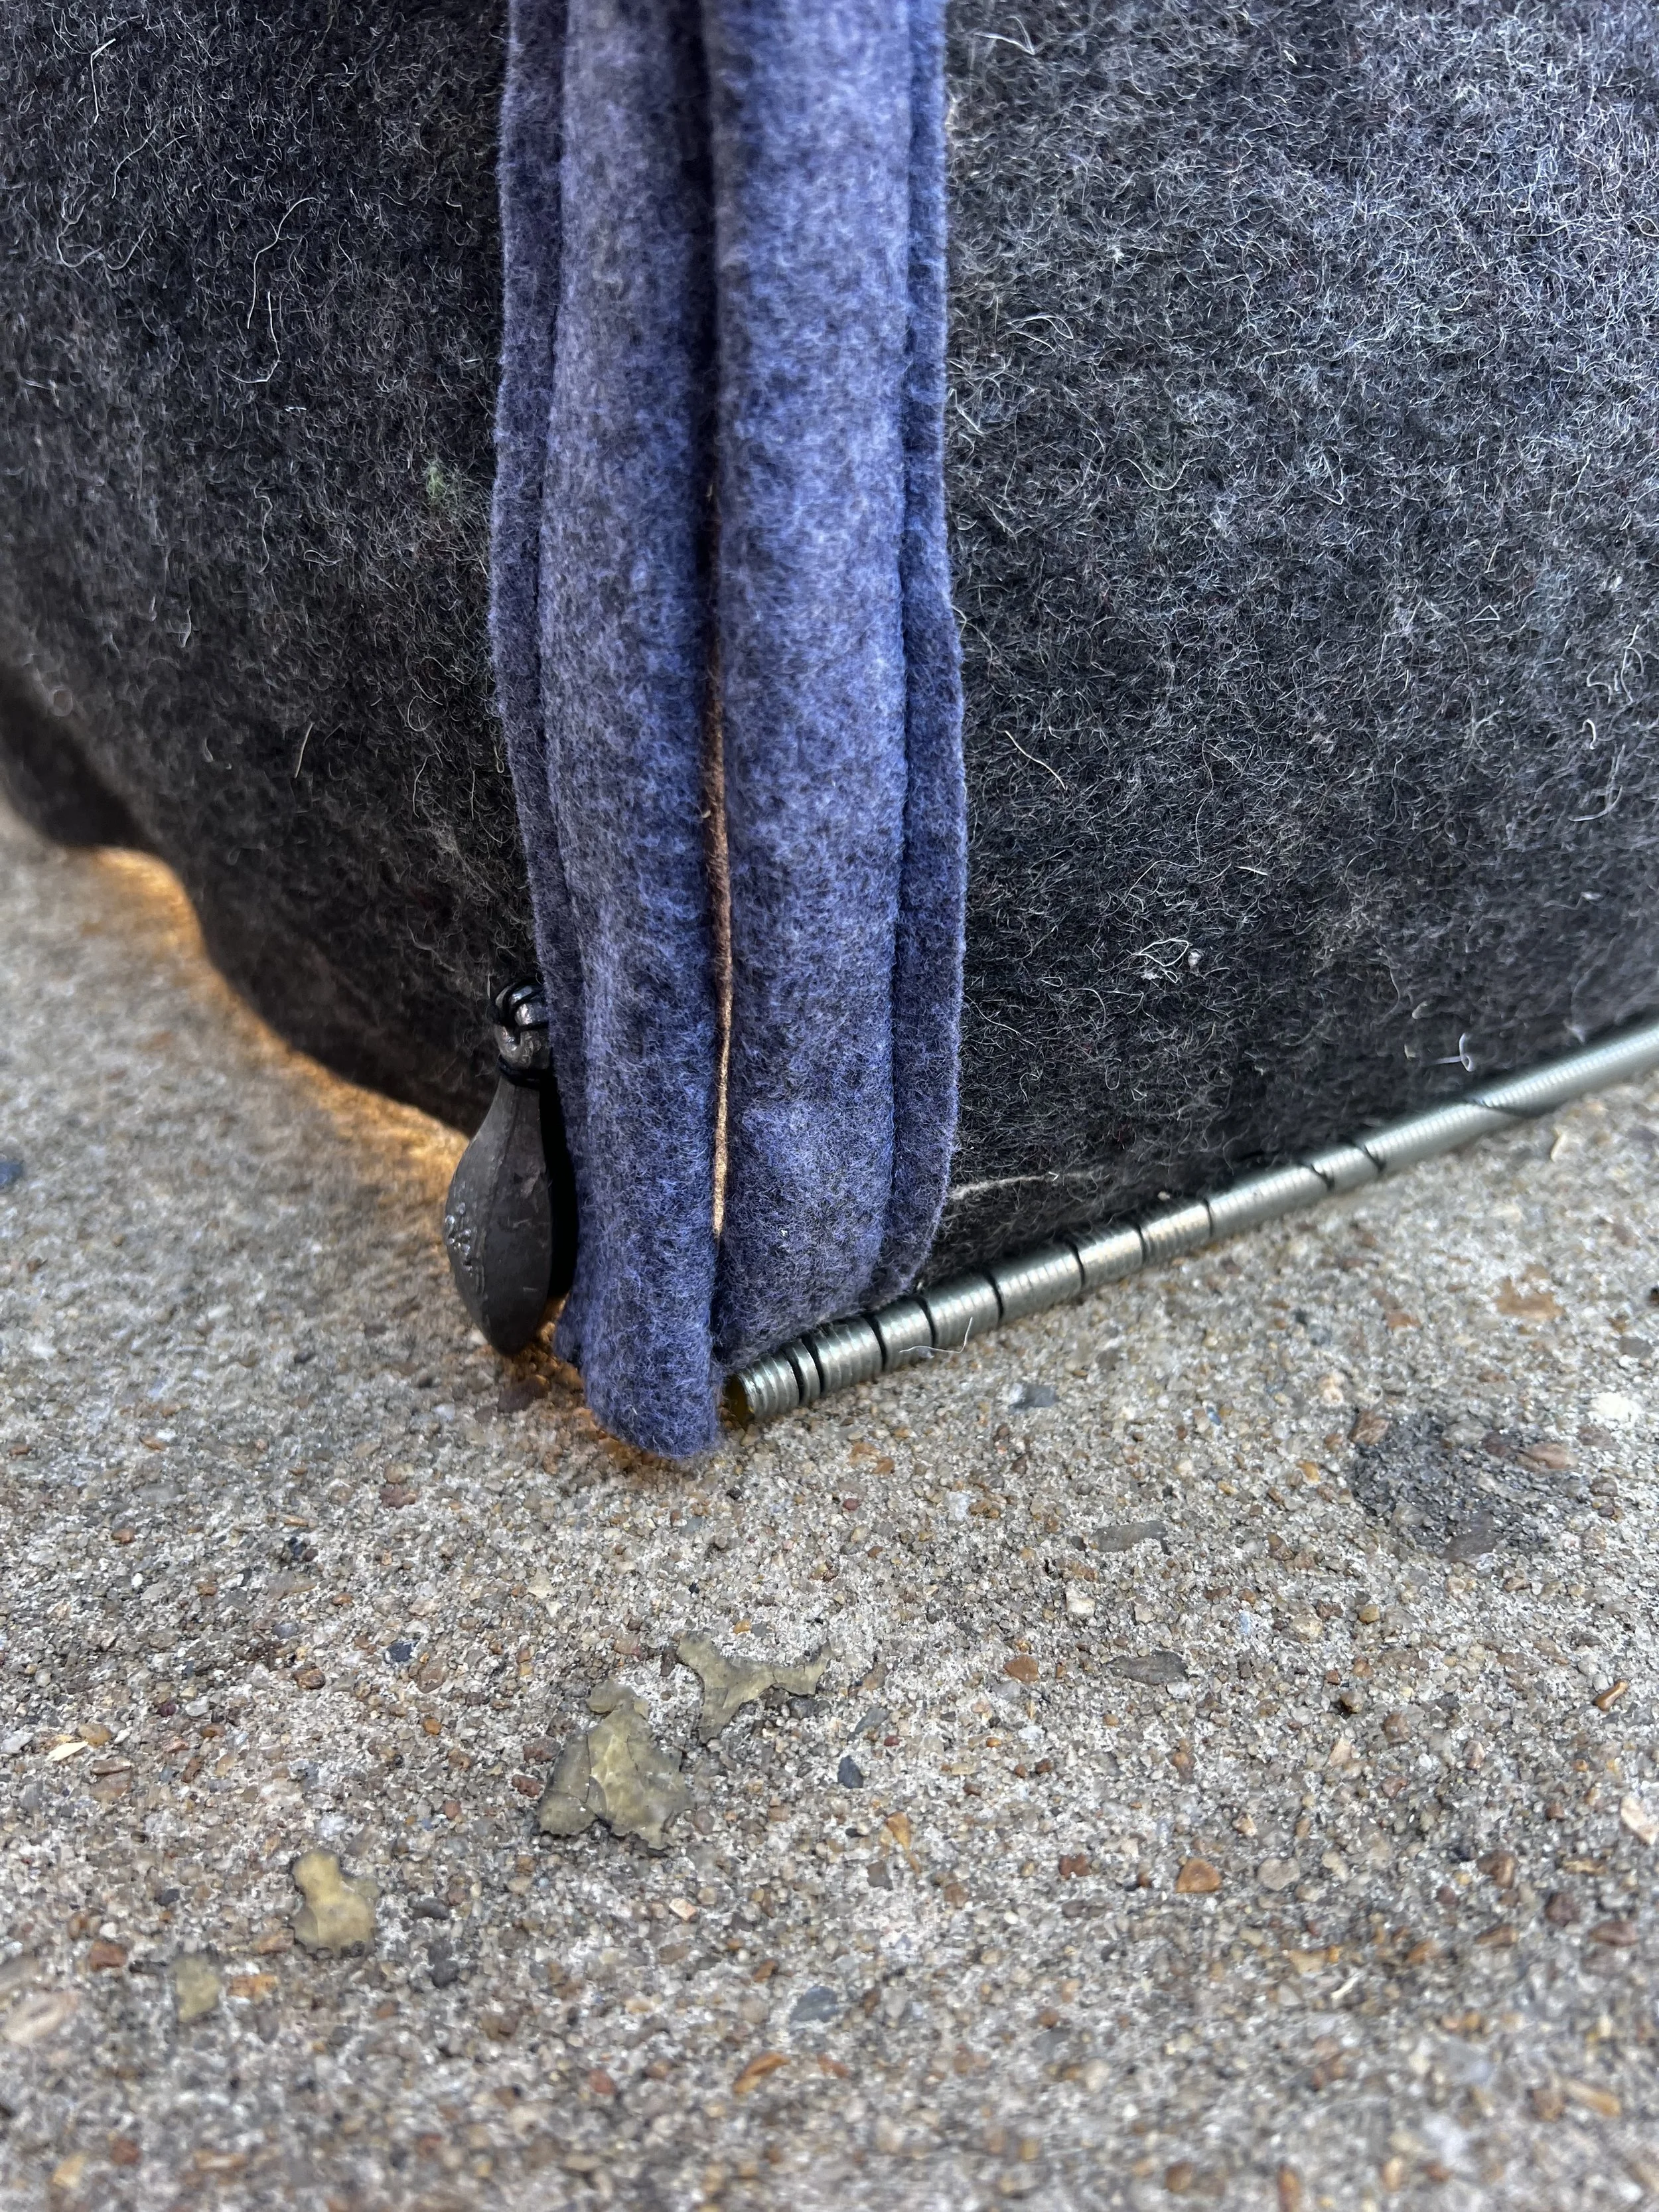
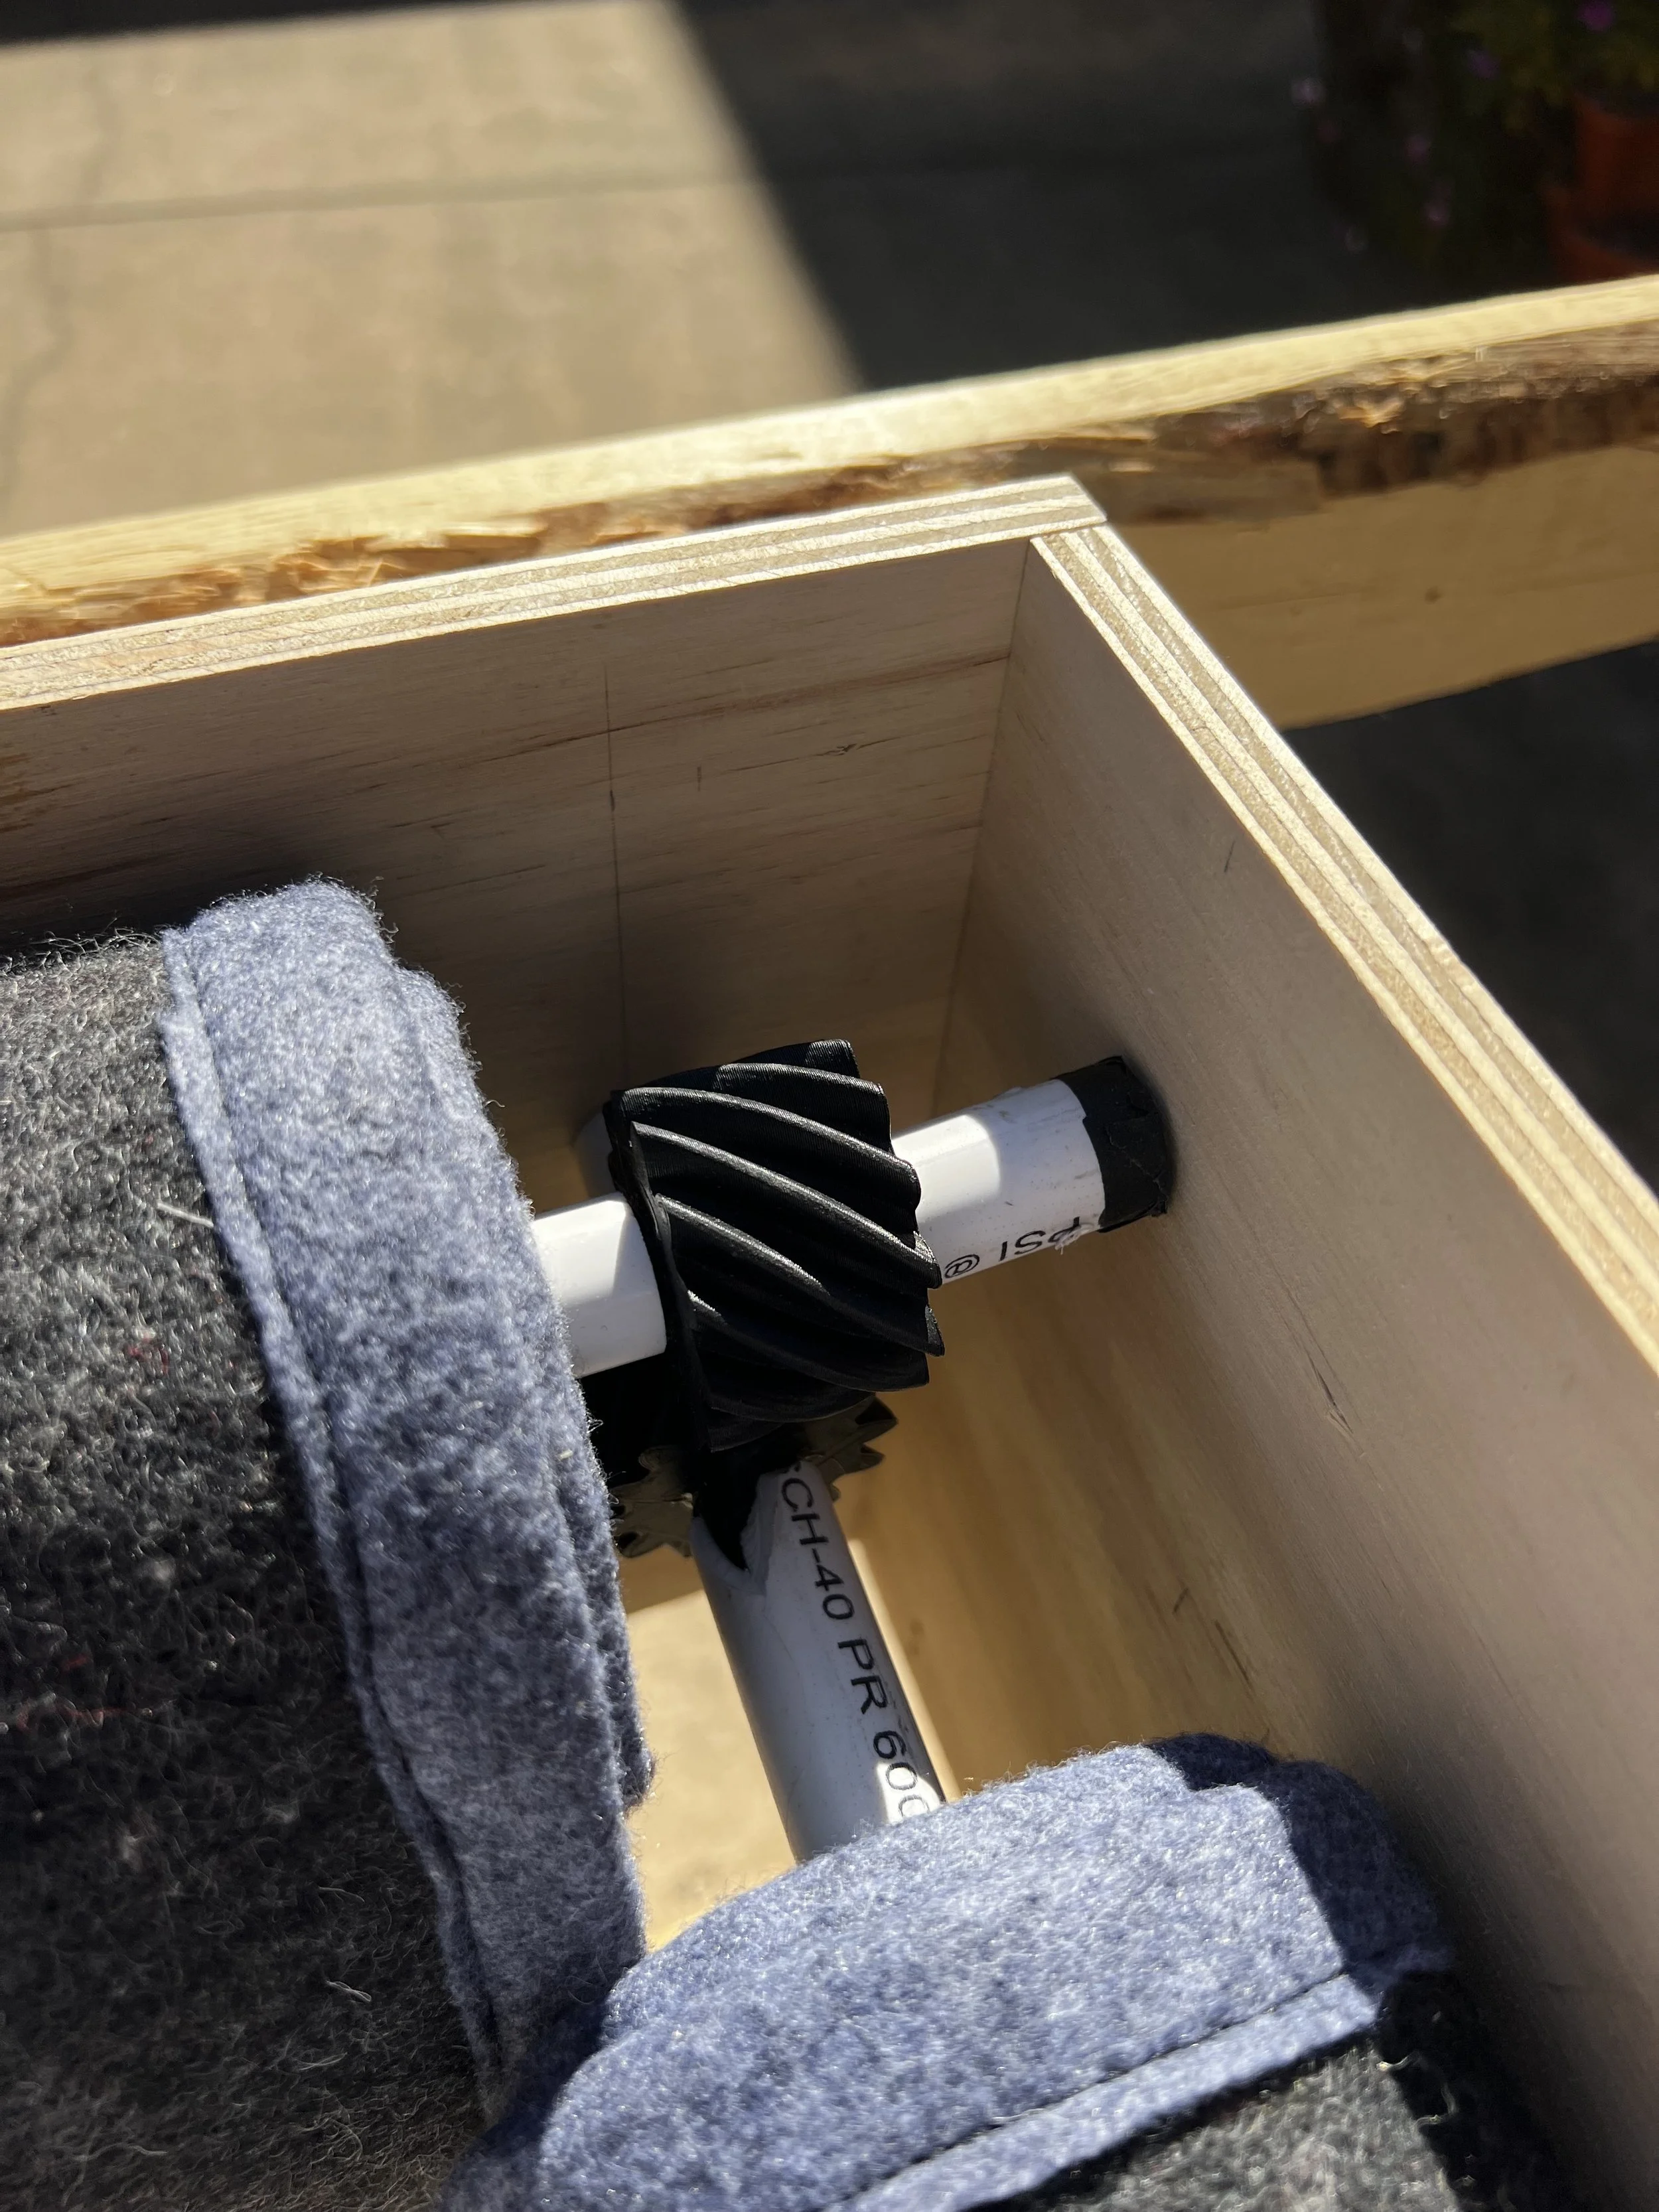
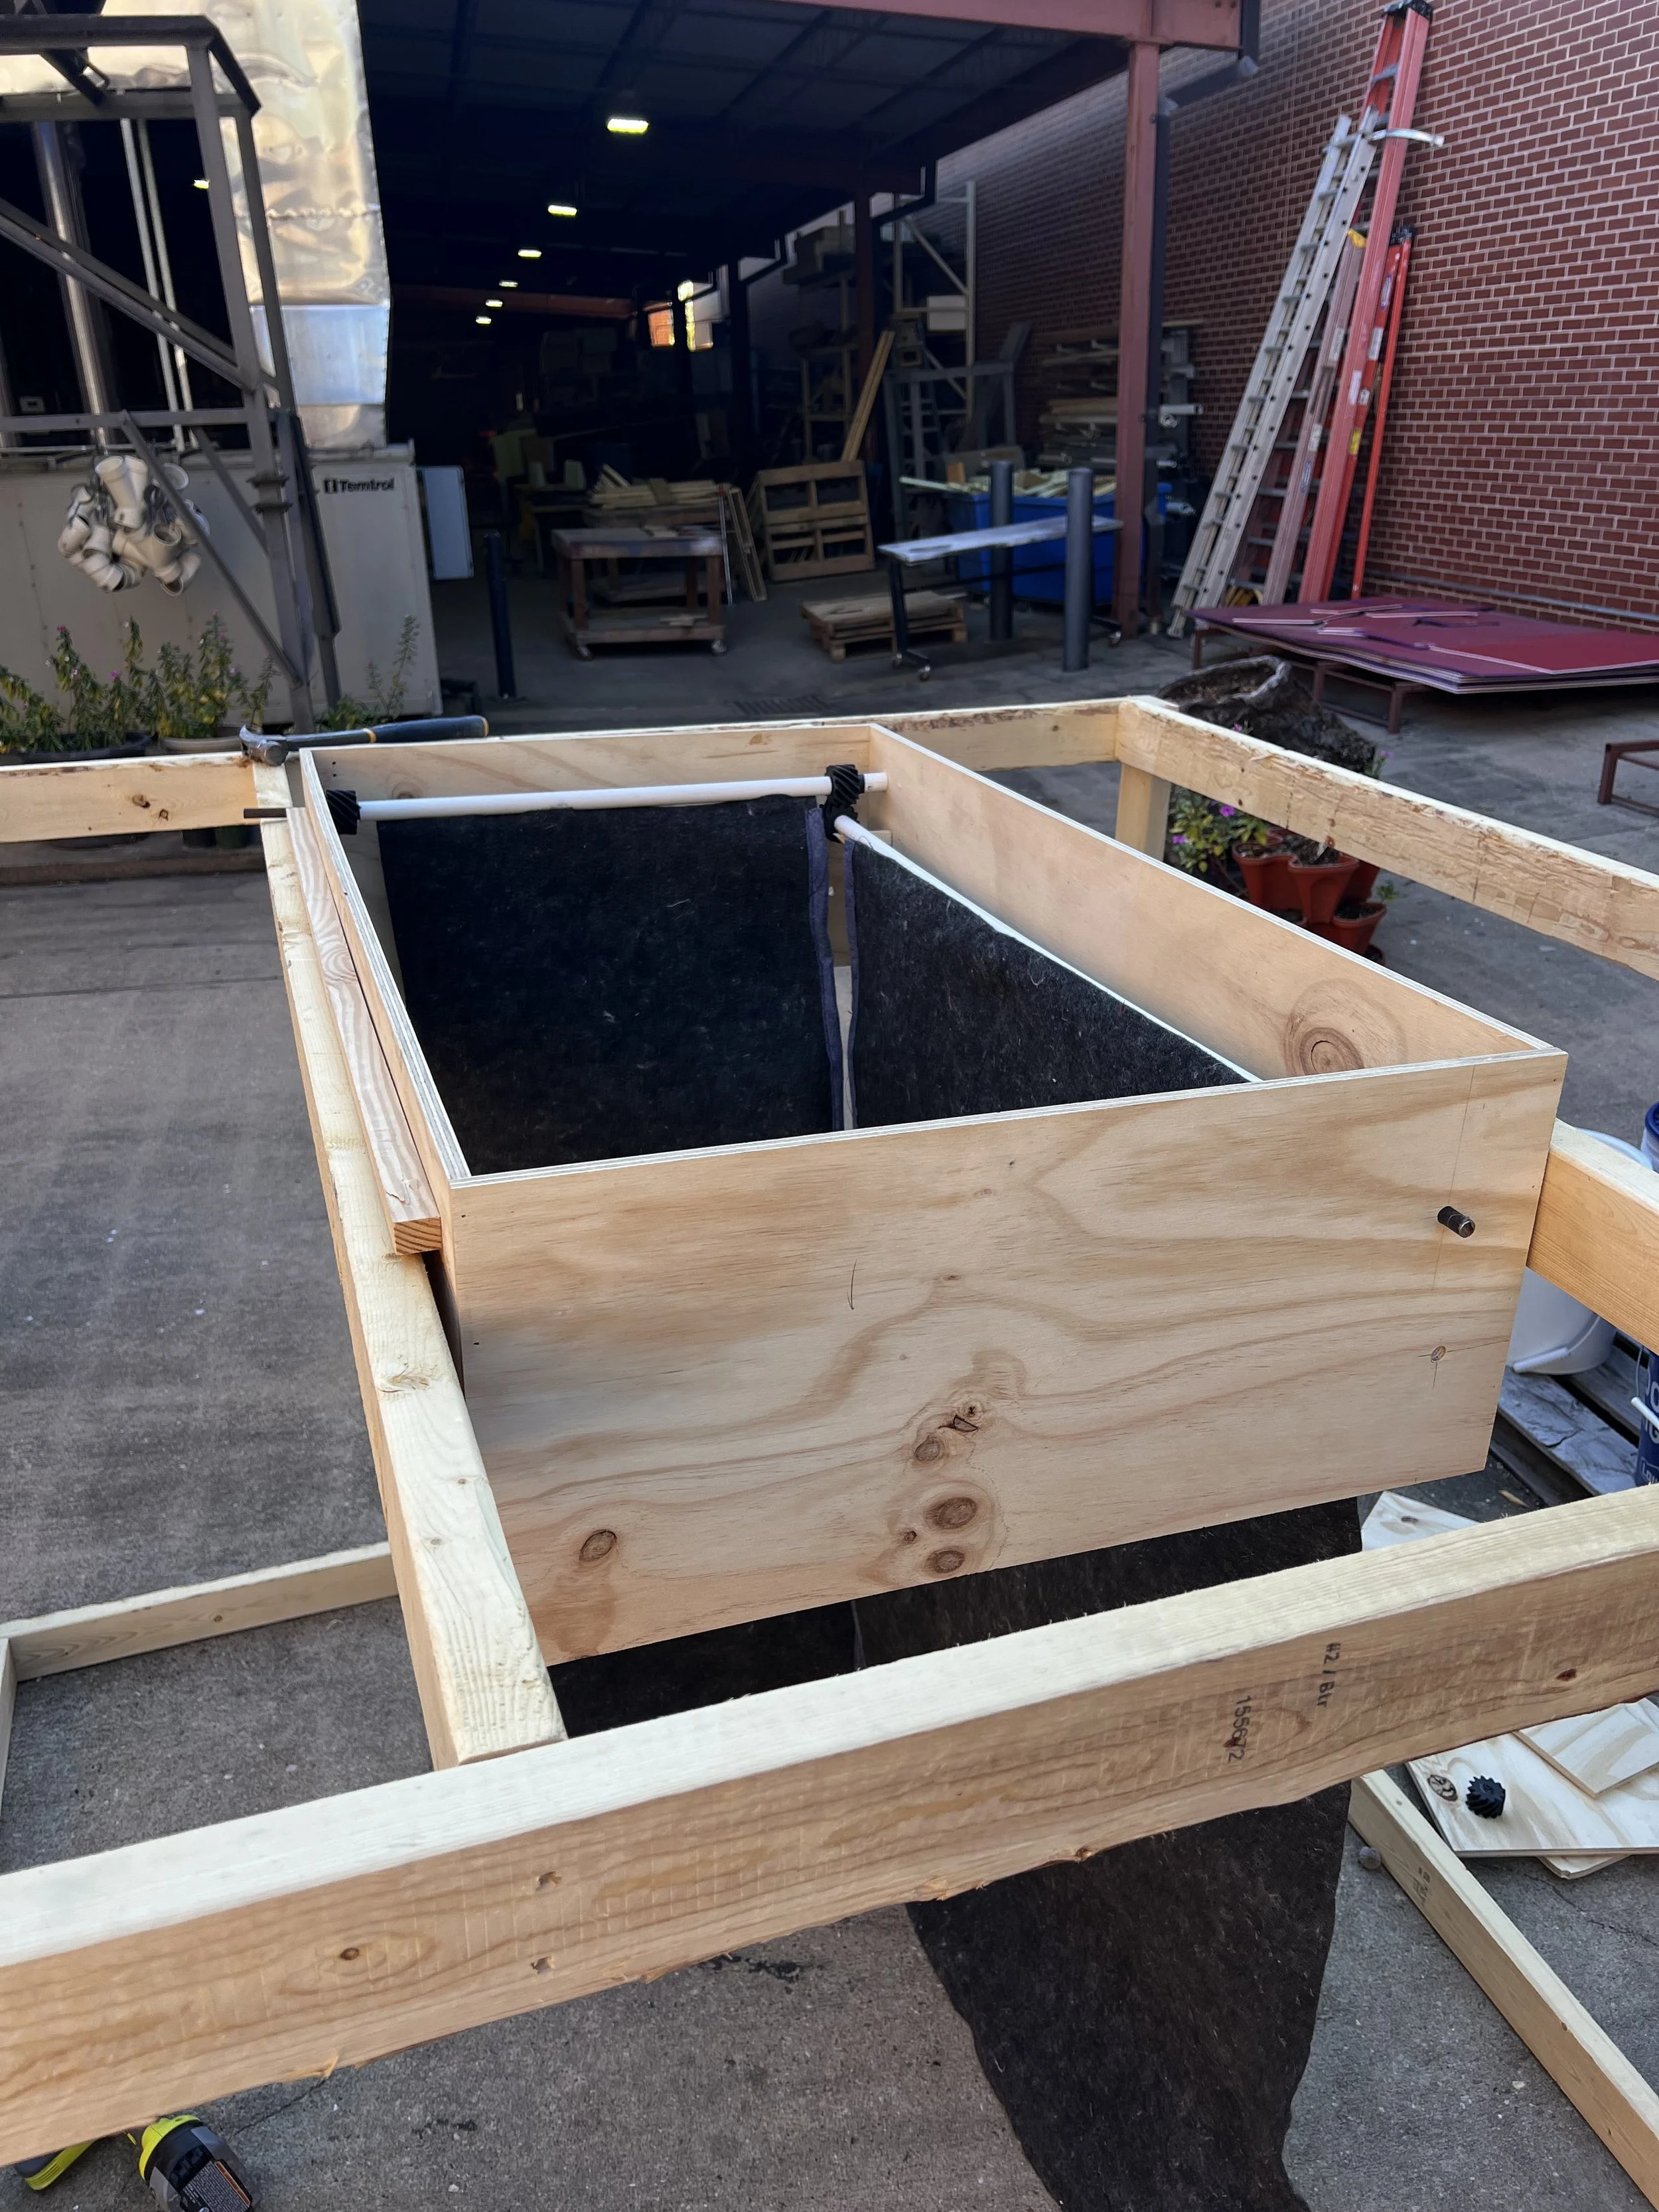
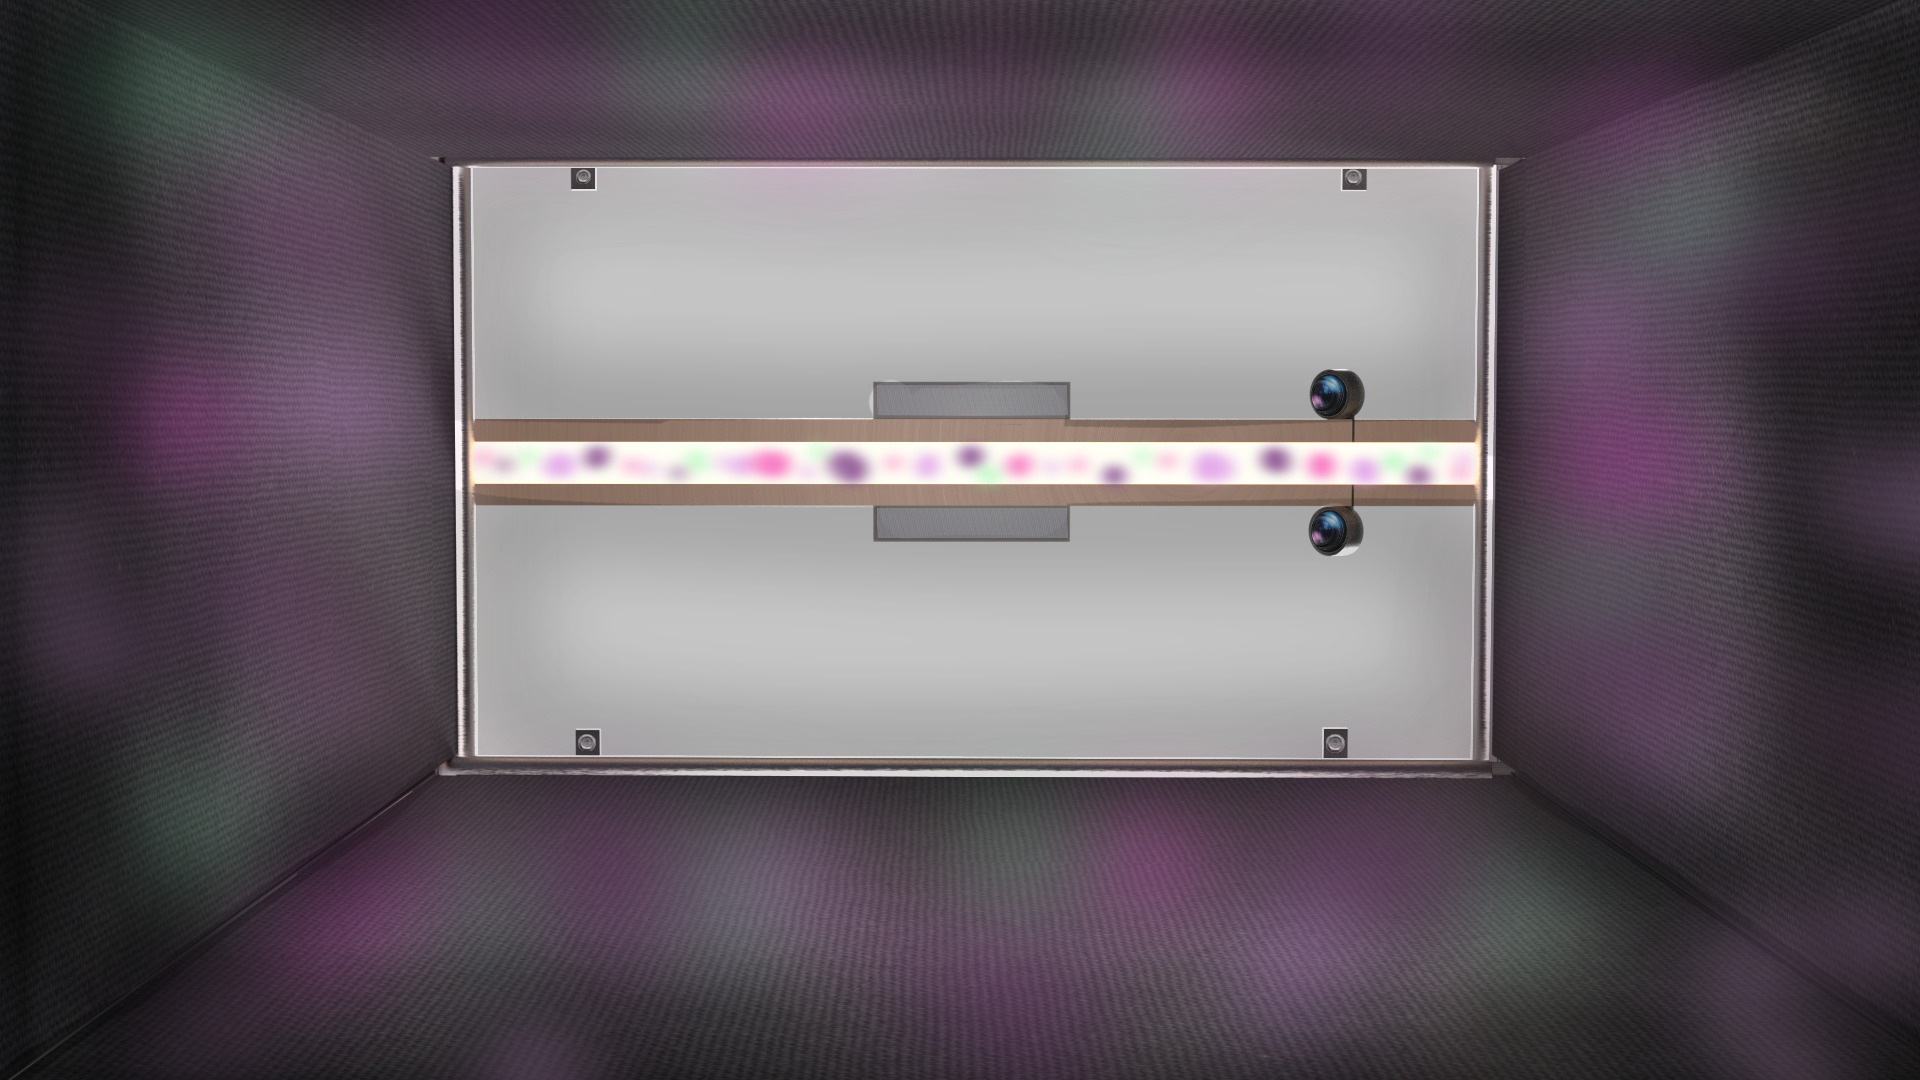
Making this design at a large scale brought new challenges. Choosing a material with the best blackout capabilities and weighing them down, building the structure to suspend the “tank”, 3D printing gears, attaching the rollers to the structure, and sewing in magnets to keep the sides closed were all components of the final product.
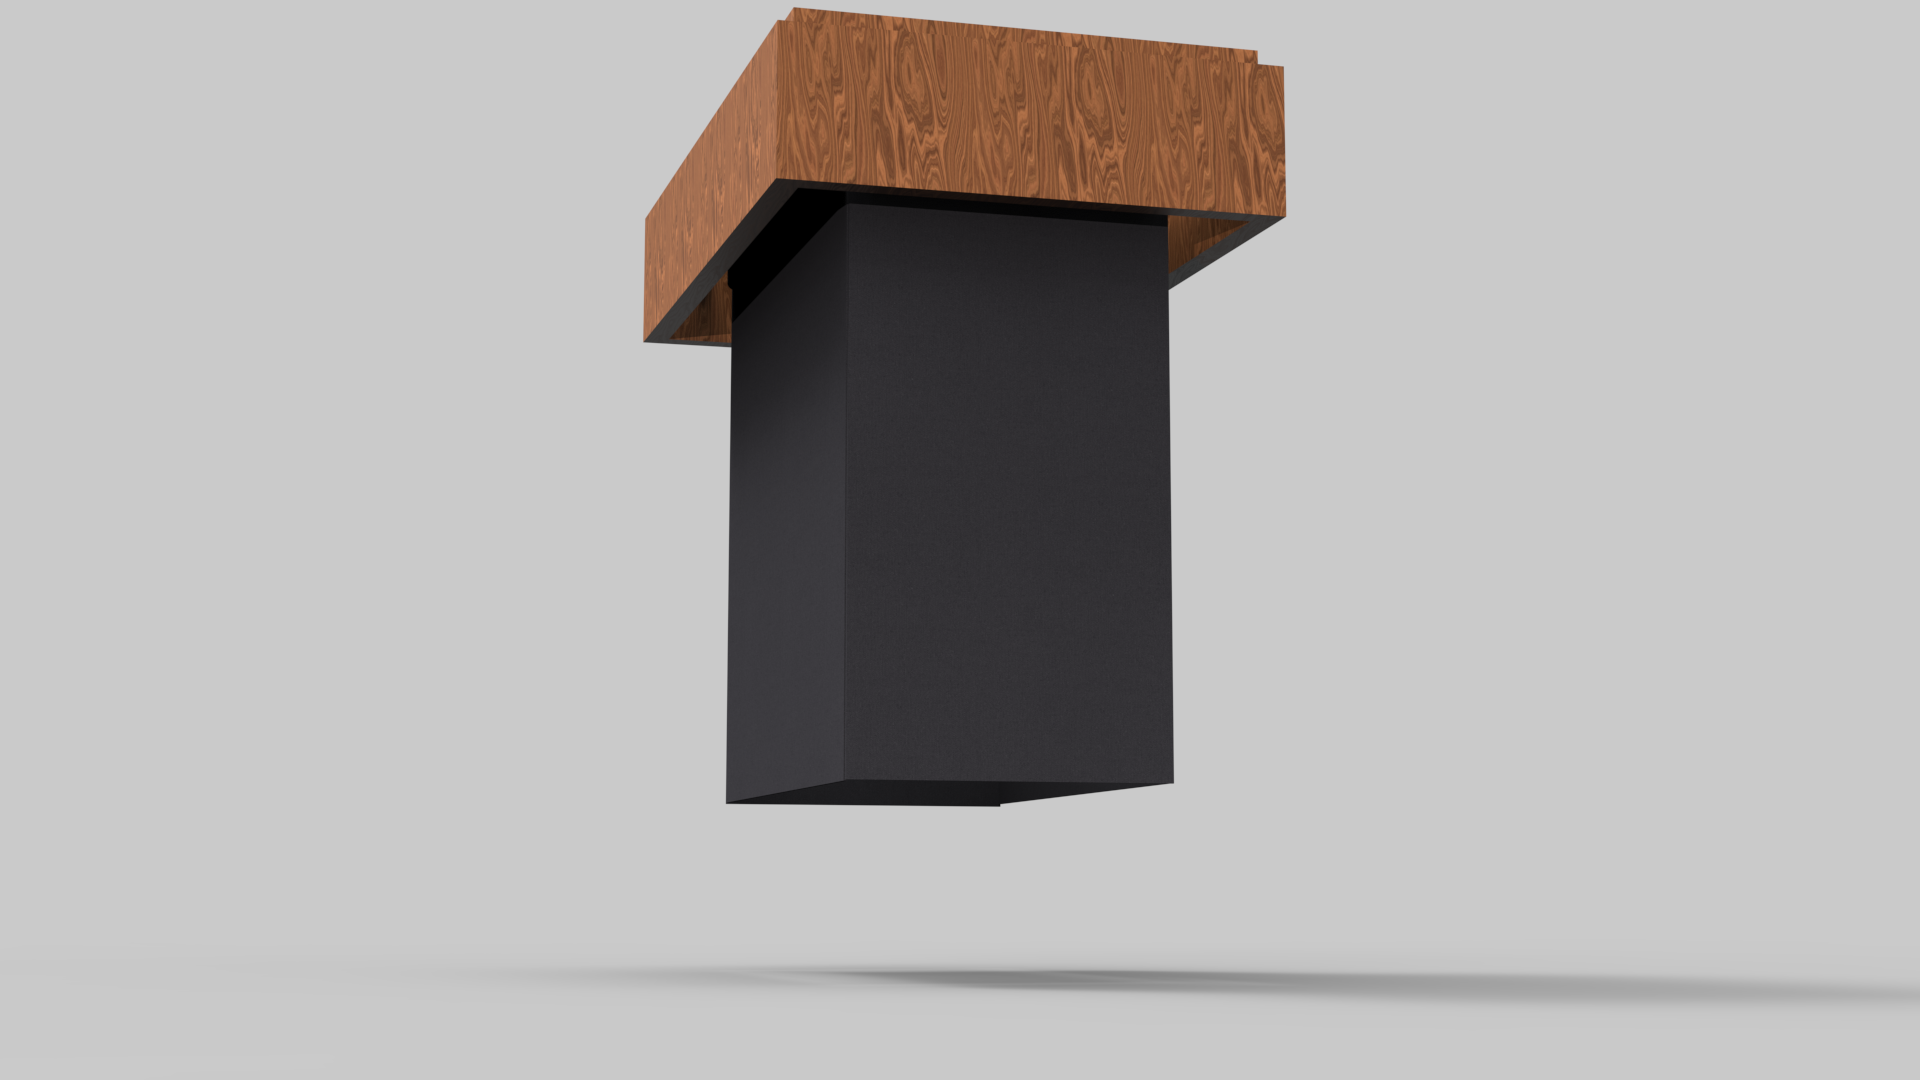
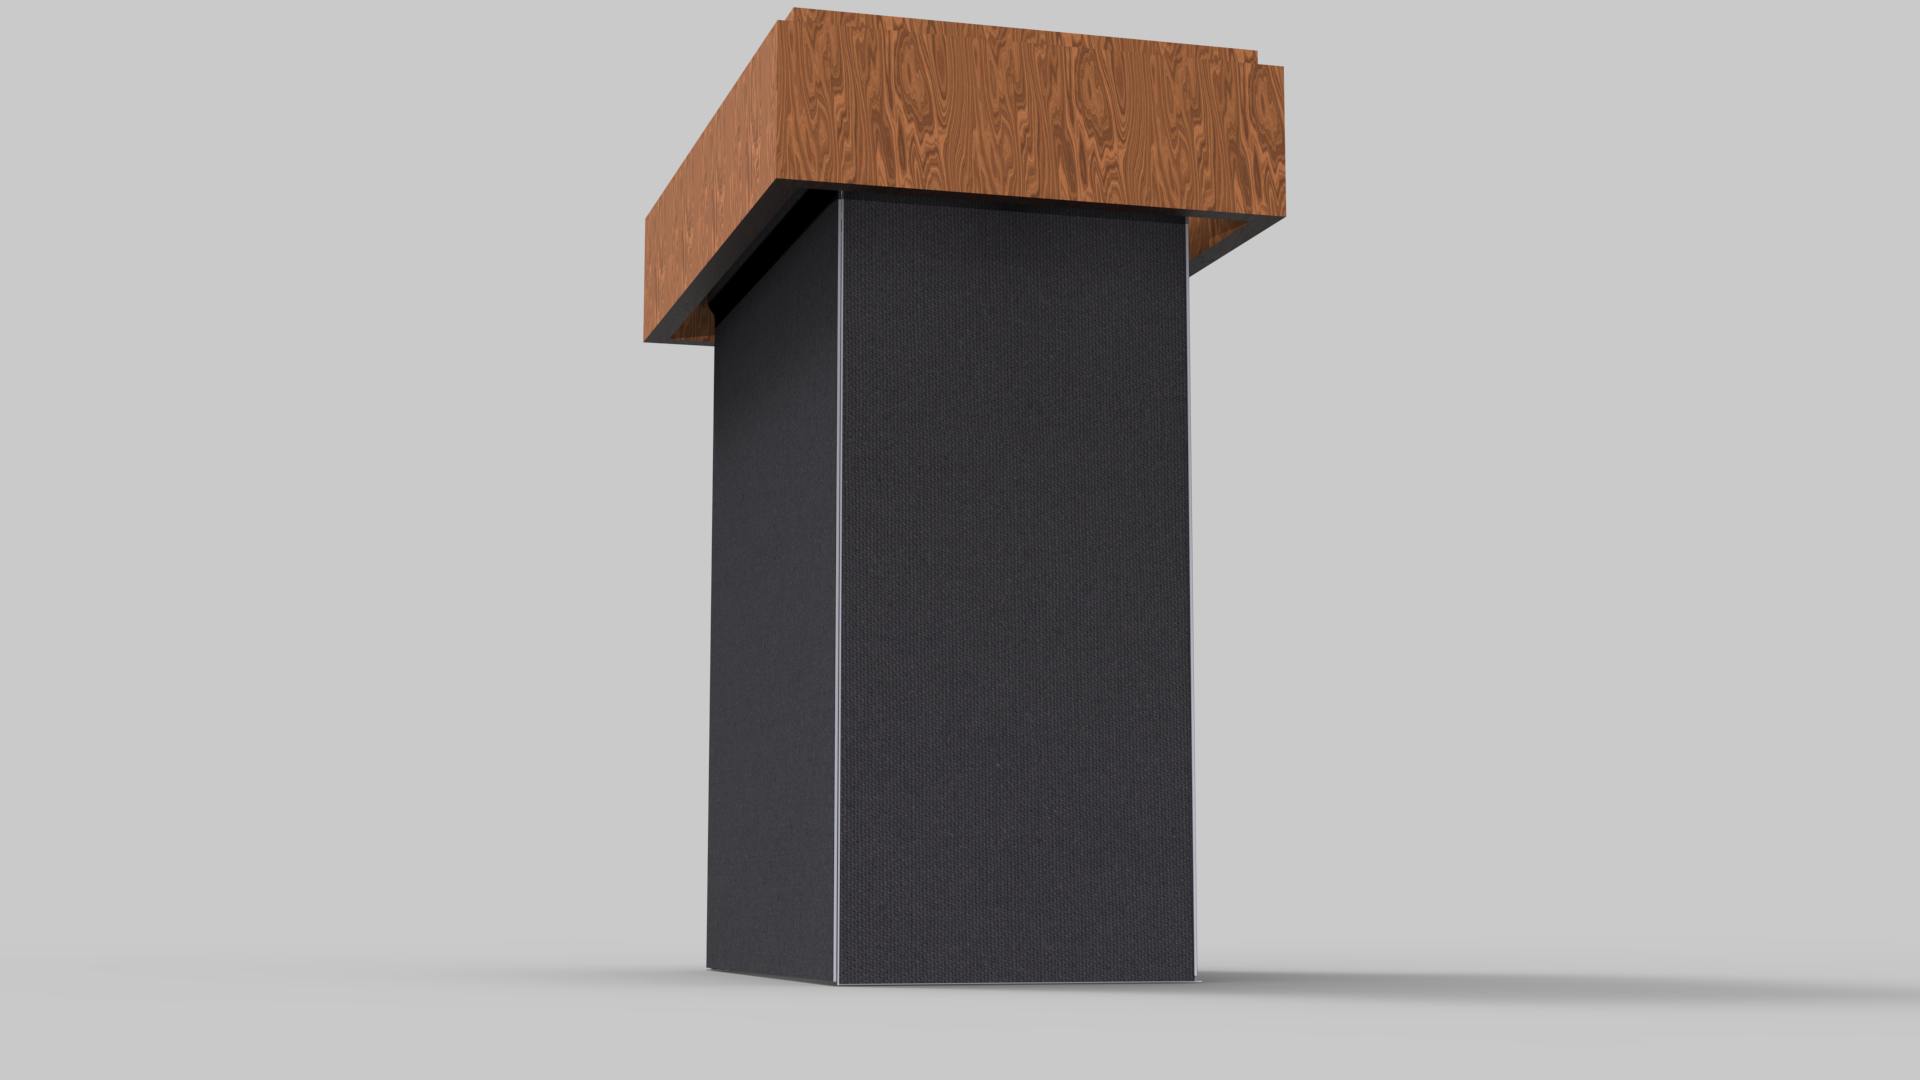

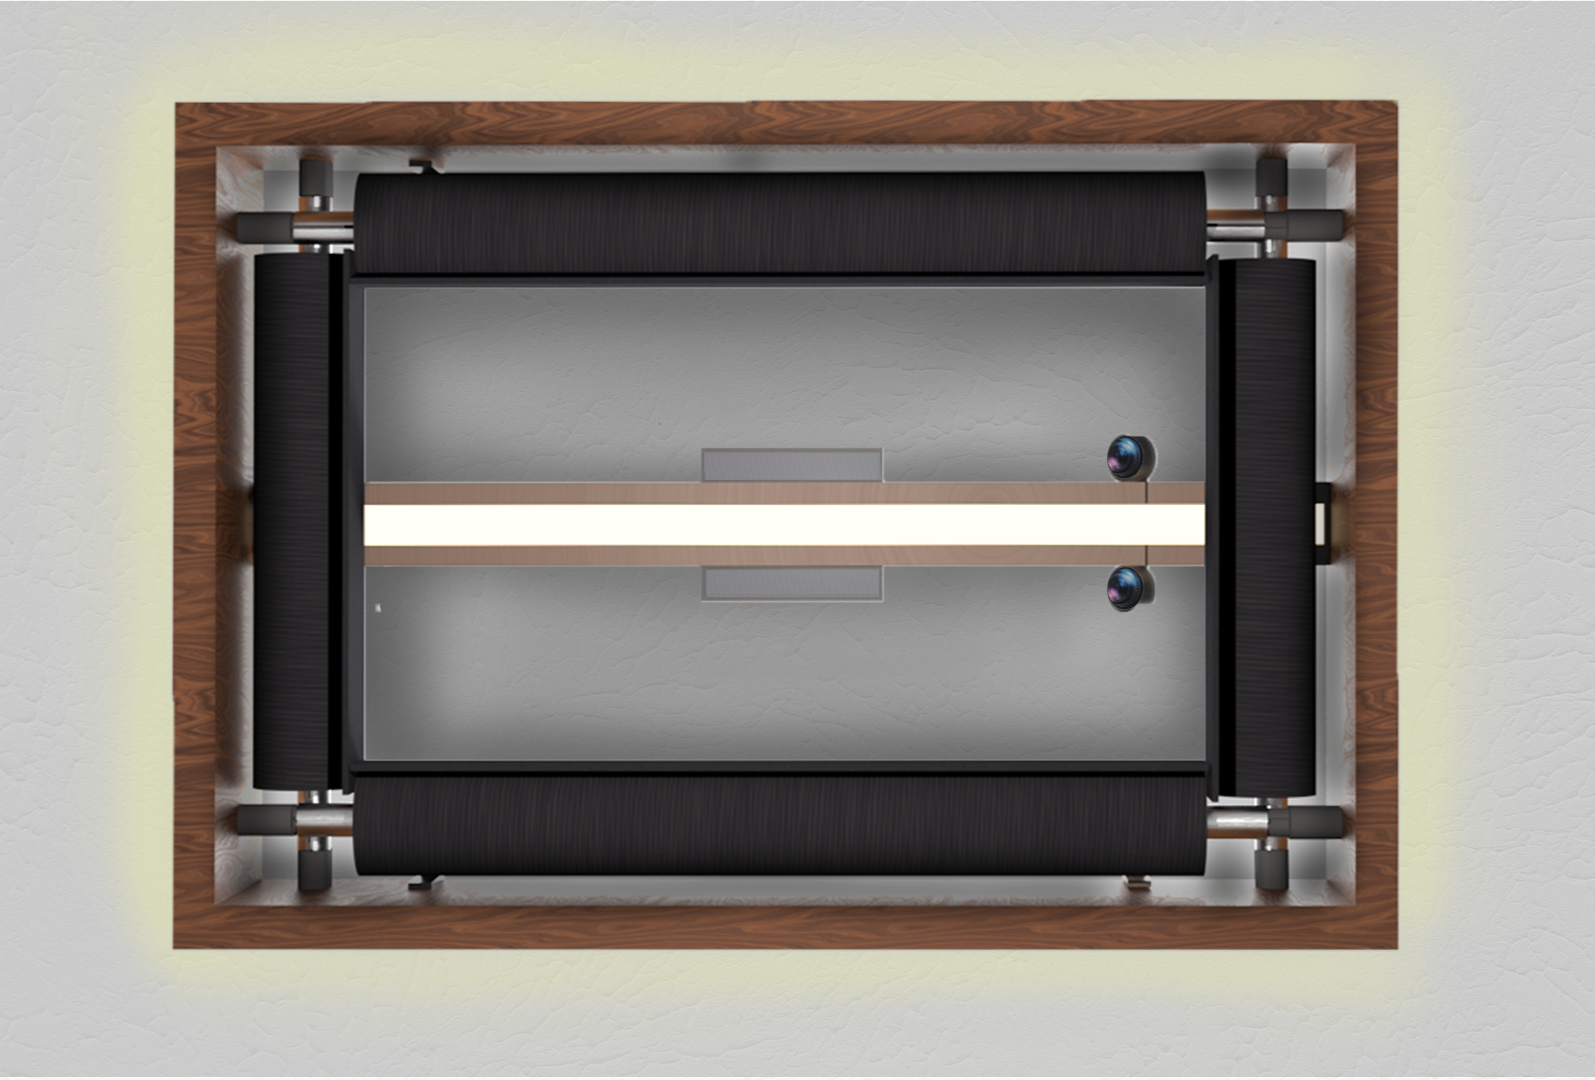
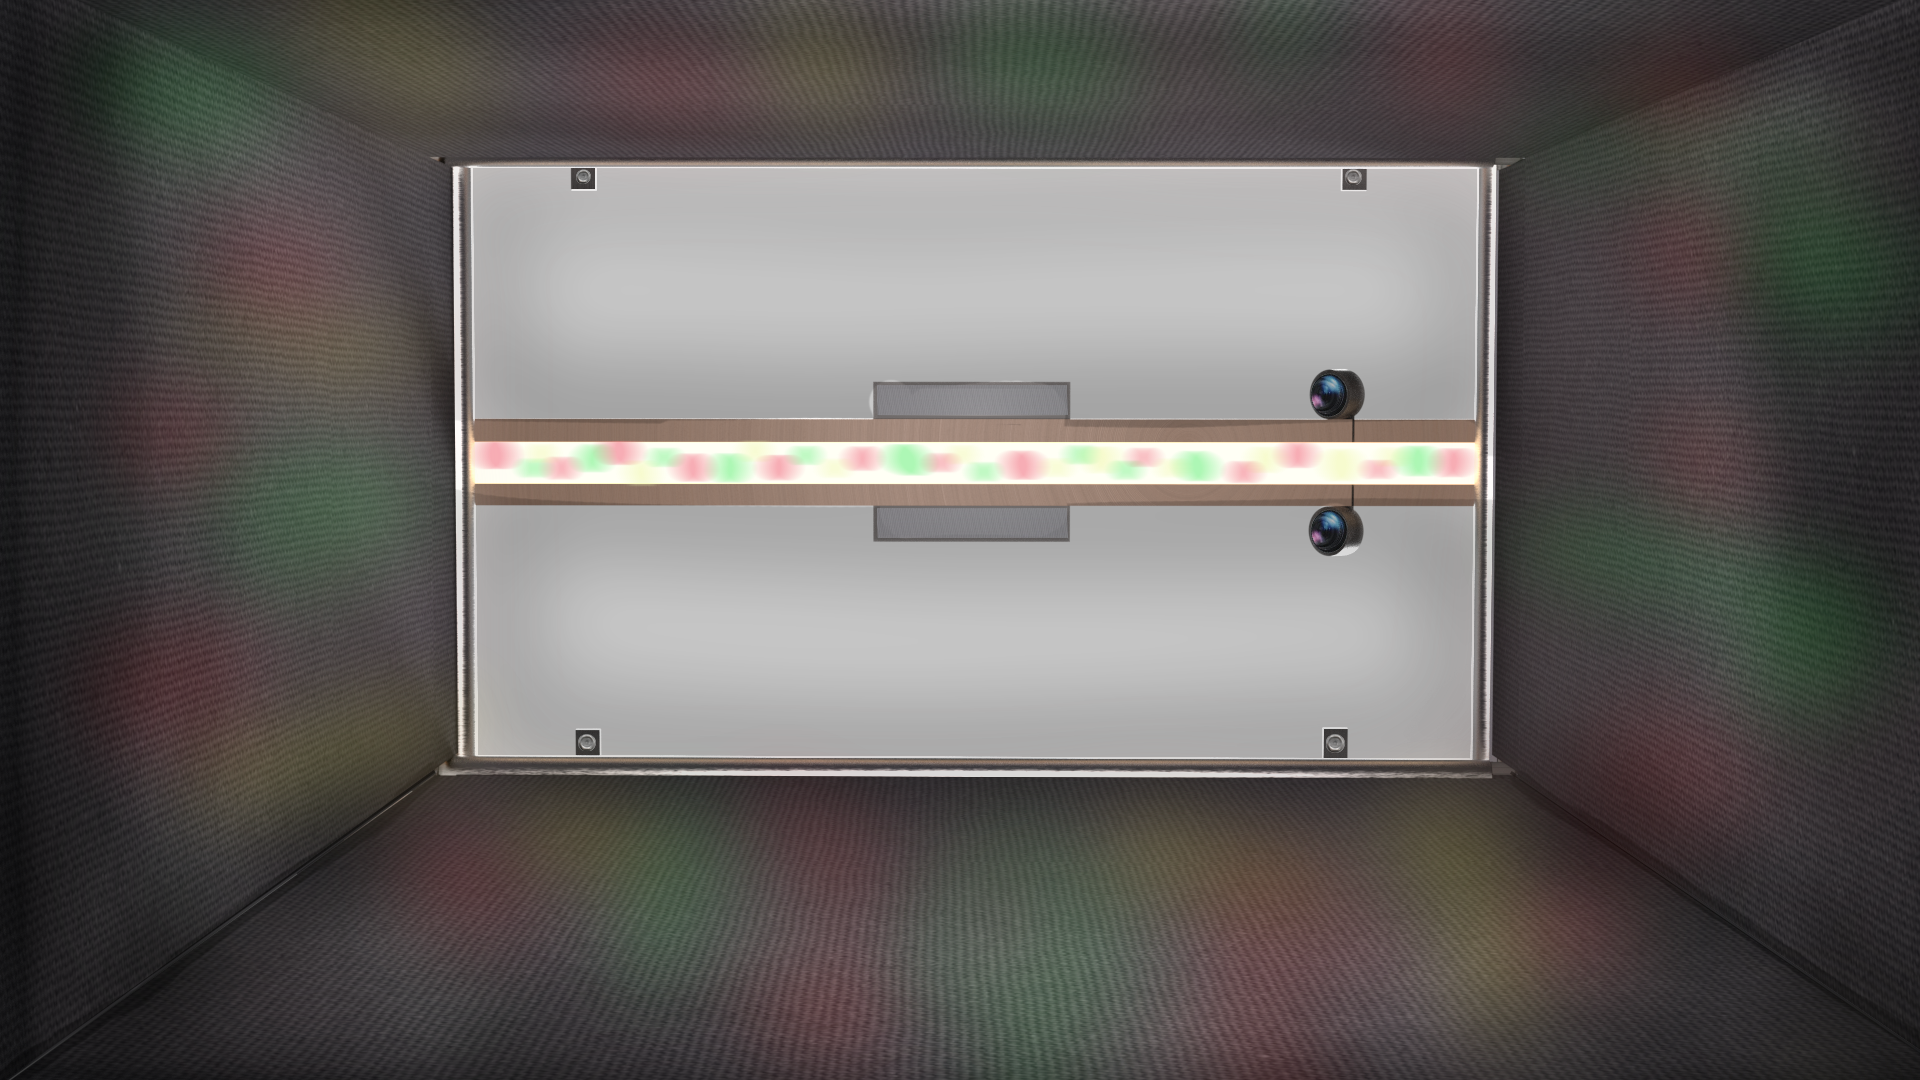
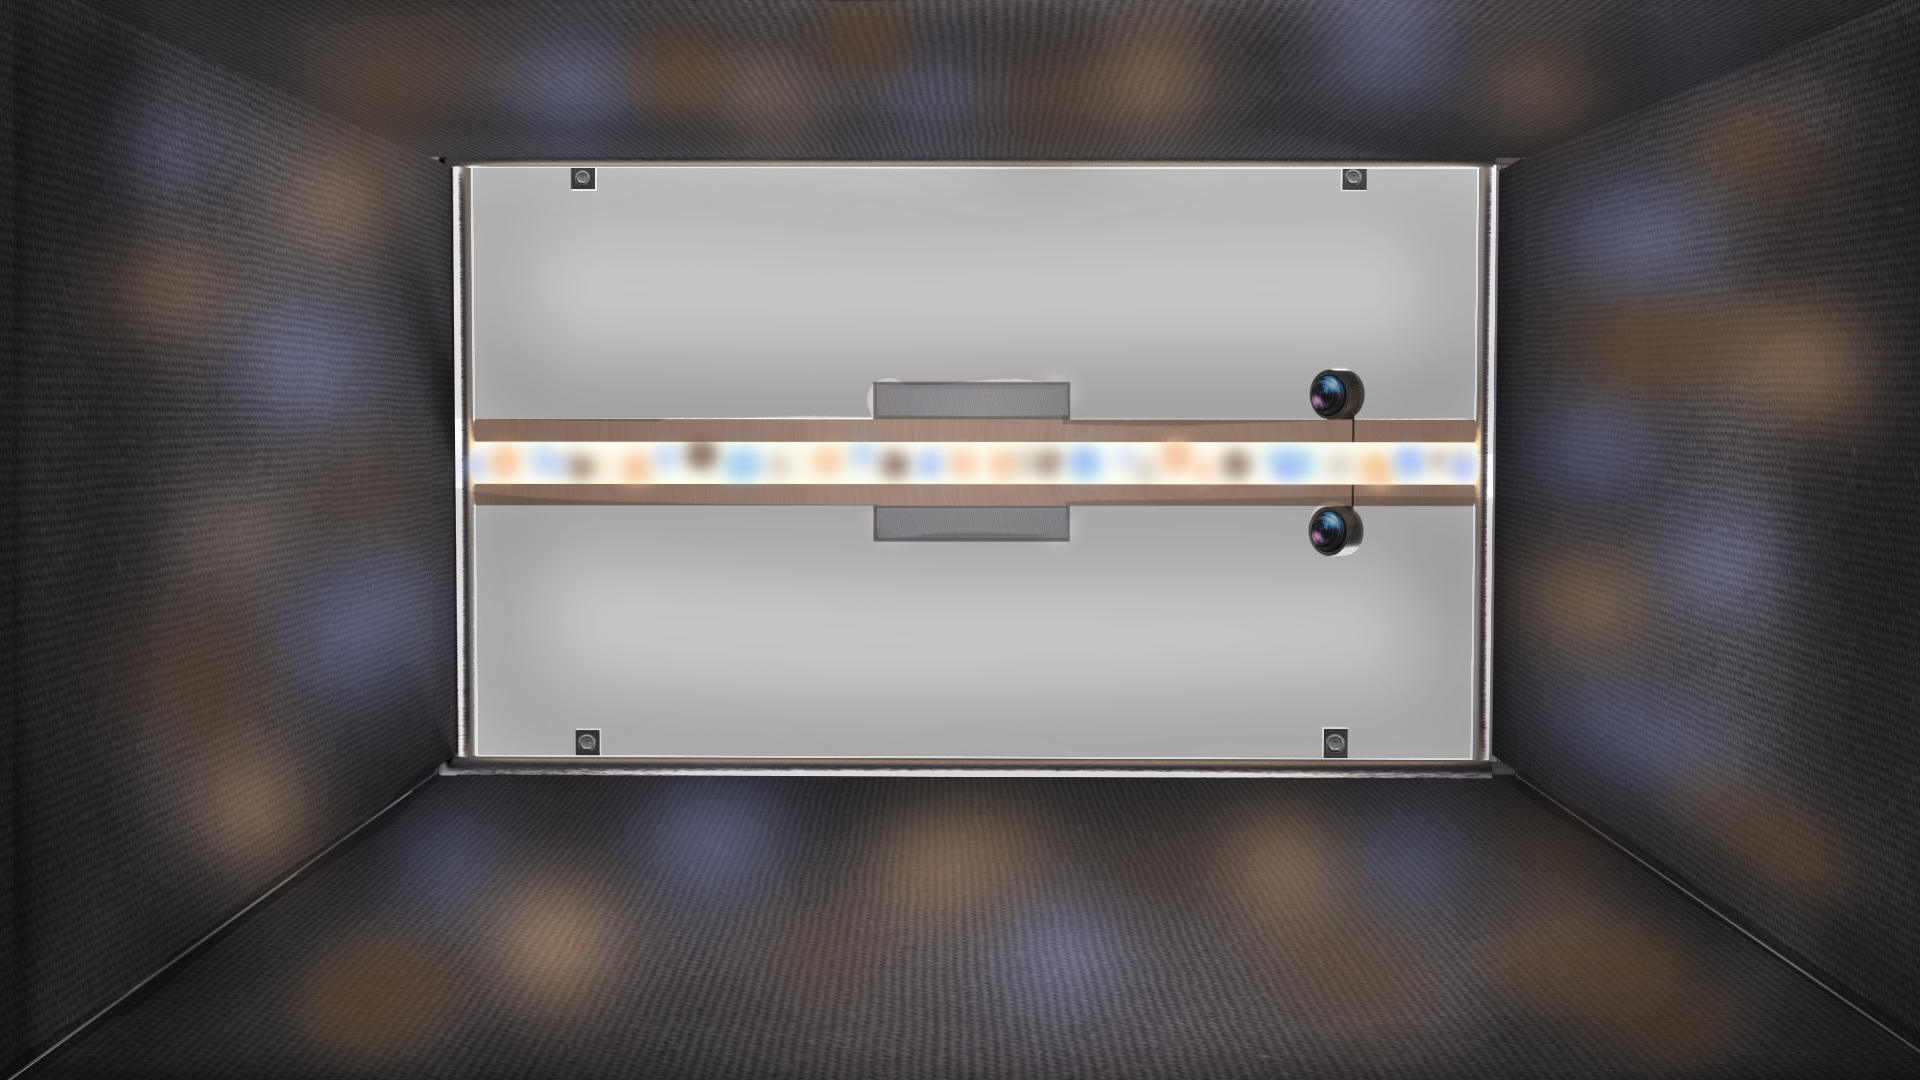
Multi-colored lights for displays
Location for ceiling mounting
Lights for regular use
Speakers for sound effects
Spacing between rollers for seamless function
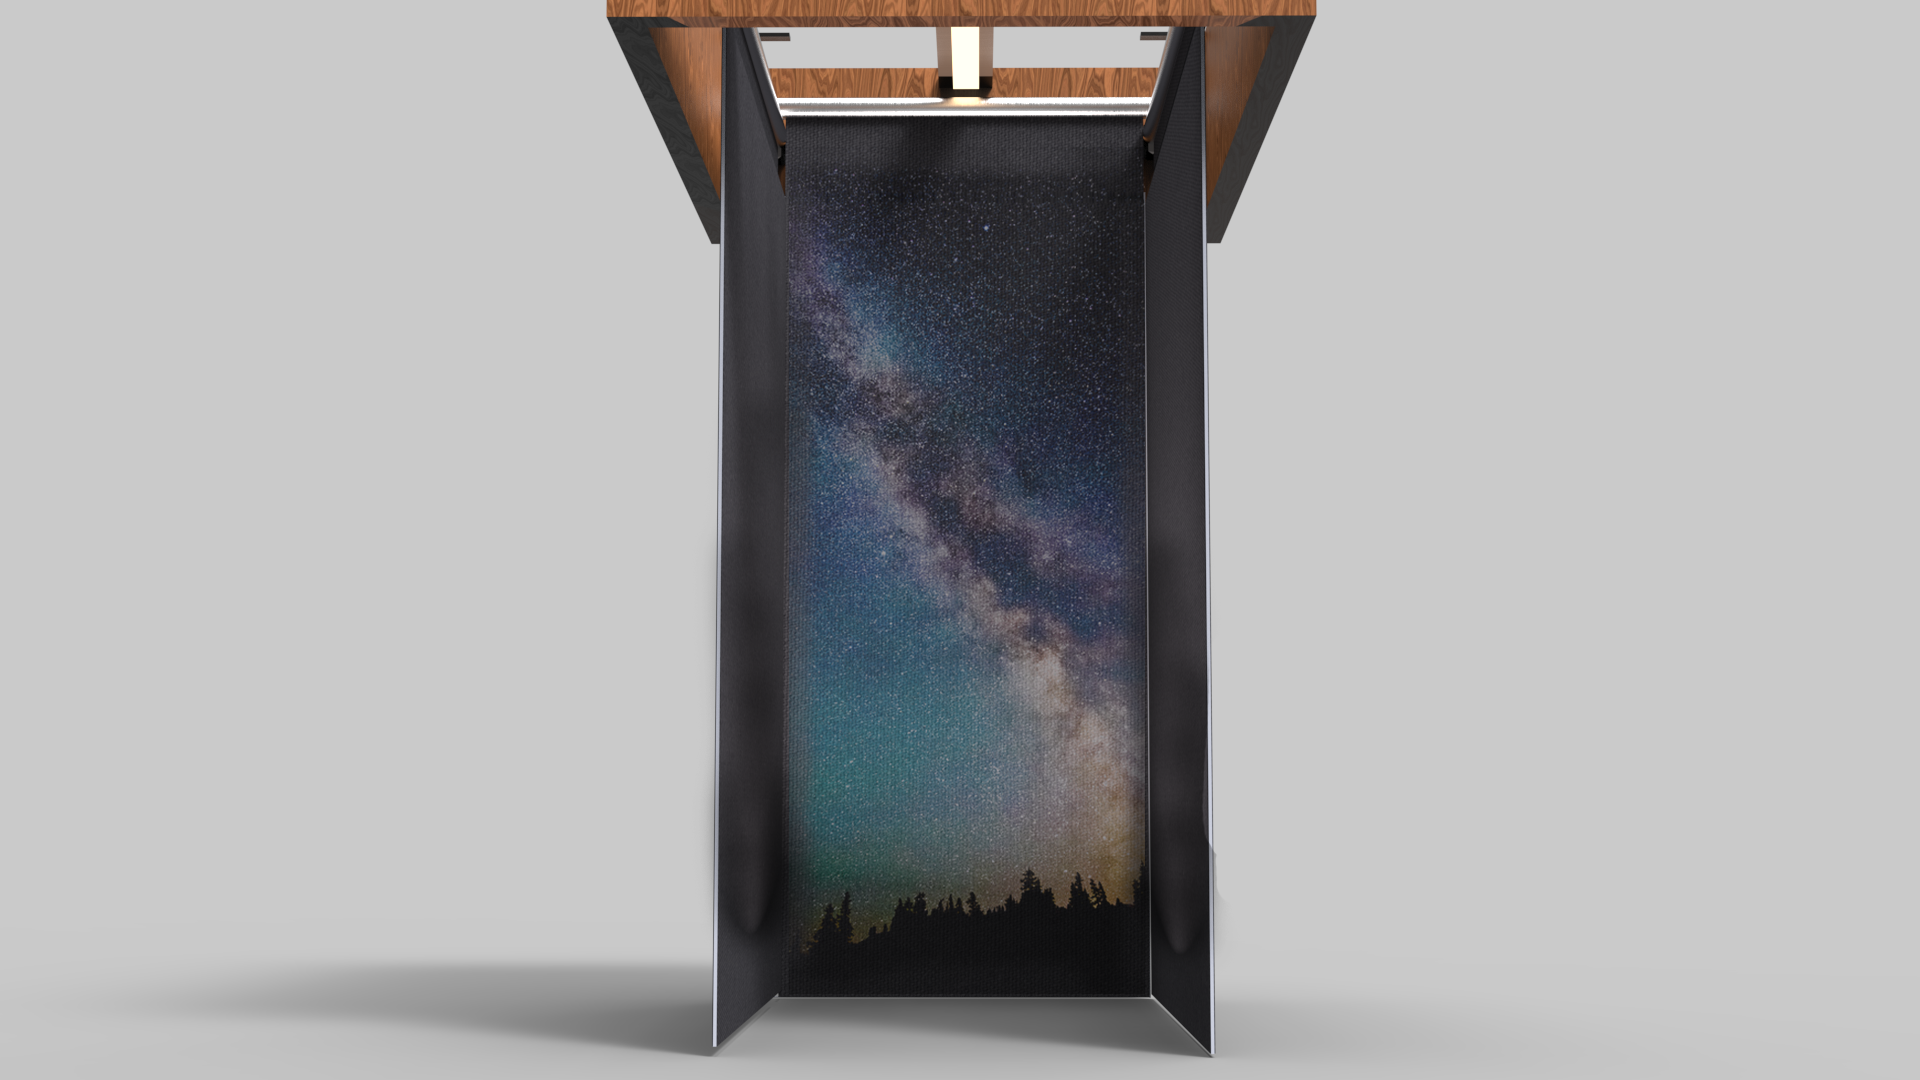
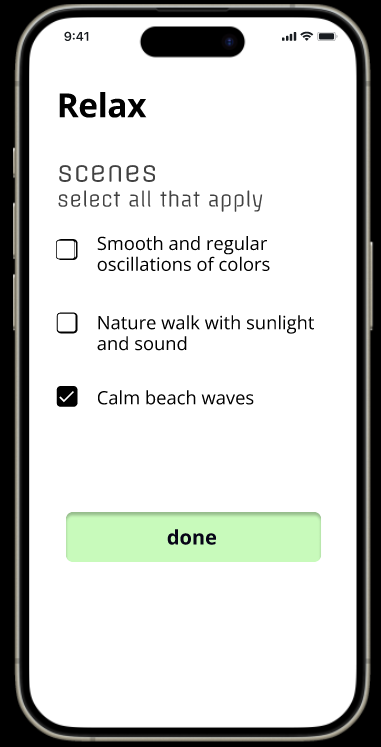
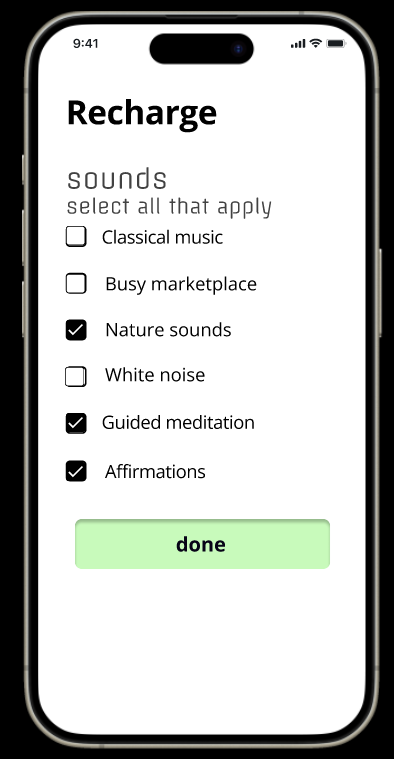
Once the design was finalized, the user interface needed to be worked on. This involved understanding what different people would use this product for. Since everyone’s brain relaxes differently, I needed multiple options for users.
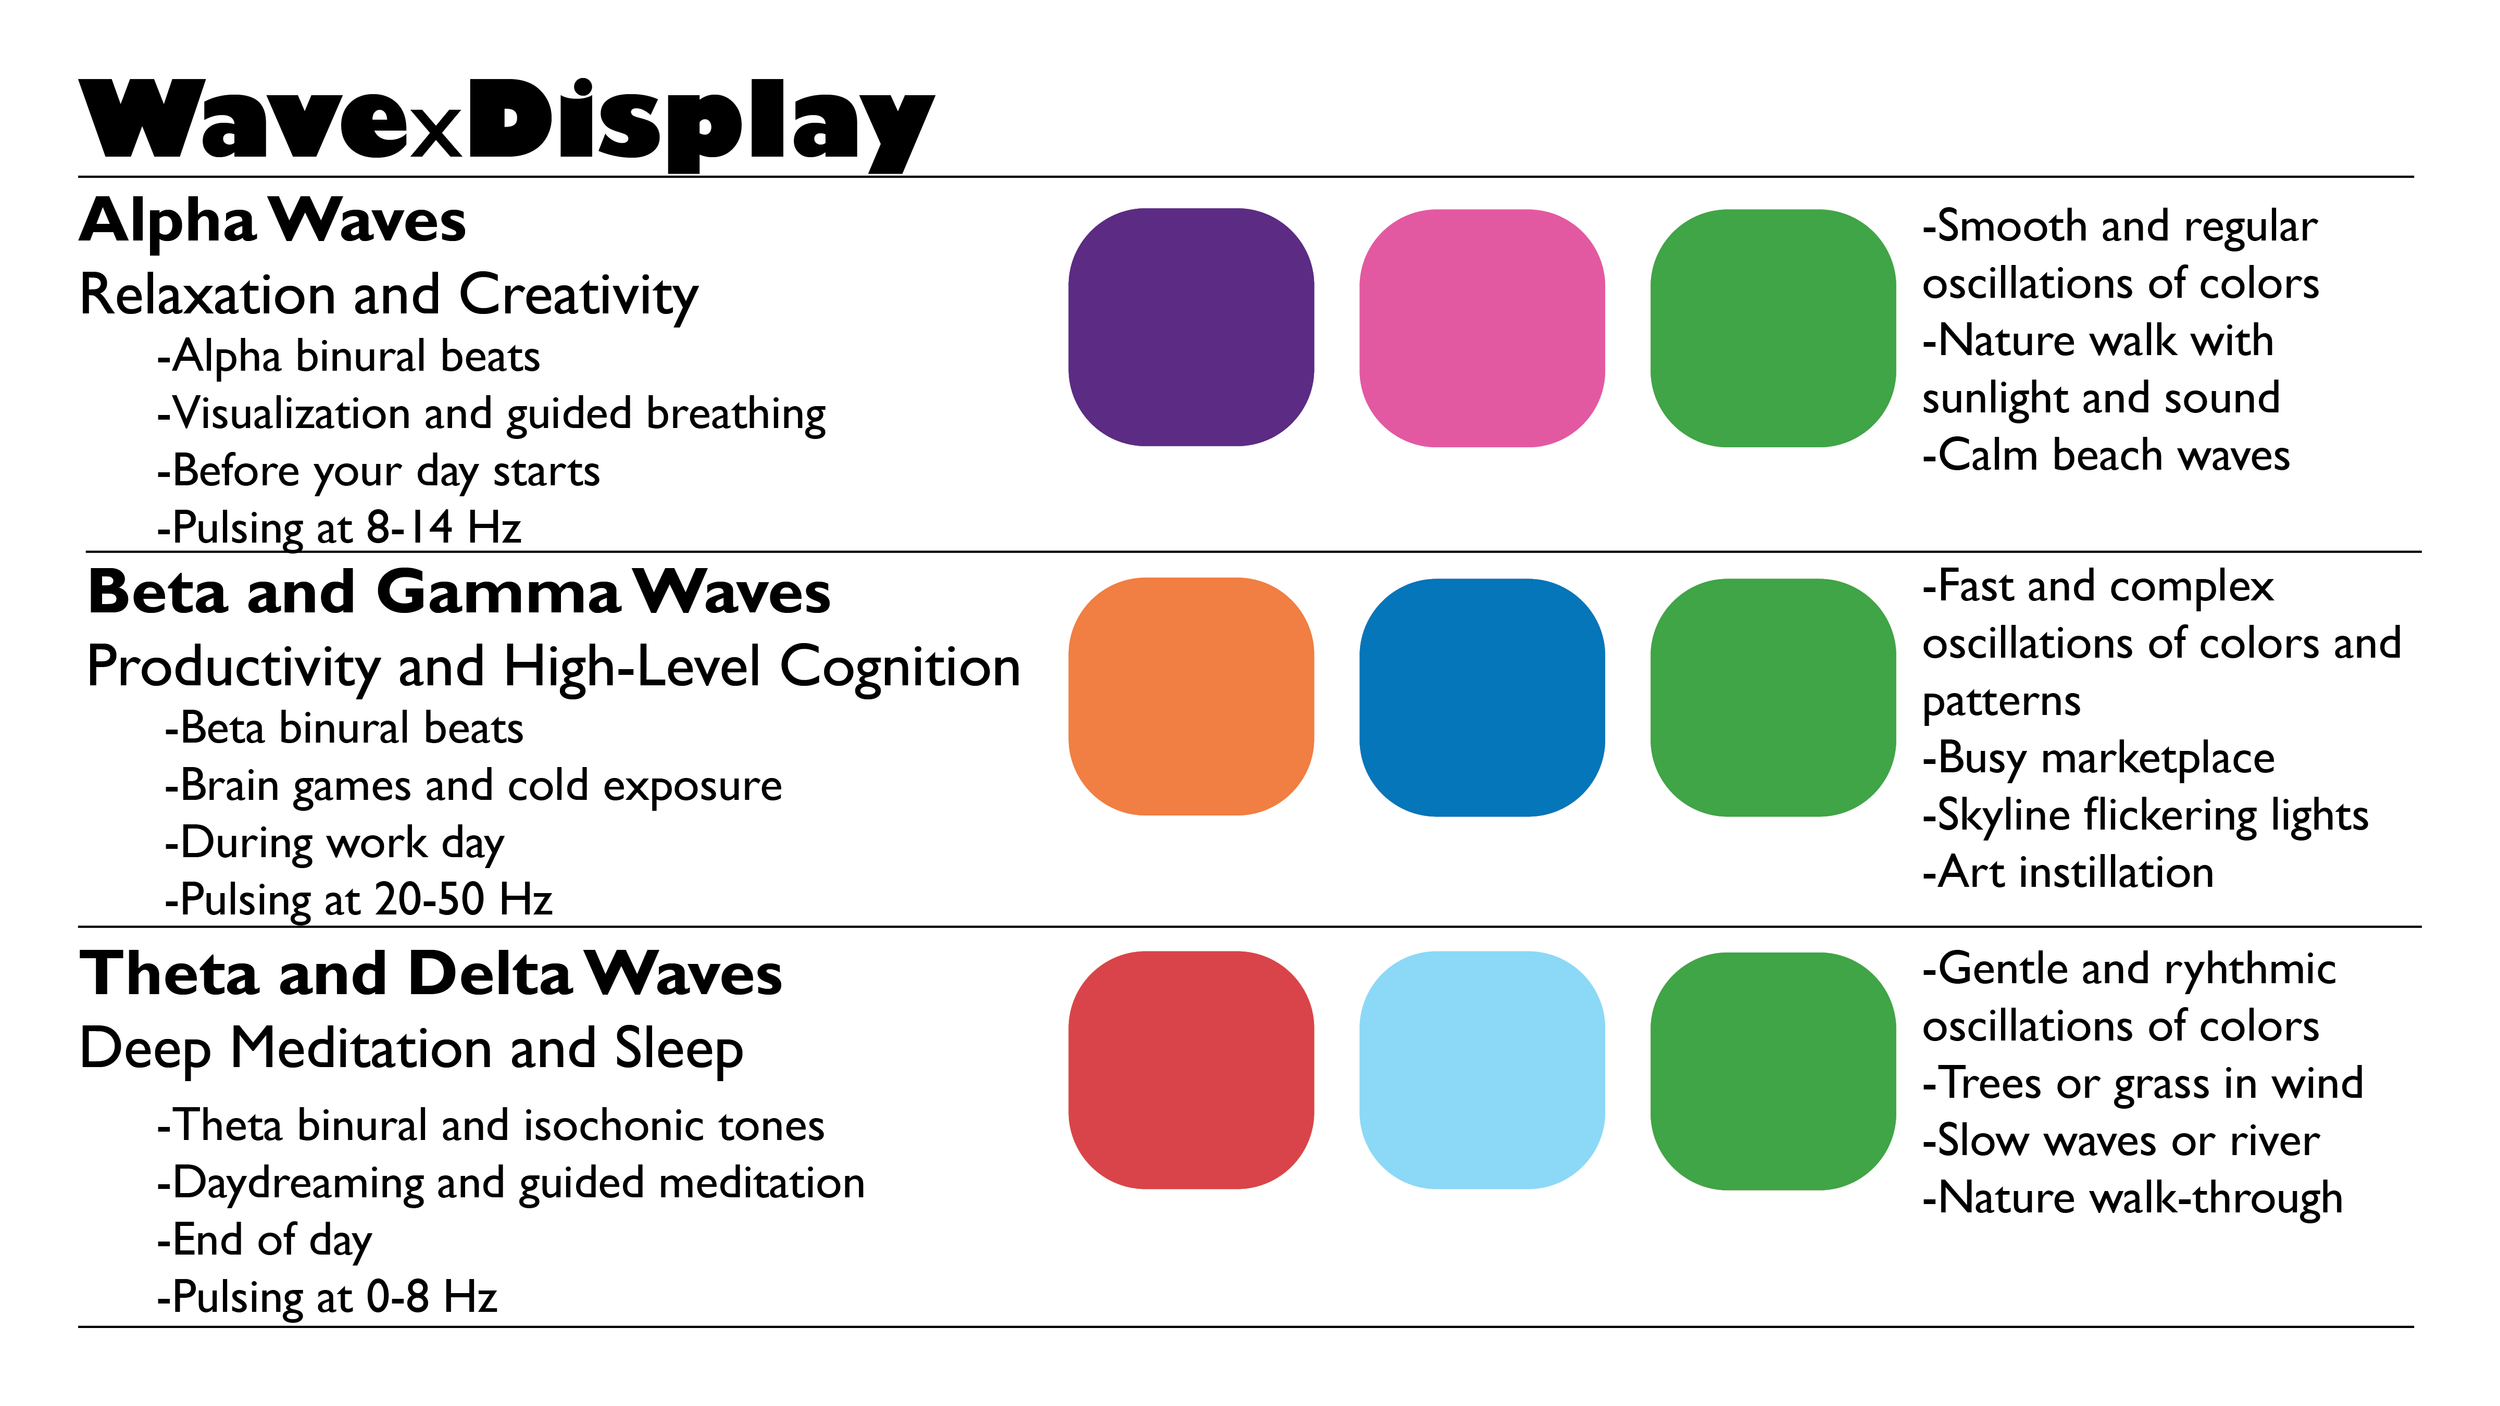
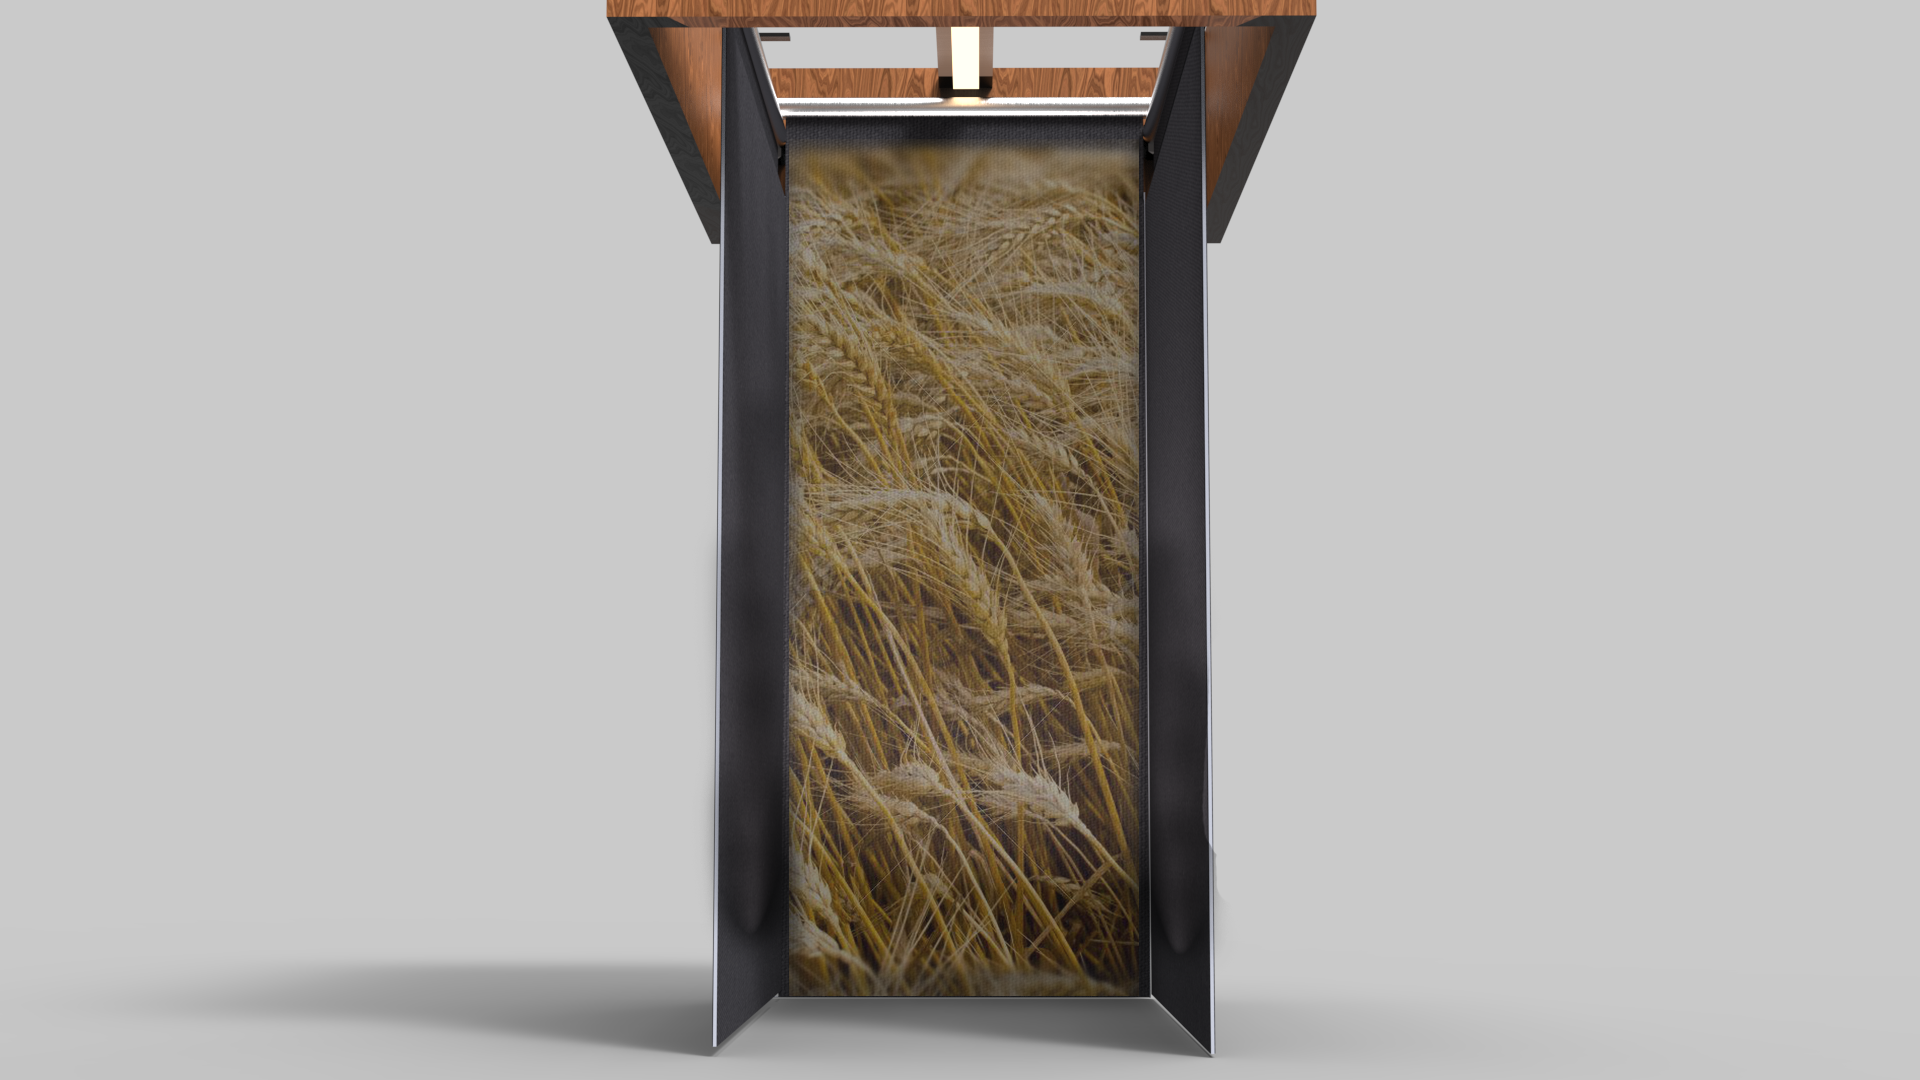

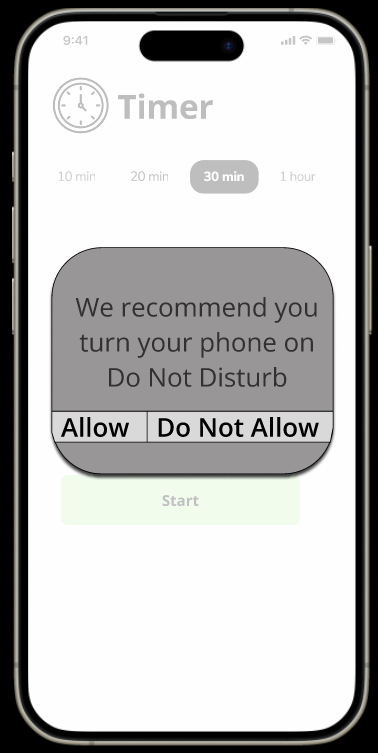
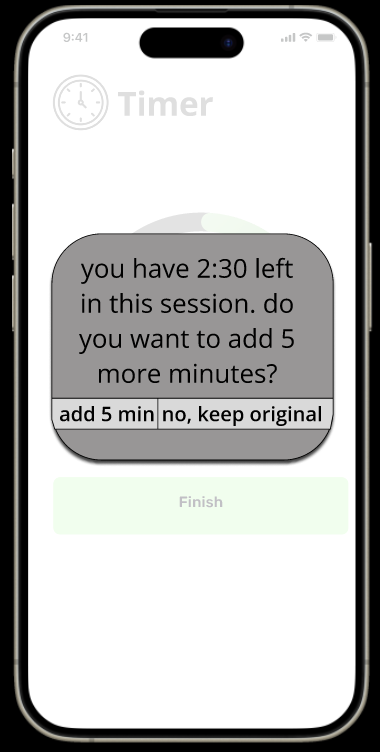
Each cycle had a suggested time limit but you can always add more!
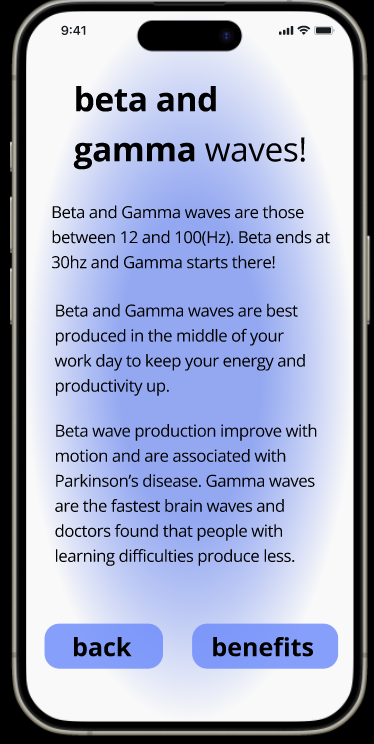
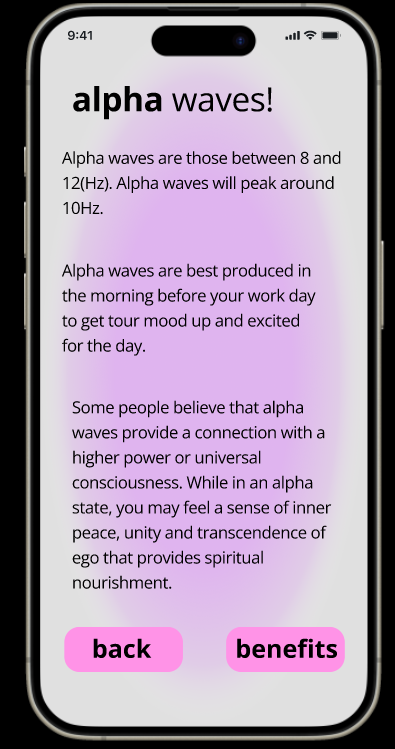
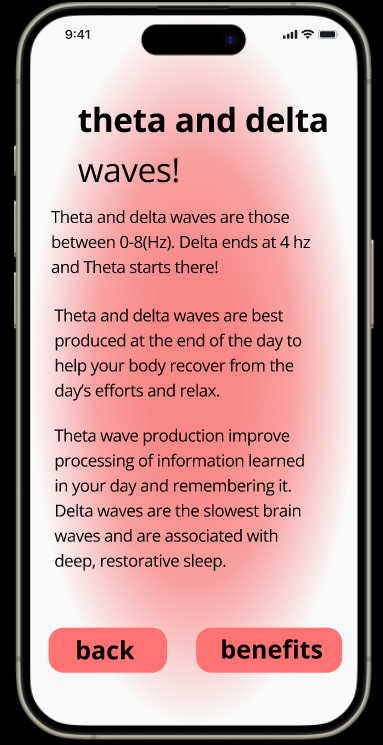
Each option has a detailed description of the waves and benefits
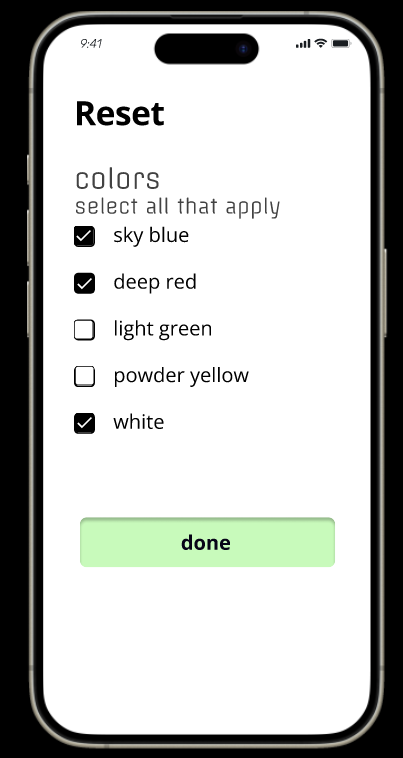
You can pick from the suggested colors, sounds, and displays that go with each intention